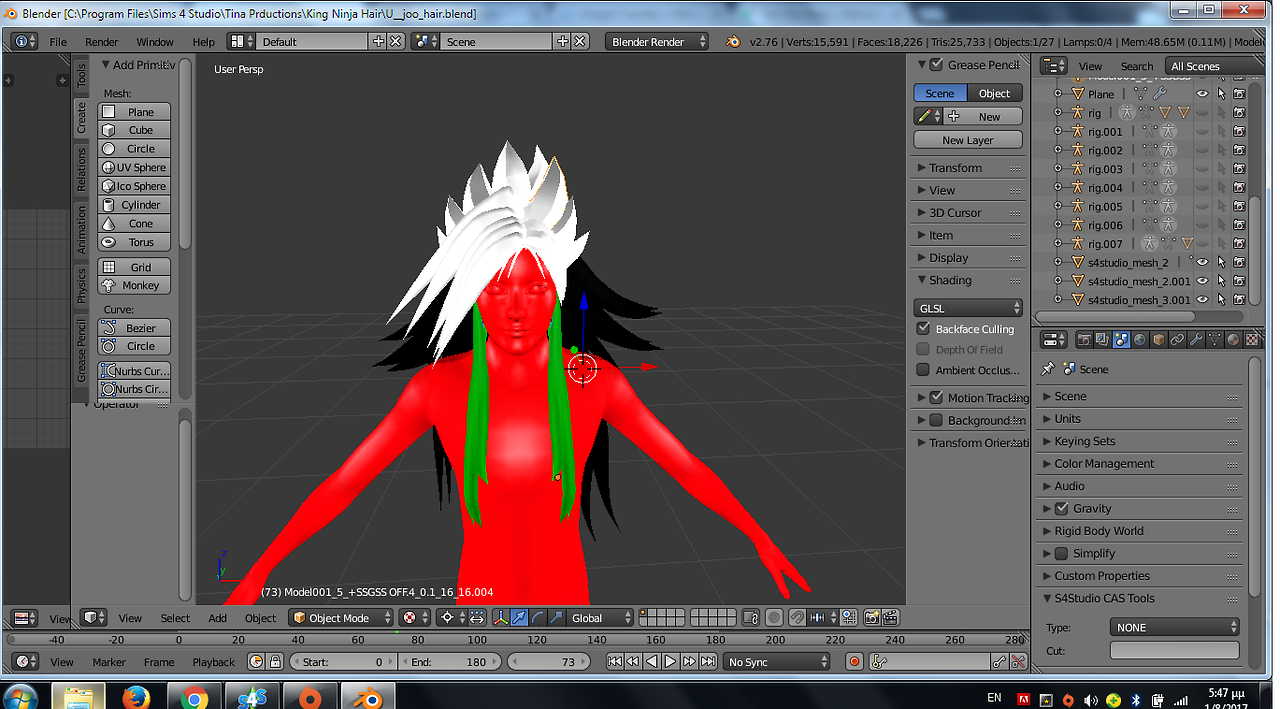
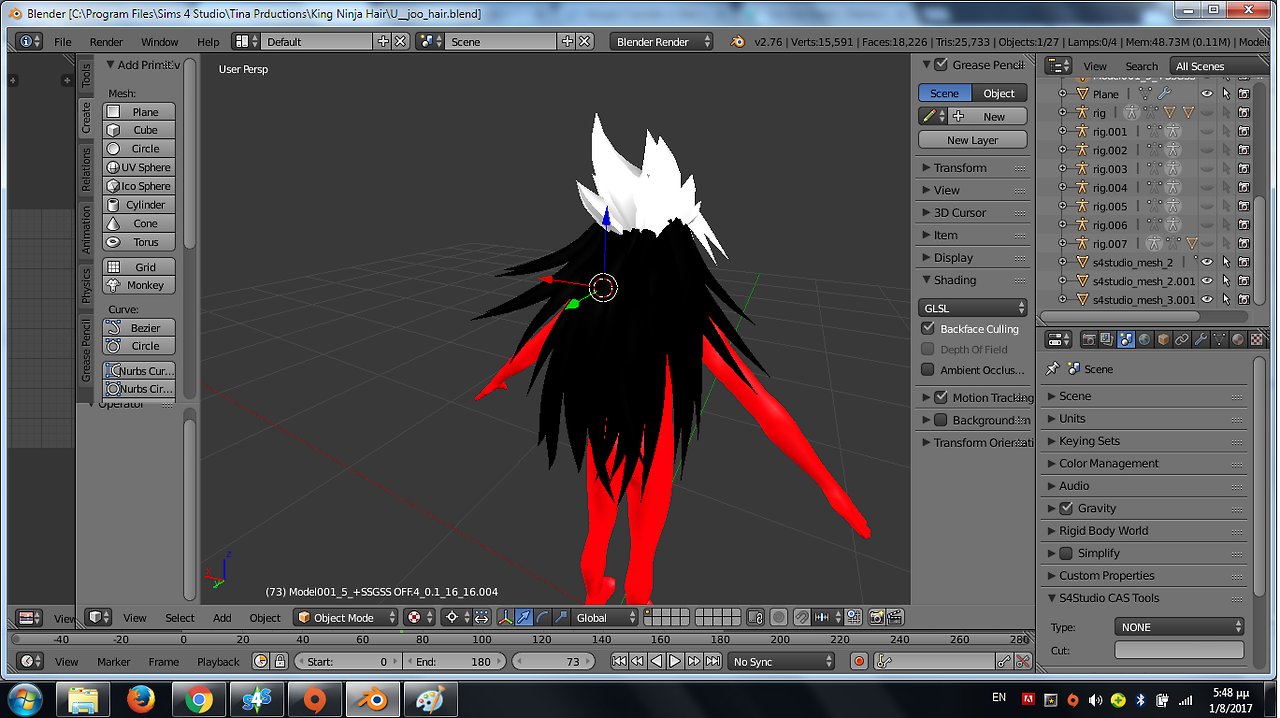
Hi! Not easy to say but your mesh got really complicated. And with over 36.000 faces it is huge as well. Lets split the bigger problem into smaller ones.
1. Making a proper mesh
A proper mesh consist of only quads. The game uses tris for technical reasons, but when editing your mesh you should strive to only use quads. This helps with selecting and it is very helpful in UV-mapping as well. A proper mesh also contains just enough faces, remember this is all about simulation. The bigger the more it will slow your game and computer down, so a very good reason to reduce.
Your mesh contains quite some repeating elements which are key to a solution. Keep in mind that once UV-mapped and textured you can duplicate separate elements without much need to adjust the UV-map. You can bend and scale them later, just keep an eye on the scale of the texture. From what I see I suggest you create 3 single elements: the medium length peaks at front and ear-area, short sized on top, long sized at the back.
In cross section you should have around 4 to 6 edges, which you have in your current mesh. The most important thing is that you recreate these elements with quads. Only at the tips you will have to use tris, but that'll be just 4 to 6 then.
Try to use elongated quads, elements that will be bend only slightly do not need much quads, lets say 5 or 6 for the longest element. If you know in advance where a lot of bending will occur, you can create an area with more edges which will create a smooth bend. This is the case at the front elements.
Make the elements straight and symmetrical, all bending etc. will be done later.
Tip 1 (see video below): make use of curves for editing. Just spend some time to learn with the videos supplied. This will make things easier for you.
Tip 2: First make only the left or the right half of the hair. Convert all curves to meshes but do not join them yet. Select all and then Shift + D to duplicate, <Enter> to confirm. Move the duplicates a bit and add Mirror modifier in Object mode, apply. You can add both halves together now. Use proportional editing on the mirrored side to reduce the visible symmetry. Since you are no longer working with curves you gave up some ease of use. That is why you shouldn't join the meshes, because now you can still use proportional editing on the separate meshes which together form the mirrored half. When you're ready editing use Ctrl + J to join all meshes together and your mesh is ready.
Now first do the other steps of UV-mapping and texturing. Only after that start duplicating your elements and position them in the final composition. Each element will be a clone of a base element, as such it will have the same UV-map and texture. There will be some repetition of elements visible, but remember you can rotate elements before bending and positioning. This way you can create the illusion of many different elements while actually using only 3.
2. UV-mapping
UV-mapping should not be a problem on the relatively simple separate parts. Select all faces, U to unwrap, fist to Lightpack and then the second time to Follow active quads.
3. Texturing
I assume you want to try to project a texture on your mesh. But with Blender versions above 2.7 you can make good use of Blender Cycles renderer. This allows you to create materials like hair and light them properly, with lamps or a HDRI image in the background.
If everything looks fine, you can use the Bake Texture option of the Cycles renderer, which will actually create the texture for you following your UV-map. You can save the texture as a .png and import it into S4S.
So in the end still a lot of work to be done, but I hope you understand my explanation and that you will succeed. Cycles renderer might require you to follow some video tutorial, but you can easily find them on Youtube. Be aware that Blender also as a particle effect to create realistic hair, please stay away from that as it causes ridiculous amounts of vertices. Its just about creating the material, so only focus on creating hair material with Cycles, in which you can simulate hair material or derive it from a picture.
Once you master Cycles, quite a world will open up for you as from then on you can tell Blender to create textures for you.
Added some video tutorials for you: using
curves for easy editing of hair like
here and
here.


 Now I stuck I don't know what to do next.. What tutorials must I follow? Sorry for dumb questions but I'm not experienced enough in hairstyles...


