|
|
Post by chocoberry4 on Aug 24, 2017 18:25:06 GMT -5
Ah I see now, I shall try and remember that for the future. Thanks  |
|
|
|
Post by chocoberry4 on Aug 24, 2017 18:03:41 GMT -5
I managed to redo this and ended up with a better result: 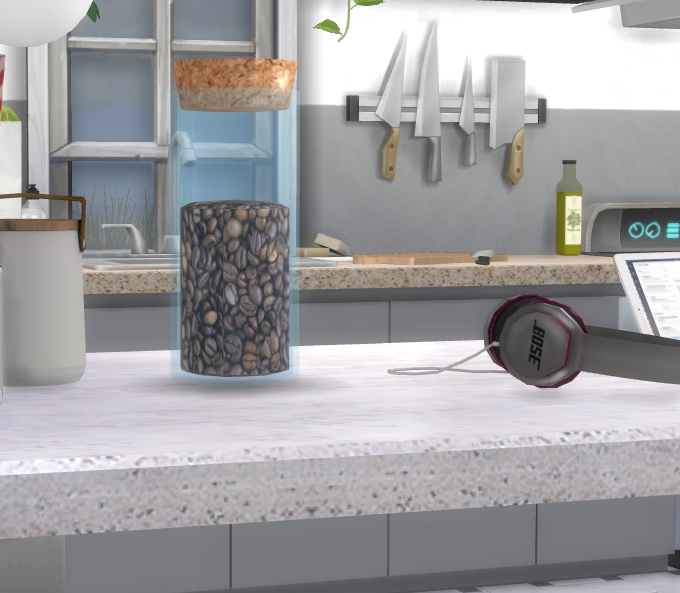 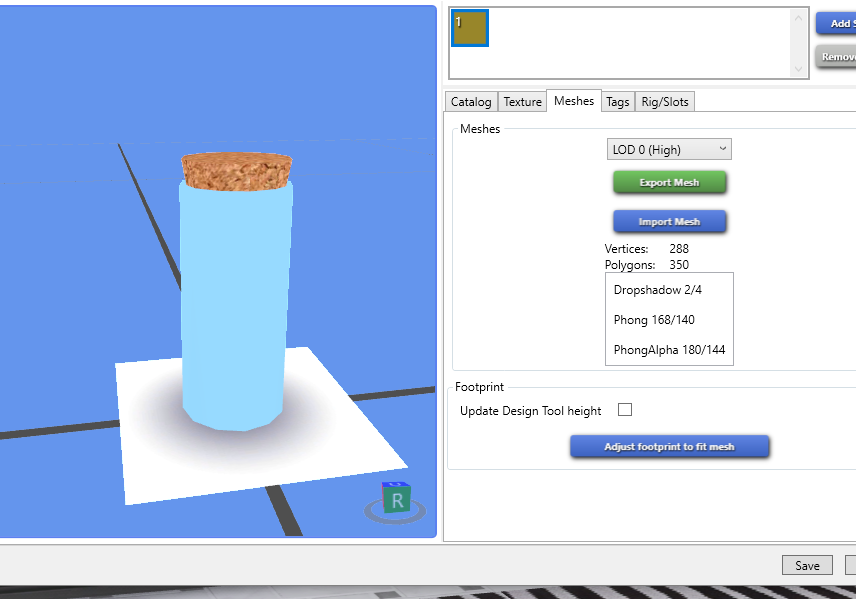 As a result, the jagged artifacts did not appear this time. I wonder what caused them in the first place? I wonder if it's to do with the smoothing operator? Because it was initially at really high poly due to incredible amounts of smoothing. This time round, minimal smoothing was used. |
|
|
|
Post by chocoberry4 on Aug 24, 2017 16:53:30 GMT -5
Ok thanks, I'll give it a go and report back.
|
|
|
|
Post by chocoberry4 on Aug 24, 2017 16:37:21 GMT -5
I understand, I'm at fault there because I added to much subsurf smoothing there on top of a smooth shader as well which is why it's really high. What's a reasonable amount of poly for a small deco object?
|
|
|
|
Post by chocoberry4 on Aug 24, 2017 16:16:30 GMT -5
Here is the package file: LinkYeah it's really high poly and I should try it the way you mentioned. I usually start with a cylinder prim but maybe i should consider a circular plane instead. Usually at the end when I've finished, I decimate the mesh but then the quality is not as good. It's still in mid-process so that's why poly count is really high. |
|
|
|
Post by chocoberry4 on Aug 24, 2017 12:21:58 GMT -5
I followed Peacemaker's tutorial to fix weird artifacts in glass materials yet mine still persists. I triangulated the glass mesh group but it still looks the same as when it wasn't triangulated. Here's what I have:   Is there something I'm missing or doing wrong? Any advice will be appreciated. If anyone wants to take a look, here is my blend file: SimFileShareMany thanks |
|
|
|
Post by chocoberry4 on Jul 17, 2017 12:28:43 GMT -5
I figured out the problem. I needed to recalculate the normals of the whole mesh. The result is shown below: 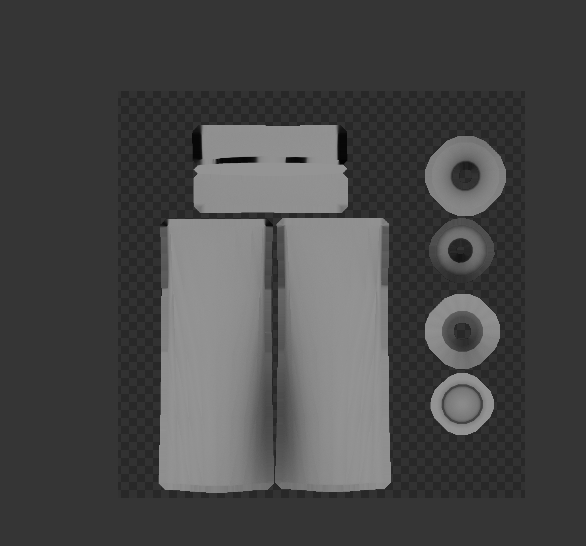 |
|
|
|
Post by chocoberry4 on Jul 17, 2017 10:22:30 GMT -5
I've created a mesh and applied a bake to it. To note, it has a material attached to it and I'm using the BI renderer. It's resulted in a weird looking bake and I think it looks wrong. Most of the faces are black and the parts that are white are the edges. The settings for AO are 1.75 and Environmental lighting is set to 0.75. The result of the bake:  The UV map looks like this: 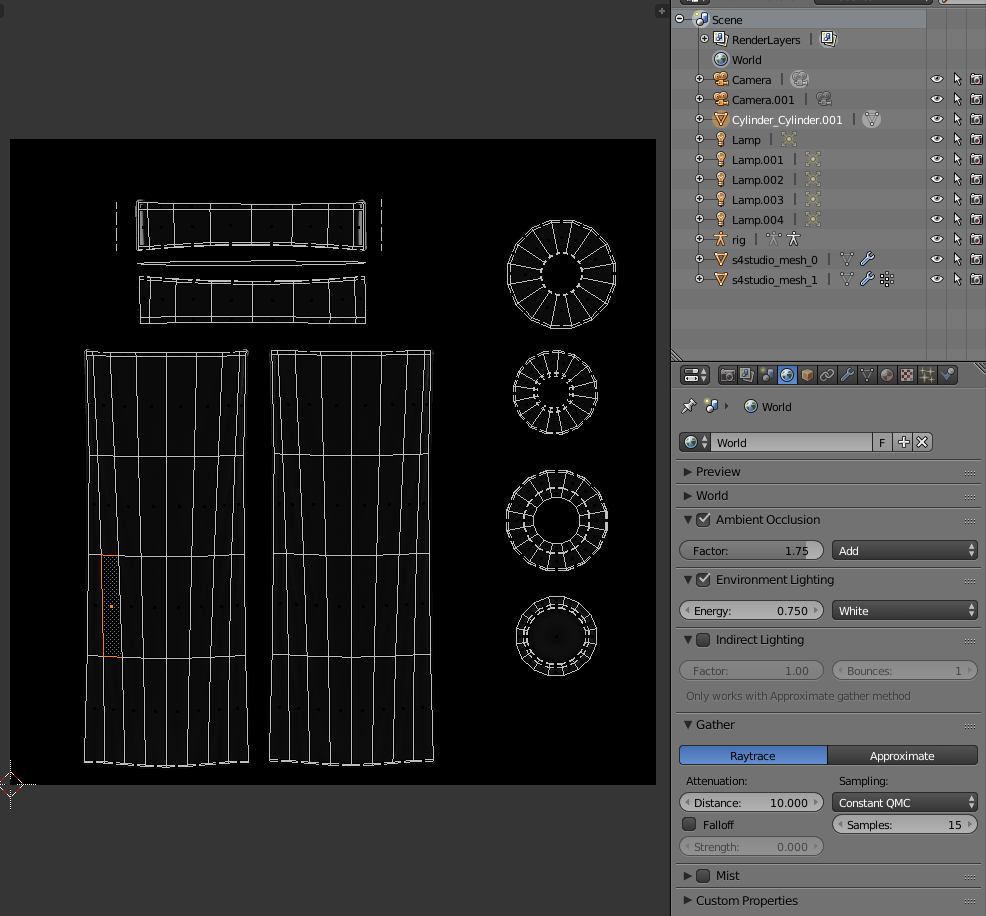 When putting it into photoshop and applying a texture overlay ontop, the blackness completely covers the texture which isn't what I want. Can anyone spot whats going wrong here? |
|
|
|
Post by chocoberry4 on Jun 30, 2017 6:36:26 GMT -5
Using OnebillionPixels as inspiration, I saw this post one-billion-pixels.blogspot.co.uk/2016/06/makeup-clutter-sims-4.html and I wanted to make something similar. I started making the mesh for the handcream which was not a problem but when it came to texturing it with an image, I had no idea how OneBillionPixels did it so perfectly. For their mesh, their reference image was something like this: 4.bp.blogspot.com/-ObvTWz8O2cM/VIU14xuLHfI/AAAAAAAAAu0/wJumdsGFTZk/s1600/e12.png for their texture. My question is, how were they able to texture using the image and make it look seamless? I attempted it by selecting the desired faces and UV unwrapping it and then adjusting it so that it fit the image, but it was quite difficult to achieve especially at the angled parts (like the cap). How did the creator texture their mesh with the provided image and make it look perfect? Here is my attempt so far: gyazo.com/ae4ea5445460001b3954cbe179050d0cI'm new to this entire process and I find texturing quite hard to do compared to the modelling process. Any insight or tutorials would be great, thanks. |
|


