|
|
Post by ulika on Aug 5, 2020 8:11:20 GMT -5
Seems to be a bit different issue than what i had. - select the curve, press Shift S, choose Cursor to active; - select the chain thing, press Shift S again, choose Selection to Cursor. I think you would be able to avoid it by creating the chain at the center of the grid and not moving the origin ( or putting it to the center of the mass ). At least this was the difference between your and my case Thank you very much, it worked |
|
|
|
Post by ulika on Aug 5, 2020 7:58:35 GMT -5
I had the same issue a few days ago and, if my memory serves me well, resetting transforms did the trick. Why get a new version of Blender if it can be fixed in the current one I don't know what the problem is(  |
|
|
|
Post by ulika on Aug 5, 2020 6:29:36 GMT -5
Share the file please, Blender's version should not come in play in this. I pressed something, and I got a circle, but it still doesn't look right.... Blender |
|
|
|
Post by ulika on Aug 4, 2020 15:01:50 GMT -5
i guess it is the blender version you are using, the tutorial uses 2.70 and you are using 2.79, i also tried this with 2.76 and had same results as you, so i think using the same version of blender as the tutorial ie 2.70 will solve your issue Logically. It is necessary to try. Thanks |
|
|
|
Post by ulika on Aug 4, 2020 15:01:09 GMT -5
Hi. Select the curve, in Object mode choose Object - Apply - All Transforms to deltas. Now the program will understand where the object is in the scene currently I'm sorry it didn't help |
|
|
|
Post by ulika on Aug 4, 2020 9:14:48 GMT -5
Hi. Can someone help? It doesn't overlap the way I planned. It doesn't work. Followed the lesson.  |
|
|
|
Post by ulika on Jul 28, 2020 13:48:23 GMT -5
Guess it is too high poly for them to transfer smoothly. Try this, if won't work you will need to edit them manually There is one way you can resolve it without changing topology, but I usually avoid suggesting it because it can cause more issues if you're not careful: 1). Never use it on the body. Either separate the garment or just select it only; 2). Each vertex can be influenced by no more than 4 vertex groups, the rest will be deleted by s4s during import. Use Limit total to remove the right ones ( with the lowest values) after every time you use Smooth tool; 3). Some vertex groups ( armpits, sometimes knees and elbows ) should not fade smoothly, it will affect animation. It is best to either avoid using this tool on these areas of clothing or adjust them individually afterward; 4). It can spread the paint too far, be very careful with it. You can use Clean tool and change Limit to, say, 0,05. Anyway - Make sure the mesh has Armature modifier and rig selected. This insures that weights auto normilize when you edit them in Weight paint; - In Edit Mode disable Limit selection to visible. Holding Ctrl, LMB-click-and-drag to select the garment partly, then press Ctrl L to select the rest; - Switch to Weight paint and enable Vertex selection masking for painting; - adjust the settings, if you need it to expand less or more, adjust Expand/Contract; - use Limit total with Limit set to 4 and Subset to All groups; - if it won't work, select each breast vertex groups and use Smooth tool with more Expand and Subset set to Active group. Don't forget to use Limit total again; - since you adjusted weights on the mesh with split edges, don't forget to remove doubles to make sure that vertices that share coordinates also have the same vertex group values.
 My English is very bad. Thank you very much, I will try until it turns out. |
|
|
|
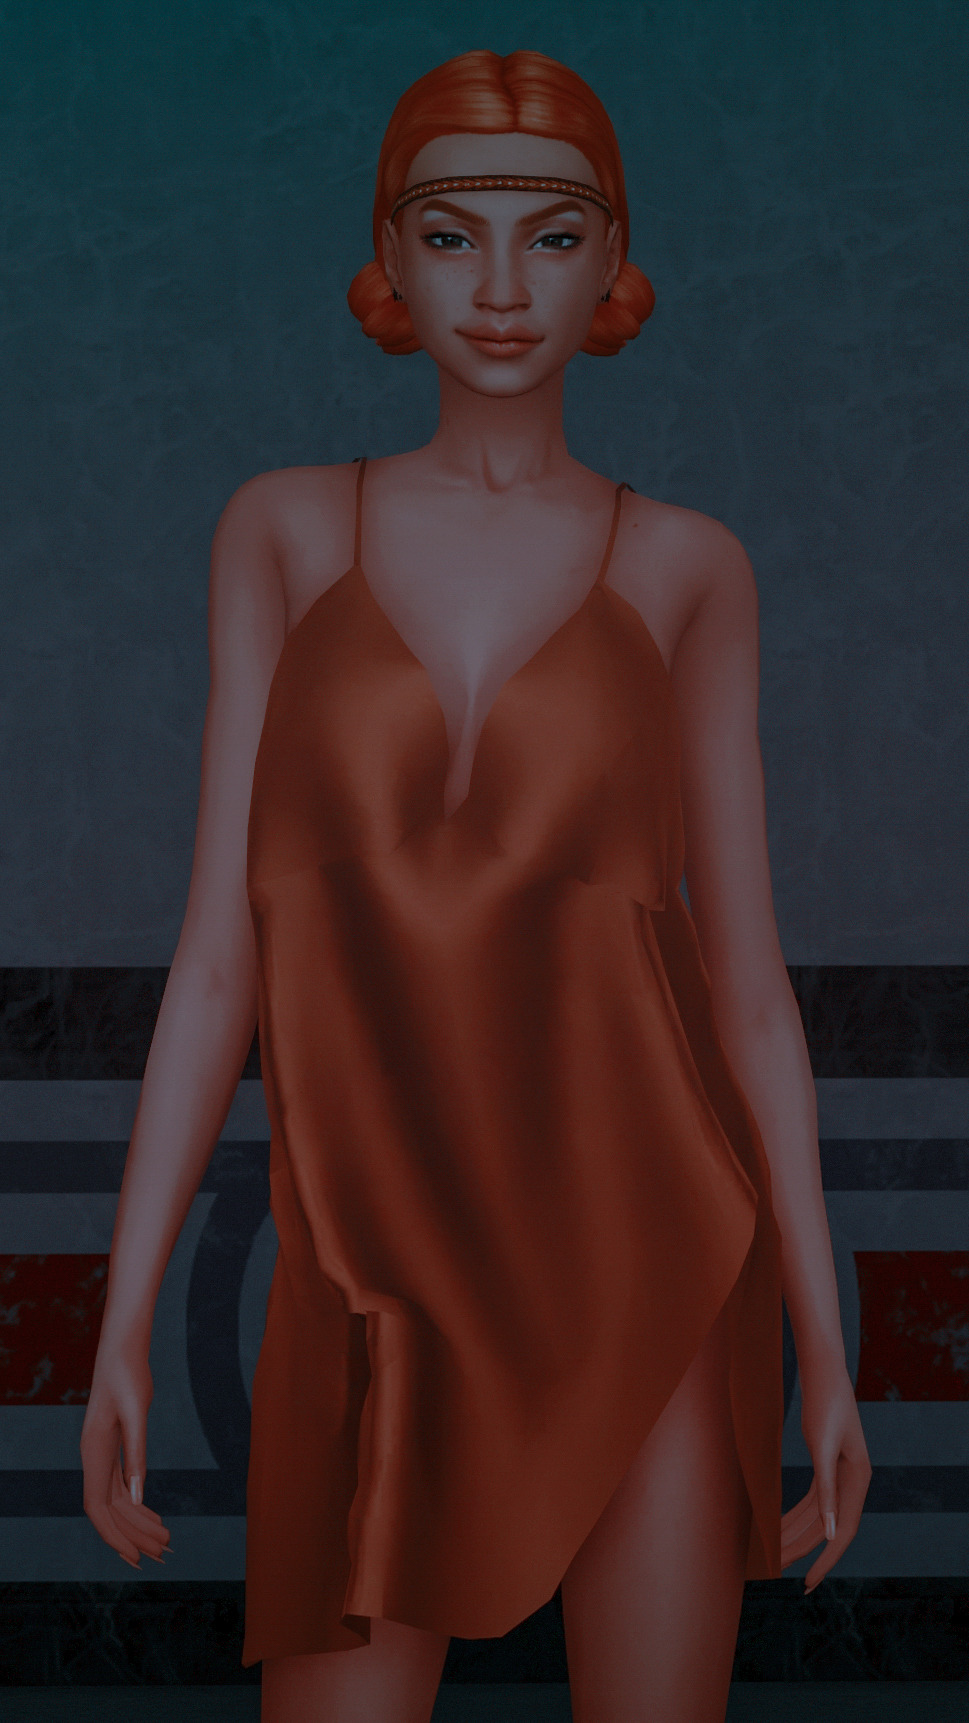
Post by ulika on Jul 28, 2020 11:10:04 GMT -5
Hi. 1). Do not join the body with the garment until you make the later fully functional. The uvs and weights never transfer right. Delete the whole body; 2). When looking for the item to use as a reference for weight, choose the one that is closest to yours in length . It seems you have chosen something a lot longer than your dress. For uv_1 transfer ideally you want something that has as little sculpted details as possible, can be a lot longer than your garment but not shorter 3). You garment is unnecessary high poly. The more dense the wireframe, the worse the result of the weight transfer will be because ea garments are low poly. 4). Dresses must be vertex painted differently - in Edit mode select one face on the dress, press Ctrl L, then Ctrl I, then Delete - faces; - if you have Dine out expansion pack, clone yfBody_GP03DressFlower. If not, clone yfBody_DressGranny for weight transfer and yfBody_EF18DressBelted for uv_1; - append the dress in the scene, join all meshgroups. Select you dress, add Data transfer modifier, set it like this with appended dress as Source object, apply  - select the appended dress, Shift-select yours, switch to weight paint, choose Transfer weights. Set it like in the pic, then choose Clean and Limit total;  - vertex paint the dress like this Vertex paint dictates what variation (skin-tight and robe-like) of deformation maps the painted area will deform according to in CAS during body customization and animation. 00FF00 is for skint-tight areas, 3FFF00 is for any skirt-like area ( skirts, bottom parts of dresses, coats, aprons, etc). Start by choosing 00FF00 and Paint - Set vertex color 1). Disable Limit selection to visible; 2). Holding Ctrl, lasso-select the bottom part of the mesh starting somewhere in the middle of the pelvic bone; 3). Enable sync; 4). Press B and deselect legs; 5). Switch to Vertex paint and enable Face selection masking for painting; 6). Type in 3FFF00; 7). Paint - Set vertex colors; 8). Press A twice to deselect and select everything again, Paint - Smooth vertex colors  - append the body, delete all parts of it covered by clothing, join, set 0000 for a cut number; - clone DressPanels, import the blend there Thanks) I did everything right, sort of. But the grid is still a problem  |
|
|
|
Post by ulika on Jul 28, 2020 7:40:13 GMT -5
I'm sorry, I don't speak English) When my character is in motion, the grid is torn apart. It's probably about weight distribution, but I still can't fix it(   Blender Blender
Package |
|
|
|
Post by ulika on Jul 17, 2020 7:31:22 GMT -5
|
|
|
|
Post by ulika on Jul 17, 2020 7:27:57 GMT -5
|
|
|
|
Post by ulika on Jul 17, 2020 7:26:11 GMT -5
|
|
|
|
Post by ulika on Jul 17, 2020 7:23:12 GMT -5
|
|
|
|
Post by ulika on Jul 17, 2020 7:17:39 GMT -5
|
|
|
|
Post by ulika on Jul 17, 2020 7:12:24 GMT -5
|
|