|
|
Post by chocoberry4 on Aug 24, 2017 12:21:58 GMT -5
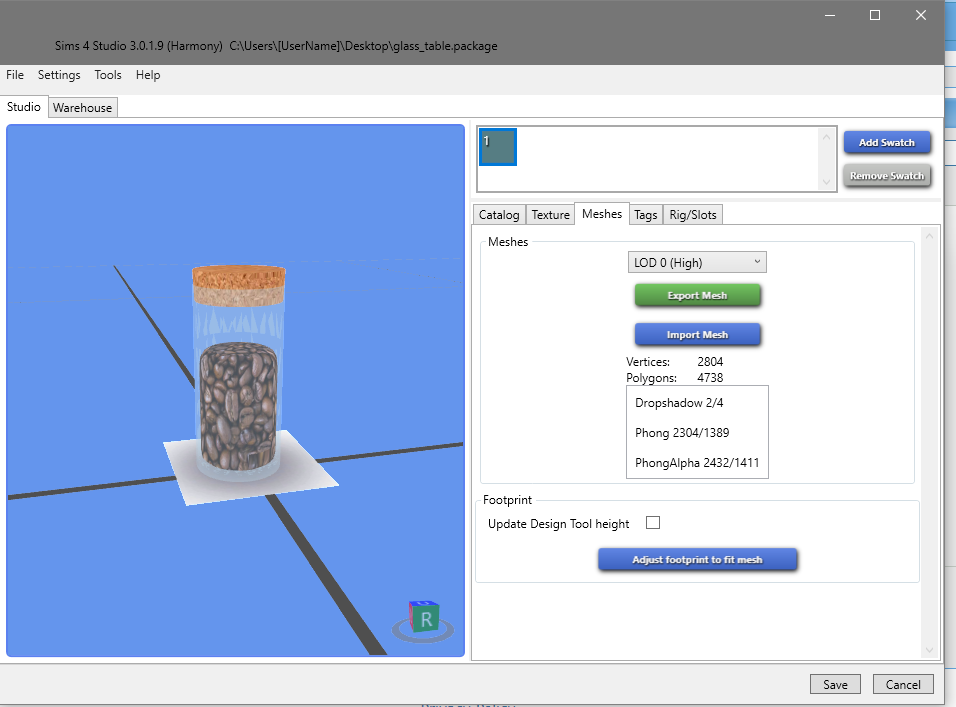
I followed Peacemaker's tutorial to fix weird artifacts in glass materials yet mine still persists. I triangulated the glass mesh group but it still looks the same as when it wasn't triangulated. Here's what I have:   Is there something I'm missing or doing wrong? Any advice will be appreciated. If anyone wants to take a look, here is my blend file: SimFileShareMany thanks |
|
|
|
Post by inabadromance on Aug 24, 2017 15:50:46 GMT -5
Hi! Please share the .package as well. Following Peacy's tutorial is the way to go, so please make sure that you're doing all the steps. Once you share the package, i can try it on my own. EDIT: Have you made this mesh? For a small decorative item such as this, 4000 polygons is really really high and unnecessary!. There's no really a point of all those vertices. The cylindrical shape should be done with a circular plane (the less polygons the better while still maintaining it's round shape) then extruded up to the bottom and closed.  Here's a video tutorial that goes through some of the things i'm suggesting. This not only will reduce the polygons of your mesh and its impact on the game but make it easier to select and follow peacy's tutorial since you have to select each piece of the glass separately (inside, rims, outside). Also, you have a lot of unnecessary groups that shouldn't be there. Such as the copy of rig, and all the hidden groups. Only the groups that are in EA's package should be in your blend. |
|
|
|
Post by chocoberry4 on Aug 24, 2017 16:16:30 GMT -5
Here is the package file: LinkYeah it's really high poly and I should try it the way you mentioned. I usually start with a cylinder prim but maybe i should consider a circular plane instead. Usually at the end when I've finished, I decimate the mesh but then the quality is not as good. It's still in mid-process so that's why poly count is really high. |
|
|
|
Post by inabadromance on Aug 24, 2017 16:22:55 GMT -5
The mesh is very high poly, and difficult to select the parts you should be selecting. I personally wouldn't try to fix this and instead look at the tutorial linked.
|
|
|
|
Post by chocoberry4 on Aug 24, 2017 16:37:21 GMT -5
I understand, I'm at fault there because I added to much subsurf smoothing there on top of a smooth shader as well which is why it's really high. What's a reasonable amount of poly for a small deco object?
|
|
|
|
Post by inabadromance on Aug 24, 2017 16:41:42 GMT -5
Well, it depends on the object and the complexity of it. If you're unsure of anything, then i suggest exporting the mesh of a similar object made by EA and see how many polys it has. If you follow the video tutorial i linked, you'll see how the polys are barely none compared to 4000. You can even start from one of EA's meshes, such as a glass.. or some of their jars and edit from there.
|
|
|
|
Post by chocoberry4 on Aug 24, 2017 16:53:30 GMT -5
Ok thanks, I'll give it a go and report back.
|
|
|
|
Post by chocoberry4 on Aug 24, 2017 18:03:41 GMT -5
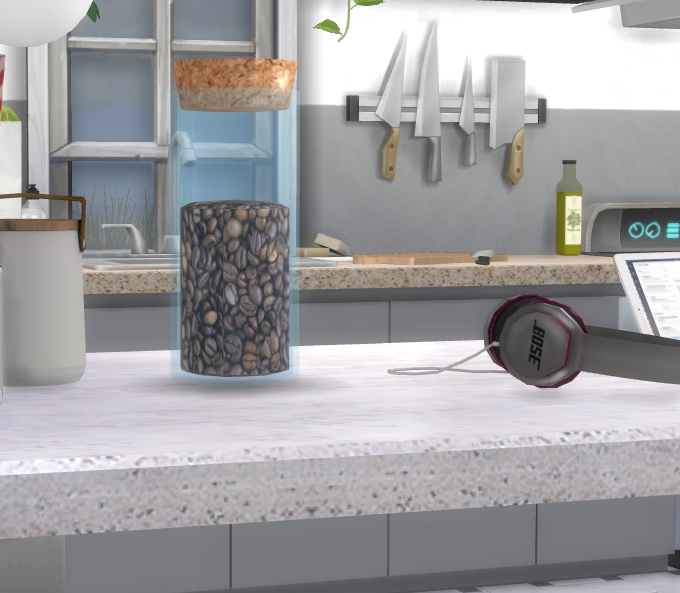
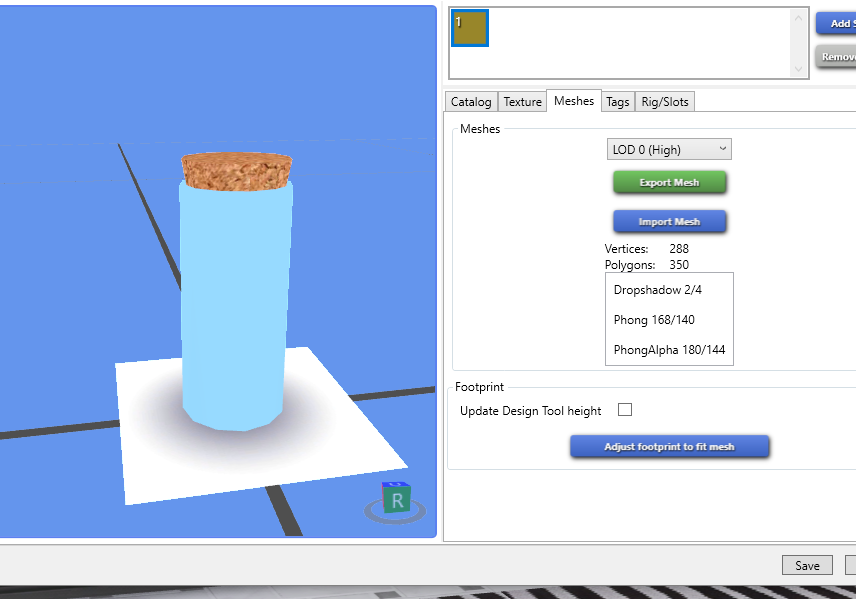
I managed to redo this and ended up with a better result:   As a result, the jagged artifacts did not appear this time. I wonder what caused them in the first place? I wonder if it's to do with the smoothing operator? Because it was initially at really high poly due to incredible amounts of smoothing. This time round, minimal smoothing was used. |
|
|
|
Post by inabadromance on Aug 24, 2017 18:16:10 GMT -5
Looks good! For Peacy's tutorial to work properly you have to select each part of the glass as i mentioned above. If you don't separate all these parts then it's not going to look good.
|
|
|
|
Post by chocoberry4 on Aug 24, 2017 18:25:06 GMT -5
Ah I see now, I shall try and remember that for the future. Thanks  |
|