|
|
Post by simcrush on Sept 15, 2018 11:14:55 GMT -5
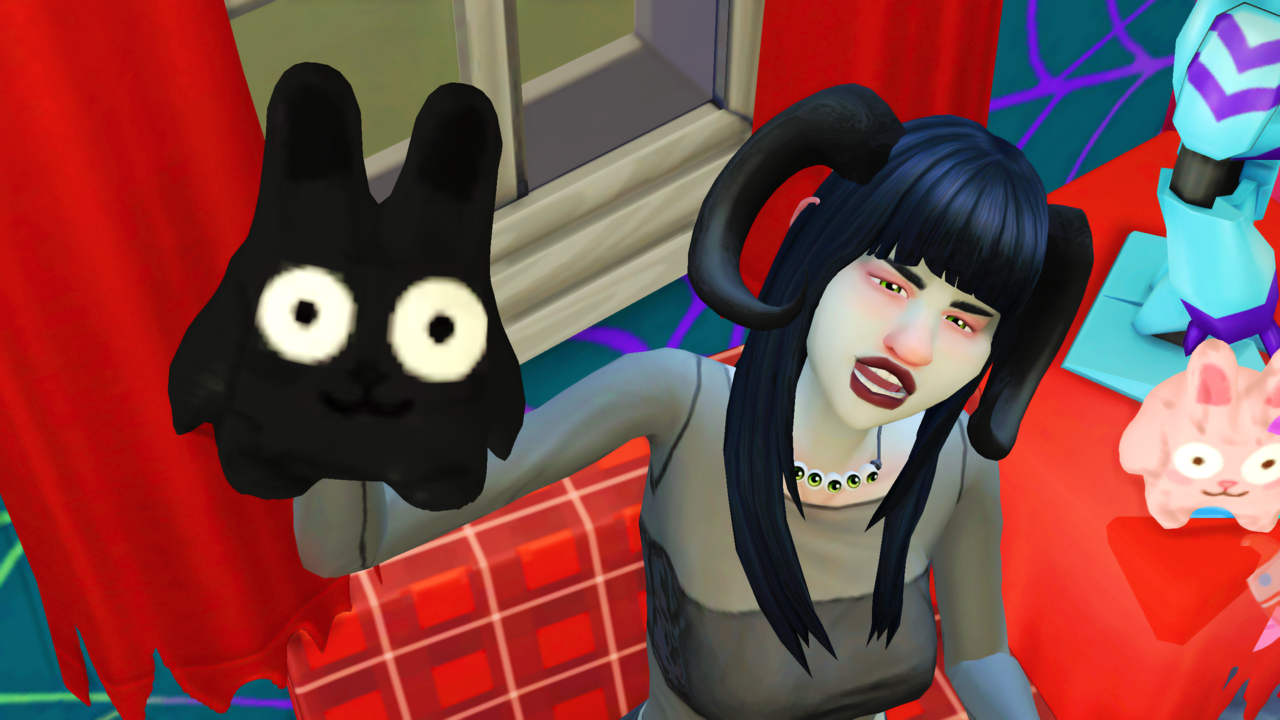
I'm making bat slippers and i'm very unfamiliar with weights & vertex groups. For some reason they are sticking together and stretch when a sim walks. Thank you for all help & advice!  |
|
|
|
Post by menaceman44 on Sept 15, 2018 11:59:00 GMT -5
Please share your package and blend files. It would appear from the image that you have the weights for the opposite feet on the tips of the oppostie wings which will cause them to move with the wrong foot.
They doo look quite cute though.
|
|
|
|
Post by simcrush on Sept 15, 2018 13:09:11 GMT -5
|
|
|
|
Post by menaceman44 on Sept 15, 2018 13:49:22 GMT -5
I took a look at your blend. If you see in this first picture which shows the weight paint for the toe of the right foot, the wing of the bat on the left foot is also slightly painted which it shouldn't be.  This is what it should look like;  So dark blue means it is has a weight of 0%. Red means 100% weight. The other colours are stages inbetween. What you will need to do is paint the weights by hand. Thankfully there aren't many of them. Do you need any further explaination for that? |
|
|
|
Post by simcrush on Sept 15, 2018 14:39:02 GMT -5
I've tried to hand paint them but I actually don't know how. Do I use add or multiply? I have no clue how to get the colors or what 100% weight vs 0% weight means! Thank you so much for the help by the way!
|
|
|
|
Post by simcrush on Sept 15, 2018 14:43:05 GMT -5
And how do you look at different weights? Is there different weights for different vertexes?
|
|
|
|
Post by menaceman44 on Sept 15, 2018 15:24:36 GMT -5
Okay, so 100% weight means that whatever bone the vertex is assigned to will move with it 100%. If it is at 0% then it won't move it at all. I always use the Add and Subtract options when weight painting. It might not be the most effective, I don't know, but it is what I understand. You don't have to worry about choosing the colours. Blender does that for you. To make things easier I would start by seperating your slippers into two groups so that you can hide one at a time and not worry about painting the wrong thing. To do this, go into Edit Mode. Make sure that none of your mesh is selected, that nothing is highlighted orange. Move your mouse cursor over one of the slippers and press L on your keyboard. It should have selected all of that slipper. It doesn't matter if the eyes aren't included. Now press P on your keyboard and select Selection from the little menu that appears. That slipper should now be a seperate group and you can hide it or show it by clicking on the little eye icon next to its name in the groups list on the right side of blender. Hide one of the slippers. Now go to Weight Paint mode and click on the little icon that looks like an upside-down triangle on the right of the window. I've pointed it out in the picture below. The area I have circled shows all of the bones for the slippers. Clicking on each one will show you which part of the slipper is assigned to them. If you click on b_R_Foot_ you should see colours appear on your mesh. The wing on the left foot should be 100% blue but it has colour on it so you will need to use the Subtract paint option and brush over it so that the wing is all blue. Move through the list of bones, one at a time, checking to see if the correct parts of the mesh are painted. If you need to make the mesh blue then use the Subtract option. If you need to add colour (weight) to the mesh, use the Add option. You can change how much of an effect the brush has by changing the brush weight in the window on the left of the 3D view (also pointed out below). Oh! and make sure the Auto Normalize button is ticked.  Once you have gone all the way through on one foot, repeat it for the other foot. So unhide the other foot, select it, and then hide the foot you have just fixed. Now go through each bone in the list again, correcting anything that needs it as you go. Once you are ready to get your mesh back into Studio you will need to rejoin your two mesh groups into one again. Make sure both groups are visible and in Object mode, then select the second group in the groups list window, hold Shift and then select the first mesh group. Now press Ctrl + J to rejoin the groups. Save your blend and then import it back into Studio to test. |
|
|
|
Post by simcrush on Sept 16, 2018 17:53:34 GMT -5
|
|