Deleted
Deleted Member
Posts: 0
|
Post by Deleted on Jan 8, 2016 11:56:09 GMT -5
Hi everyone!  It's me again :D I've kinda learned to create my own meshes.. I created a cup following this tutorial, but for some reason it looks very weird in blender in Object mode, 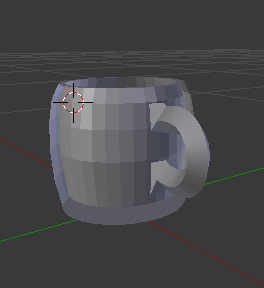 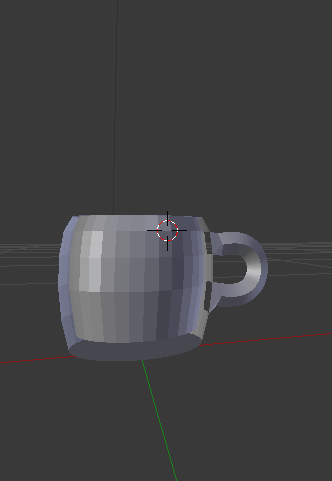 but it looks fine in Edit mode.
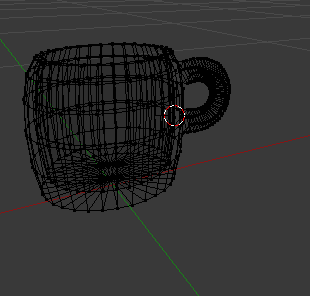 It's like there's a problem with faces maybe.. :\ And also it doesn't want to appear in S4S, there's still the same fruit bowl as it was (it's blue cause I was playing around with texture). 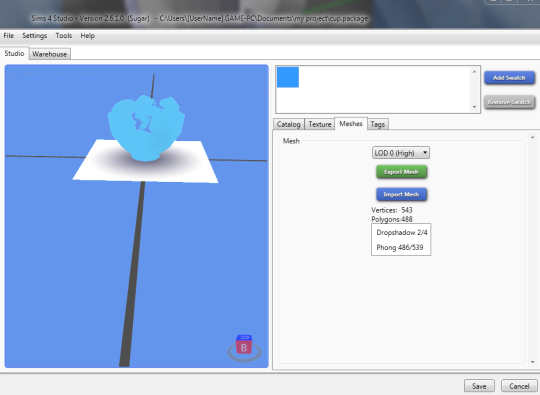 I don't know what to do and where's my mistake.  I didn't touch the UV maps and all that stuff 'cause I don't know anything about it yet. Maybe it's the problem. Here you can download my mesh. Please, could someone take a look and check everything there.. Thanks a lot!  |
|
Deleted
Deleted Member
Posts: 0
|
Post by Deleted on Jan 8, 2016 14:58:23 GMT -5
Ok you have your faces reversed. Select all outer faces of the cup and the outer ones under the cup and then hit w on keyboard and then select flip normals.   As for it showing up in studio you need to take the bowl first and load it in blender then import your mesh and replace the bowl with your mesh. Look at this tutorial HERE on how how to do it. |
|
lustenuk
New Member
  Blender as blended my brain way.
Posts: 3
|
Post by lustenuk on Jan 9, 2016 4:07:59 GMT -5
New to all this myself me and Blender don't get along that is for sure.
|
|
Deleted
Deleted Member
Posts: 0
|
Post by Deleted on Jan 9, 2016 11:58:49 GMT -5
If you are new to all of it I suggest reading some tutorials. Start with this one HERE.  |
|
Deleted
Deleted Member
Posts: 0
|
Post by Deleted on Jan 9, 2016 13:47:26 GMT -5
Design4Sims, thank you very much! I've already tried in the beginning to replace the bowl with my cup and then import to s4s but it didn't work. But I'll try again after I fix the faces 
|
|
Deleted
Deleted Member
Posts: 0
|
Post by Deleted on Jan 9, 2016 13:53:16 GMT -5
Like I said how it is now even after fixing the faces it will not import. You need to find an object close to what you are making in studio and clon it. Open the colon in blender and import your mesh. Then remove the cloned mesh from its group and merge your mesh into that empty group. You will then also need to have your uv map right. It goes over all of this in the tutorial.
|
|
Deleted
Deleted Member
Posts: 0
|
Post by Deleted on Jan 9, 2016 14:51:30 GMT -5
Yeah thanks.. but I read that tutorial and my UV map looks completely different from the tutorial UV map, of course. So I can't understand anything in mine UV >_< It's all just a mess for me  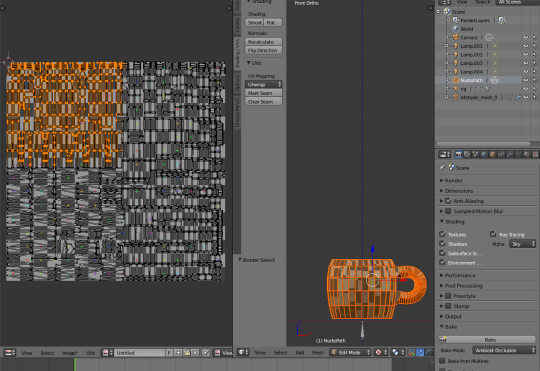 |
|
Deleted
Deleted Member
Posts: 0
|
Post by Deleted on Jan 9, 2016 14:52:16 GMT -5
I'll try to find some UV mapping tutorials on YT.. maybe it'll help. I stuck on step 61 of that tutorial 'cause my mesh is different :( 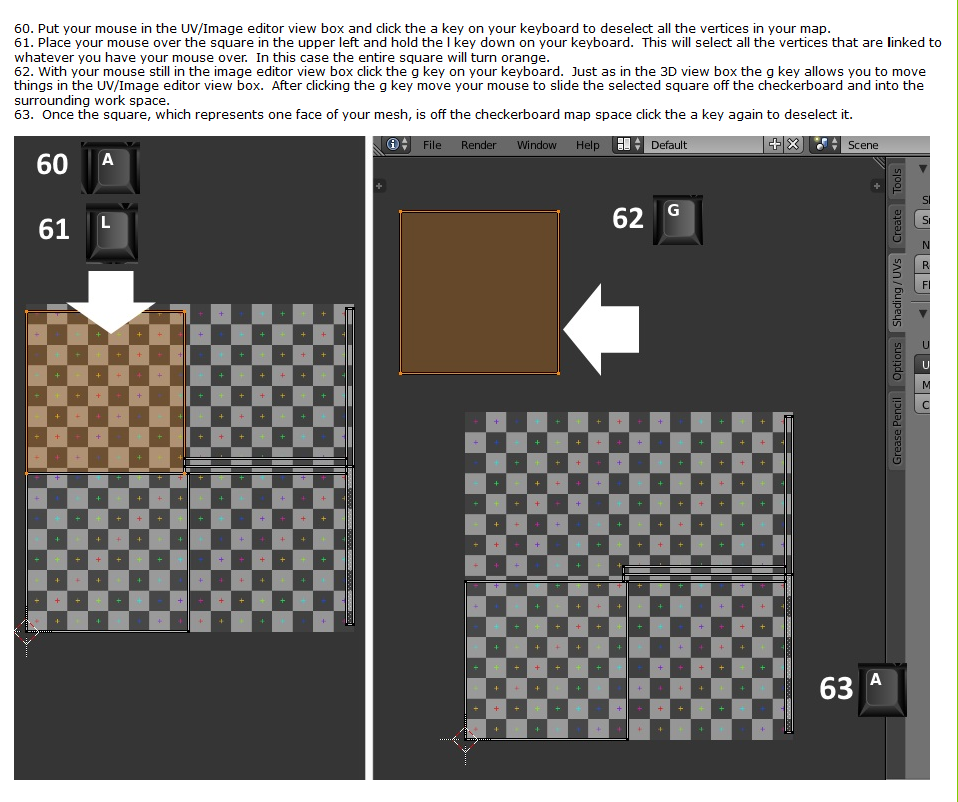 |
|
Deleted
Deleted Member
Posts: 0
|
Post by Deleted on Jan 9, 2016 15:20:23 GMT -5
OKAY I'm following this YT tut and it kinda helps. Now my UV looks understandable: 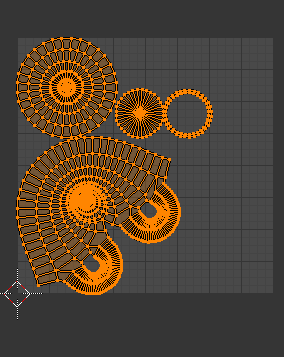 I may be still doing something wrong... We'll see |
|
Deleted
Deleted Member
Posts: 0
|
Post by Deleted on Jan 9, 2016 15:41:59 GMT -5
Omg I still can't >_< orangemittens's tutorial doesn't help me 'cause there's another mesh that's a lot easier.. Ooooh what a noob I am! :( I almost gave up on UVs T_T
|
|
|
|
Post by orangemittens on Jan 9, 2016 16:17:42 GMT -5
Hi lizatekna, I recommend you pick one tutorial and follow it from start to finish. If you decide to use mine I am very happy to help if you run into questions. It uses a very basic object as the example so that you can get an understanding of what you're doing before jumping into something more difficult. If you prefer to follow the other tutorial then you're probably better off asking the author of that tutorial for help if you run into questions. No one here has done that tutorial so we don't have any idea of what order they're doing things.
|
|
Deleted
Deleted Member
Posts: 0
|
Post by Deleted on Jan 10, 2016 8:45:31 GMT -5
orangemittens, thanks for your good advice, I'll try to follow your tutorial as a start 
|
|
Deleted
Deleted Member
Posts: 0
|
Post by Deleted on Jan 10, 2016 12:59:00 GMT -5
orangemittens , I followed your great tut step by step, everything's fine except it looks weird in game  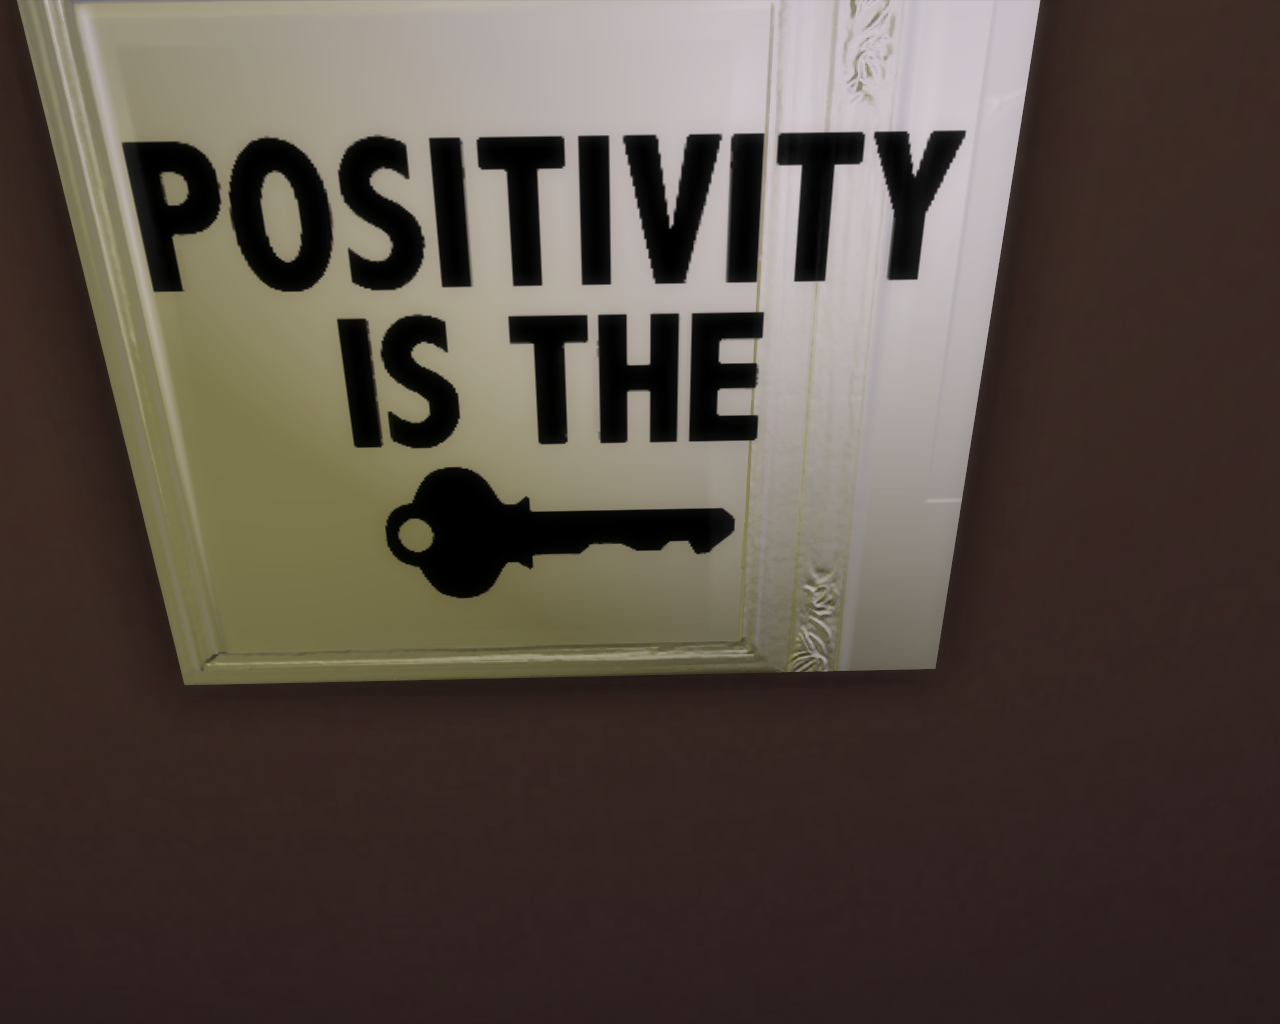 You can see those shades that were left after the original painting's frame. Do you know how to remove them? :'(
edit: Maybe I should delete that DIFFUSE.001 thing in UV maps?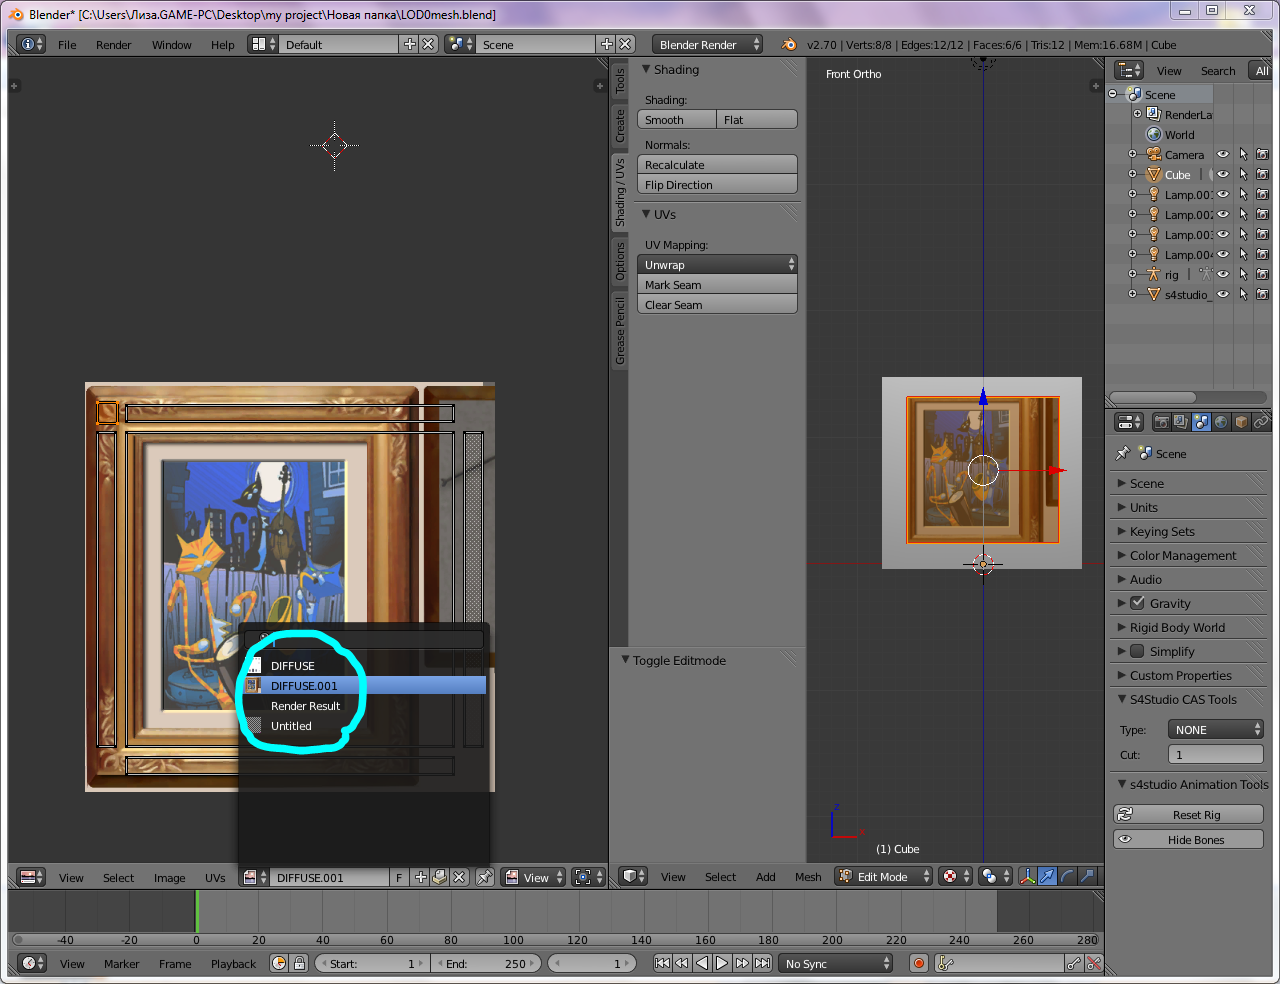
Idk there isn't such step in the tutorial 
|
|
Deleted
Deleted Member
Posts: 0
|
Post by Deleted on Jan 10, 2016 17:13:51 GMT -5
That is because you did not change the bump map. I just glanced over the tutorial and noticed it does not go over changing the normal map (bump) and specular.
|
|
Deleted
Deleted Member
Posts: 0
|
Post by Deleted on Jan 11, 2016 15:57:09 GMT -5
@countrykris OK thanks... well I have no idea what I'm supposed to do with those maps, so I'll go search for some tutorials maybe
|
|