|
|
Post by belliole on Jun 8, 2020 18:32:24 GMT -5
Hi  I've been stuck on this issue for the past three days or so, and I'm at my wits ends. *le sigh* Anyway, I hope someone might be able help ^^ So. The problem is: Holes in the underarms when the arms move back or forth, holes near the elbow/forearms when the arm is raised. I think it's a weights problem, but I have no idea what happened to the underarm area. I've never had that happened before. I've been at this for three days at least, retransferring and manually editing the weights to no avail. The holes in the underarm area is a first. When I move the rig in blender there are no holes there. The blend file attached has no modifications, and is also the one used for the screenshots. *I didn't delete the arms under the sleeves because I'll make them transparent, but right now I want to get them to actually work* 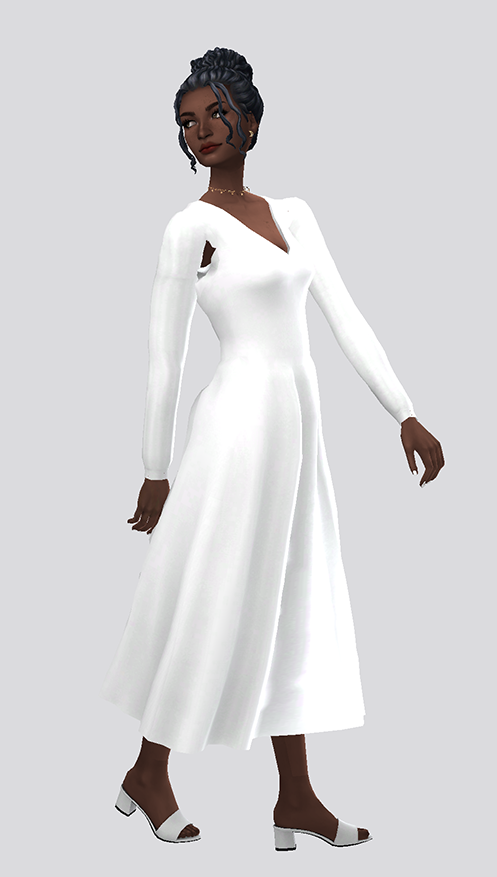 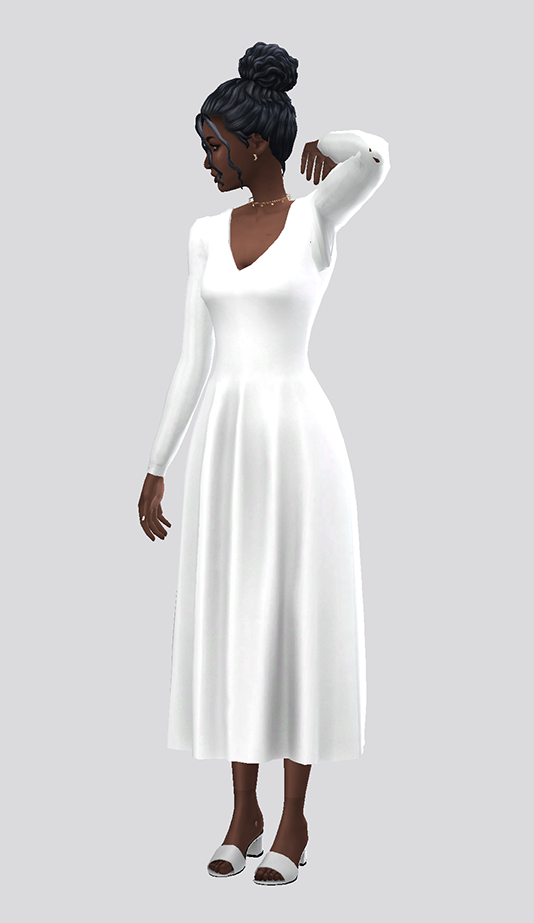 package file --> drive.google.com/file/d/1f0eSqnZkOlNhPfTpcoxSH68nJxPkUEiv/view?usp=sharingblend file --> drive.google.com/file/d/1PgIbyQv23bswcLuEkM57HvzZ8N4NMGxB/view?usp=sharingThanks! |
|
|
|
Post by epicus on Jun 8, 2020 18:51:06 GMT -5
..its not a weight problem (although an expert weight painter might be able to fix it) its a mesh problem! You have a nude body mesh within the dress mesh such that the body mesh is sticking out beyond the dress mesh at certain positions. This would be easily fixable if the two meshes ware separated but since they are merged its a bit more tricky. 1. Select those regions (in 3d view) like at the elbows and underarm. Then click "h" this will hide the dress mesh and expose then body mesh underneath. (make sure that you have checked "Limit Selection to Visible") 2 Select the parts of the body mesh that are sticking out press "x" and "delete faces" 3 alt + h to reveal the hidden mesh, not needed but nice to know, save and import the edited mesh. ..this will fix it, good luck |
|
|
|
Post by belliole on Jun 8, 2020 18:57:38 GMT -5
..its not a weight problem (although an expert weight painter might be able to fix it) its a mesh problem! You have a nude body mesh within the dress mesh such that the body mesh is sticking out beyond the dress mesh at certain positions. This would be easily fixable if the two meshes ware separated but since they are merged its a bit more tricky. 1. Select those regions (in 3d view) like at the elbows and underarm. Then click "h" this will hide the dress mesh and expose then body mesh underneath. (make sure that you have checked "Limit Selection to Visible") 2 Select the parts of the body mesh that are sticking out press "x" and "delete faces" 3 alt + h to reveal the hidden mesh, not needed but nice to know, save and import the edited mesh. ..this will fix it, good luck First of all, thanks for the quick reply! Second - yeah, I know I'm supposed to delete any body parts the mesh covers... The reason I didn't do that is because they'll be transparent later on (I didn't separate the mesh into cuts yet, maybe that's part of the problem?). But I'm assuming that I'll run into the same problem later on, since there arms will be there, too. So question is: How do I fix that? Edited to add: tried deleting the arms - the underarm holes are still there. but thank you <3 |
|
|
|
Post by epicus on Jun 8, 2020 19:58:52 GMT -5
..underarms are still there because that region is part of the torso and not the arms  If you are planing to make it transparent later on then there is only one thing you can do. 1. Select the regions of the dress mesh that are being penetrated. 2. Then scale "s" and/or move "g" the dress mesh (make it bigger) such that the body mesh no longer penetrate the dress mesh in those positions. ..in your case for right underarm region I would: select the region, perhaps scale it up few percent ("s" + 1.02 to scale it +2% in all directions), then move the selection in -y direction by 0.002 - 0.007 ("g" + "y" + "-" + (between) 0,002 - 0,007. PROPORTIONAL EDITING on connected and the circle adjusted to relatively small size. Hope it helps! |
|
|
|
Post by epicus on Jun 8, 2020 20:04:36 GMT -5
..also if you want it transparent you'll need to move your dress UVmap to the lower right corner of the UV map, just underneath the fingers and above extra shoes and hands (there aint much room ://, or else the body will be the same color as the dress!!
|
|
|
|
Post by belliole on Jun 8, 2020 20:31:10 GMT -5
Yeah, the uv_0 is arranged for that already...
And I checked again - it's definitely a weight issue, not a mesh issue.
There are no gaps between the sleeves and the dress. I removed doubles before transferring the weights. Even with everything deleted I still get those pesky underarm holes. So I'm not sure what's going on here. Retransferring the weights didn't help, but I'll try rescaling.
I'm still curious as to what happened, so I can avoid this in the future, while hopefully fixing what happened here. Thank you again!
|
|
|
|
Post by mauvemorn on Jun 9, 2020 6:46:27 GMT -5
Hi. There is no need to edit the shape of the mesh. Switch to Weight paint, click on b__Spine1__ than on b__R_ShoulderTwist__ or b__L_ShoulderTwist__. You'll see that the spine vertex group goes too far.
Also, you need to bring back uvs in the uv_1 map to their original size. Right now they are squished which will mess up how deformation maps affect the garment
Two more things:
Never use Make blank button. It does not make the maps blank, it removes them from the file which disrupts its structure and causes all types of problems.
You cloned something that is not affected by skirt bones and replaced it with something that is. This leads to distortions that may not appear in your game but other people using your cc might see in theirs. Clone DressPanels instead of the chemise
|
|
|
|
Post by belliole on Jun 9, 2020 10:05:09 GMT -5
Hi, thanks for your reply! I didn't know about the chemise! I thought it'd be alright. So thanks for that tip So I cloned a new package from DressPanels, redid the uv maps, etc, but I'm not quite sure what to do about the weights. I transferred them again (I tried with several different dresses, the last attempt with a Strangerville dress), and tried to blur them a little on b_spine1_ and both ShoulderTwist groups, and when that didn't work I tried with the subtract brush. The holes appear in all three attempts. It looks fine in blender, but I know that how a mesh behaves in-game is a whole different story... So I'm not sure how to solve this. I hadn't experienced this issue with garments I'd made before. new package / new blend file (the weights have been blurred here) drive.google.com/file/d/1g1JvXHgky9E2k9yMtMDVt3D-hUqqywrb/view?usp=sharingdrive.google.com/file/d/1btWKrnlBZC_Qt2YUGY_HS3RVA8myBvP7/view?usp=sharing |
|
|
|
Post by mauvemorn on Jun 9, 2020 11:05:13 GMT -5
No maxis dress has loose armpit area like yours, so switching references will change nothing. Try to avoid making clothing with loose armpits. You should, however, choose different settings for weight transfer which will give you better animation in the skirt area. - select uv_0 map, enable sync, select all body parts, delete them in 3d view;  - delete all vertex groups;  - clone yfBody_EP02SkirtBoat, export, append in the scene, join all meshgroups. Select it, Shift-select your garment. Switch to Weight paint, click on Transfer weights. Choose Nearest Face interpolated, By Name, All Layers. Click on Clean and choose All Groups. Then choose Limit total, type 4.  - select the reference, switch to Weight paint, go through b__Spine2__, b__Spine1__, b__L/R_Clavicle__, b__L/R_ShoulderTwist__ to understand how your sleeves should be painted; - select your dress, make sure it has Armature modifier added and rig assigned; - in uv_0 select sleeves, switch to Weight paint, enable Face selection masking for painting, enable Limit selection to visible, paint;   |
|
|
|
Post by epicus on Jun 9, 2020 18:19:18 GMT -5
..every time I tried to mess with weight paint it ended in a huge waste of time, :(, I wish I knew more about it then I do. The only thing that have ever worked for me is weight transfer but only if the weight paint was way off, I was never able to adjust it little bit.
|
|
|
|
Post by mauvemorn on Jun 10, 2020 6:01:30 GMT -5
There are plenty of tutorials that can give you enough information to fix any issues on that matter. The Sims 4 related tutorial generally do not provide in-depth information on these matters
|
|
|
|
Post by epicus on Jun 10, 2020 19:49:00 GMT -5
..I've already spent several hours on weight tutorials and blender weight painting so I know the basics but I was never able to make it work! Perhaps I'll give it a go again in the near future..
|
|


