|
|
Post by bouncycat on Apr 4, 2022 10:08:30 GMT -5
Hey everyone, sorry for any mistakes in advance, English is not my first language. I have tried searching to see if anyone else had this problem, but couldn't find anything, so sorry if someone else posted about this as well. Anyway, I am completely new to CC creating. I'm currently trying to separate a headband from a hairstyle that came with Vampires pack. In Blender, I have deleted all the hair, so only the headband is visible, but for some reason, Studio still shows part of the hair... And I have no idea how to solve this. Here's a screenshot from Blender, and one from Studio (I don't know how to post a screenshot directly here), as well as Blender file and package file if it's needed. Thanks for any help in advance!
  EDIT: I accidentally found out what I have messed up... I didn't properly change the category of the CC, and didn't put the texture on the proper place. Now it almost works properly! But now I don't know how to remove hatchop option, so it stops removing half of the hair  EDIT 2: I managed to make it work by cloning a ring instead of a hat for my CC. But I still wonder, is it possible to put it into hat category without it getting a hatchop? |
|
|
|
Post by mauvemorn on Apr 4, 2022 14:15:10 GMT -5
Hi. Just so you understand why this happened: hair is made of 3 meshgroups. When you export the blend, s4s assign cut numbers to each meshgroup. When you import the blend back, what had 0000 is replaced with what has 0000, and so on. So you imported a blend file with only one meshgroup into a package with 3, only one of them was replaced while others stayed
|
|
|
|
Post by bouncycat on Apr 4, 2022 23:07:25 GMT -5
Hi. Just so you understand why this happened: hair is made of 3 meshgroups. When you export the blend, s4s assign cut numbers to each meshgroup. When you import the blend back, what had 0000 is replaced with what has 0000, and so on. So you imported a blend file with only one meshgroup into a package with 3, only one of them was replaced while others stayed Oh, okay! I made it work in the end, but this helped me understand what was actually going on. Thank you so much for the info  Do you maybe know how to reassign the category as a hat, without my headband getting headchops, if it's at all possible? I've put it into a ring category to make it work the way I wished, but I was wondering if I can somehow make it a hat. |
|
|
|
Post by bouncycat on Apr 5, 2022 1:29:57 GMT -5
Okay, there's a bit of a progress with the headband. It works well now, as I mentioned above, but since I didn't want to pick it too much while I was trying it out, so the texture went a bit where I wouldn't want it to go, as in: I placed it into space for hat textures, but since it's big, it went a bit into neck/choker space. I didn't want the textures to clash, so I tried the first thing that came to my mind - I turned the texture. I turned it in Blender as well, so it matches. But that didn't really work... Now, did I do something incorrectly, or can this not be done this way at all? Here's my Blender file, package file, and PNG for texture. Thanks for any help in advance! |
|
|
|
Post by nougatpocket on Apr 5, 2022 2:06:54 GMT -5
as far as i can tell the only problem with the texture is, that the uv map isn't centered very well. you just need to move it a little to the right to align the texture and mesh better. alternatively you can export the uv layout of your mesh from blender and align the texture to the uv map by moving it to the left. you will also need to change the specular texture, as it is still in its original orientation and does not match with your new uv layout.
ideally you wouldn't flip the texture like you did because it might interfere with necklace textures now. it would probably be best if you looked up a reference of where which textures go on an ea diffuse and then try to rearrange the headband's uv so that it fits in the space designated for hats. i think the flowers and spikes should be no problem for this but you might have to size down the long uv island of the actual band part of the headband.
|
|
|
|
Post by bouncycat on Apr 5, 2022 8:43:58 GMT -5
as far as i can tell the only problem with the texture is, that the uv map isn't centered very well. you just need to move it a little to the right to align the texture and mesh better. alternatively you can export the uv layout of your mesh from blender and align the texture to the uv map by moving it to the left. you will also need to change the specular texture, as it is still in its original orientation and does not match with your new uv layout. ideally you wouldn't flip the texture like you did because it might interfere with necklace textures now. it would probably be best if you looked up a reference of where which textures go on an ea diffuse and then try to rearrange the headband's uv so that it fits in the space designated for hats. i think the flowers and spikes should be no problem for this but you might have to size down the long uv island of the actual band part of the headband. Yeah, I tried to rotate it so it doesn't clash with necklaces anymore, that's when I got this problem. I will try to follow your advice, hopefully I'll manage to do it Can you please tell me more about changing specular texture, how can I do it? Thank you for answering |
|
|
|
Post by nougatpocket on Apr 5, 2022 9:45:20 GMT -5
ok, so regarding your diffuse texture: this is where the uv map is currently positioned on your texture 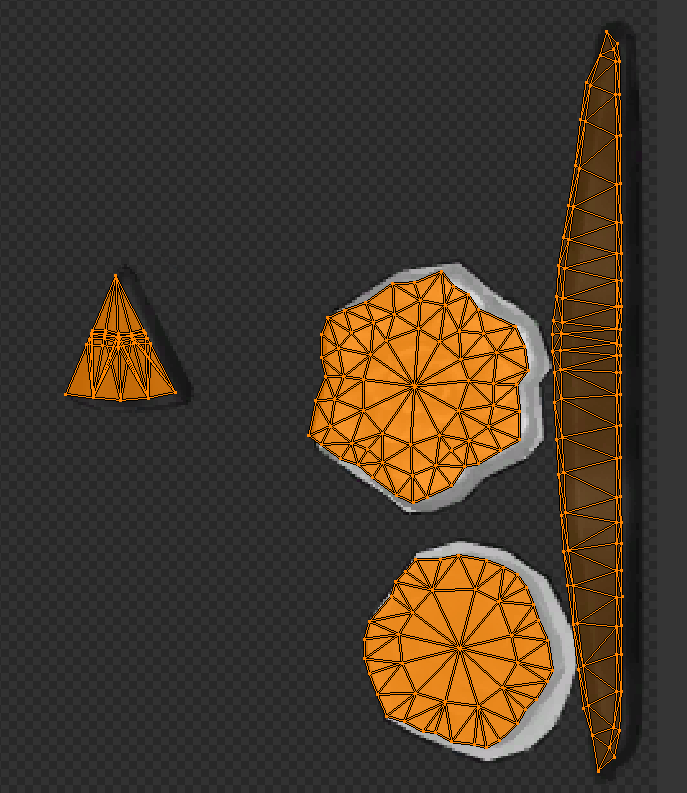 and this would be a better alignment where the uv islands match up with the texture 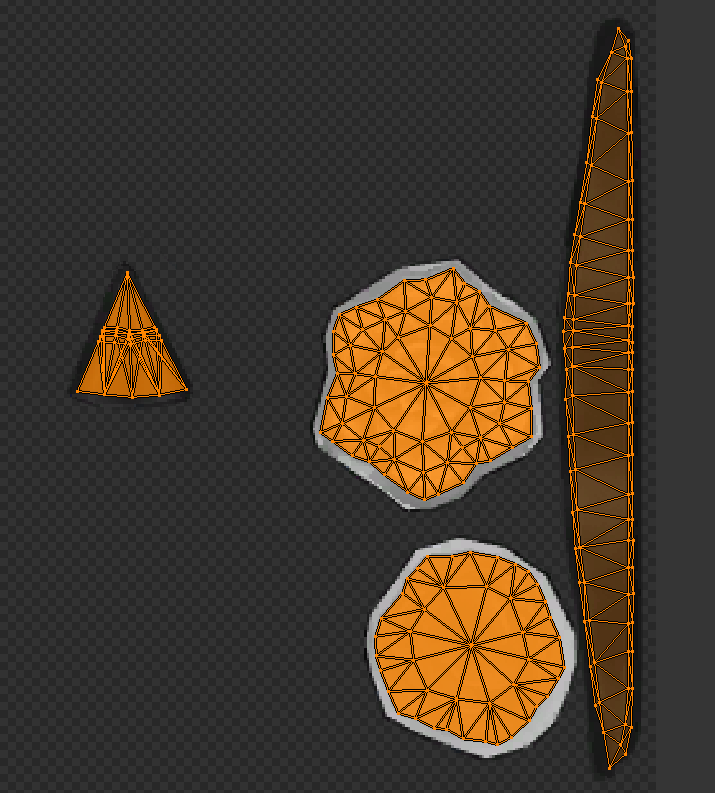 as i said before, you might have to move the texture around or scale parts of it differently to fit into the hat area but in general you should make sure your texture and your uv line up correctly. of course you don't have to care about fitting everything into the hat area if you don't mind possible overlaps with necklaces ¯\_(ツ)_/¯ i'm not sure i'm the right person to ask about speculars at the moment because the one i'm currently working on keeps breaking... but in theory you should just have to move both the specular and the white specular mask areas from their original positions into the same position where your diffuse texture is. but again i'm also struggeling with specular textures right now so i really can't guarantee this will work out without producing additional problems this is your current specular  and this is your diffuse  the specular should be in the same place as the diffuse there are tutorials on how to create a specular map on here so you can probably start with one of those if you don't know what to do. |
|
|
|
Post by bouncycat on Apr 5, 2022 13:58:35 GMT -5
Alright, thank you a lot for replying! I will not mark the thread as solved yet just because I'll have to test this out tomorrow, but this was very helpful :D With some additional tutorials, I'll find my way around it. I hope you overcome your current problems as well!
|
|
|
|
Post by bouncycat on Apr 6, 2022 1:25:15 GMT -5
Ok,I managed to make it work! Thank you all for the help :D The latest problem was solved by following nougatpocket's advice. I'll mark the thread as solved!
|
|


 Do you maybe know how to reassign the category as a hat, without my headband getting headchops, if it's at all possible? I've put it into a ring category to make it work the way I wished, but I was wondering if I can somehow make it a hat.