|
|
Post by keysmuse on Aug 4, 2016 1:26:56 GMT -5
If you hover one sleeve and press L, does the sleeve only get selected or the whole object? Can you please share the .blend file too? thanks. Yes if I hover and press L only sections of the sleeve I'm hovering over gets selected. Here's the .blend file - www.sendspace.com/file/jjh8ff |
|
|
|
Post by keysmuse on Aug 3, 2016 5:40:22 GMT -5
GOing to give a few maybe potential solutions here. For the gaps, you probably need to remove doubles. Select all, goto Mesh --> Vertice --> Remove doubles Did you try reassigning the weights, I know it was just a mesh edit but may help. At the bottom the weird cutoff of the top could be the normal map. Did you edit that. Also the jeans clipping through the bottom could maybe be solved by pushing the bottom more outward. Unfortunately clipping, espeically with other CC isn't always a issue that can be fixed. But the only thing I can think of is pushing the bottom of the mesh more outwards. I know bethesda does this with their long dress skirts to avoid clipping. uv_1 looks fine to me, and since its a mesh edit i won't say to redo it c: I really appreciate you taking the time to list these solutions! I tried all of them and managed to stop the weird texture glitching but unfortunately I just can't fix the sleeves being disconnected. It's so odd honestly. I think I might just start over and pay closer attention to what I'm doing this time. Thank you again!! |
|
|
|
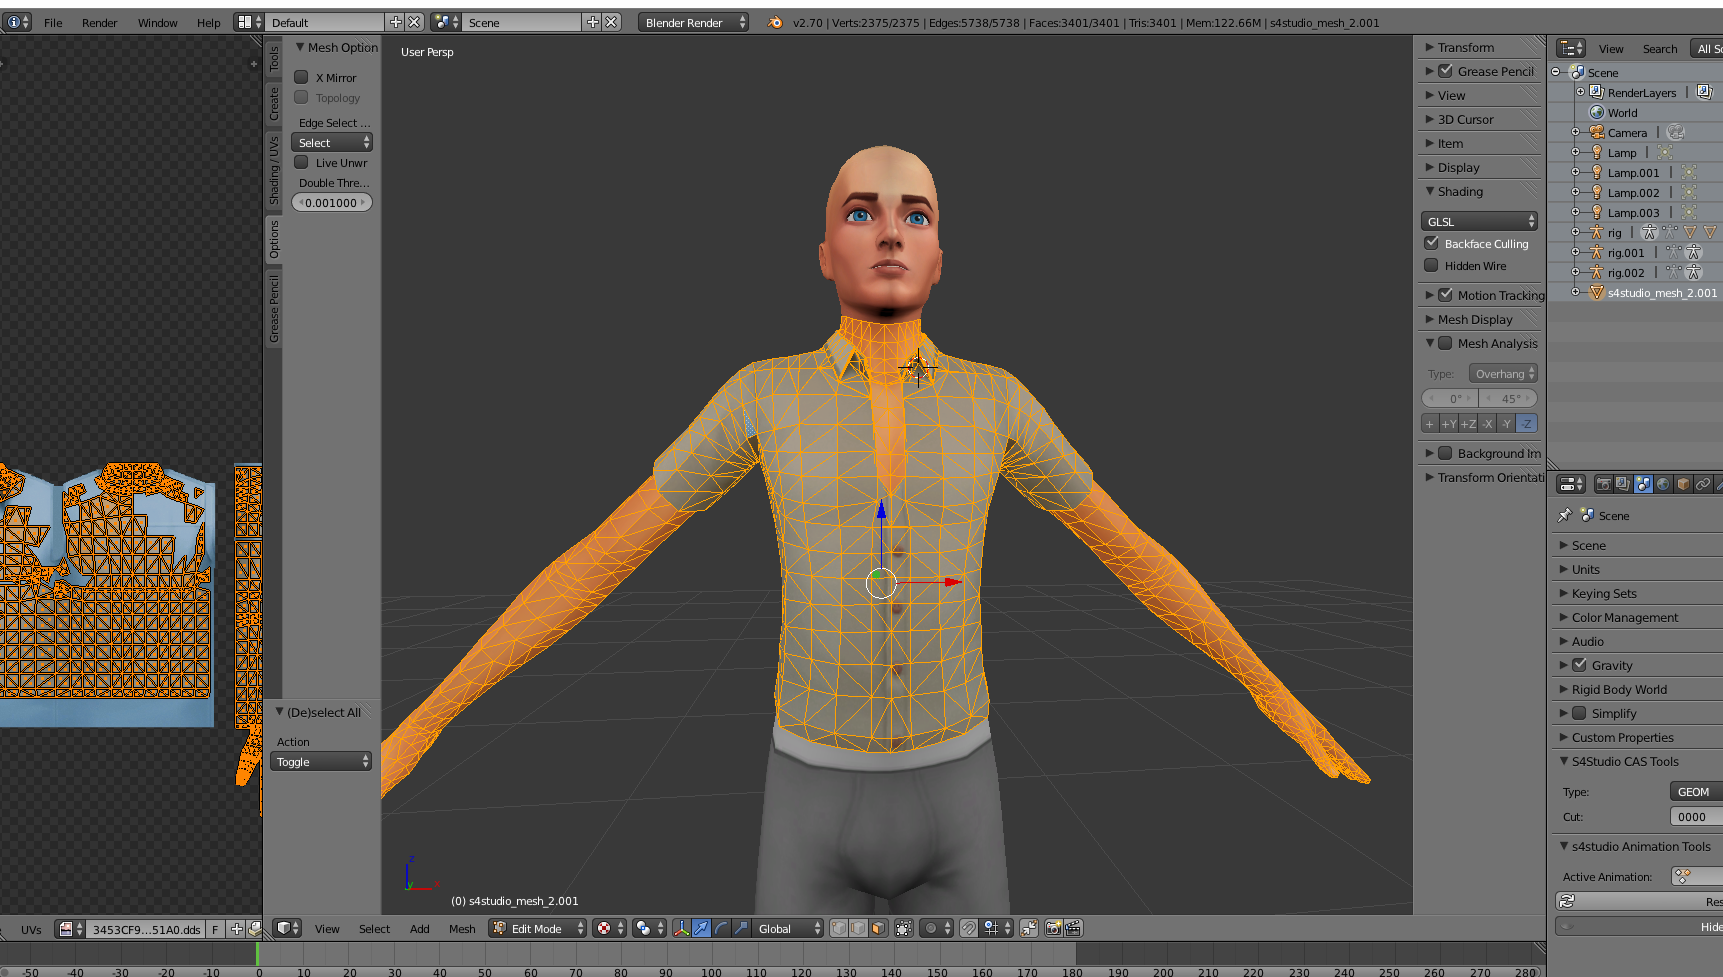
Post by keysmuse on Aug 2, 2016 14:09:28 GMT -5
Hi, so I finished editing an EA mesh (turning it into a baggy oversized top) and I had everything done and ready to test but when I loaded into CAS I noticed the arms were disconnected, the stomach was glitchy as was the lower back of the mesh? Here's how the mesh looks in S4S / Blender   Mesh in CAS (compilation of problem areas)  As far as I could tell nothing seemed like it needed fixing. The only things I did were scale the bottom of the mesh for length, use sculpt mode to add volume in the sleeve area and subdivide the areas I edited (arms lower shirt). But in CAS plenty needed to be fixed. I guess what I'm asking for help with is how to solve this issue? I tried bridging edge loops but that left the UV map looking bizarre and frankly I'm too scared to keep going in case this can't be fixed.. Here's the package file - ( x) I'd be incredibly grateful if somebody could take a look at it and tell me the mistake I made? Thank you!!  |
|
|
|
Post by keysmuse on Jul 30, 2016 13:49:59 GMT -5
Before joining to meshes into one group, you have to delete the things that will overlap. Also, you should delete the extra rigs that get included on the blend after you import items. I forgot to mention that. I'm trying to get into the habit of deleting overlapping things definitley, though I struggle to make things not overlap in the case of necklines because you can't cut out specific shapes in the UV map (as far I know, I'm probably wrong haha) And I usually do that before exporting I don't why I didn't think to do it with the package file I included.. |
|
|
|
Post by keysmuse on Jul 30, 2016 11:45:34 GMT -5
 I managed to do as you said but in the action of doing so I forgot to turn off the UV edit mode sync feature so I think I really messed up the mesh even more. But I'll be able to give you proper feedback when I reattempt doing what you said to do (this time properly haha) Is there a way to avoid having overlapping faces from the get go? Or is editing like this something I should get in the habit of? |
|
|
|
Post by keysmuse on Jul 30, 2016 11:13:23 GMT -5
Ahh, the mesh is kind of a fusion of the nude mesh, shirt mesh and sculpt mode so I'd imagine the overlapping is where the nude top is still underneath the the top mesh. I'll try your solution now, thank you!!
|
|
|
|
Post by keysmuse on Jul 30, 2016 0:50:07 GMT -5
Hey there! ) Please ignore the texture (playing about with it) but could someone tell me why my mesh is glitchy in the shoulder area? In Blender and S4S the glitch didn't appear so I'm sort of lost and was hoping someone with more experience could point me in the right direction?   Here's the package and blender file - (x)Thank you |
|
|
|
Post by keysmuse on Jul 27, 2016 16:29:54 GMT -5
Adding a mesh to a rig is actually really easy! First, import the mesh into blender and get it into the position you want. Second, look for the bone(s) that you want the mesh to be attached to in the sense of its movements. In your case it should be something like the lower torso but, say, if you wanted to pose out a coffee cup you would attach it to the hand. Now first click the bone (or set of bones) the mesh should follow, then your mesh, and hit Ctrl-P on your keyboard to open the pose menu. Simply select "child off" and you are done! Now your mesh will move when the selected bone(s) move for pose/animation reference. You can also take a look at the link below if somehow my instructions weren't clear, parenting or childing objects is a very simple action and described at the top of the page. wiki.blender.org/index.php/Doc:2.4/Manual/Rigging/Skinning/ObjectsThank you so so much!! You're a star! I'm going to try this out now Thank you again I really appreciate it |
|
|
|
Post by keysmuse on Jul 26, 2016 21:23:37 GMT -5
keysmuse yes we have an age limit, we are a 13+ forum, we cannot discuss or post pics of adult content. We can help you with poses in general but not specifically nsfw as we are sfw, if that makes sense. Ah I completely understand that, I wouldn't want to put anyone in a place that might make them feel uncomfortable or unsafe (why I tried to word my op carefully) However, would it still be possible for someone to help me learn how to attach a mesh to a rig? I've searched everywhere but I'm stumped Thanks again for clarifying!! |
|
|
|
Post by keysmuse on Jul 26, 2016 17:06:31 GMT -5
Hi, so I'm unaware whether or not I can specifically state my issue or if there's an age limit so if I'm in the wrong please tell me and I'll edit the post immediately!!
I'm trying to create some nsfw poses for my male sims, using cmar's bottom nude mesh. The thing I'm confused about is how I can keep the mesh of the //bottom mesh// but also pose the rig and keep them connected so I know exactly where to position other body parts?
|
|
|
|
Post by keysmuse on Jul 24, 2016 14:41:08 GMT -5
yeay, good job! i'm always saving new files instead of re-saving the same blend over and over. (that ends up with tons and tons of unused blends but oh well, better safe than sorry XD) The fishet whould be as an accessory or in the same item? You should never put anything over the part of the skin you want to keep nude. What i'm trying to understand is the steps you made... you imported the jacket on a nude top? why not just clone the jacket top and change the texture of the shirt via photoshop? I don't know if I can really explain what I'm trying to to replicate so here's an example - 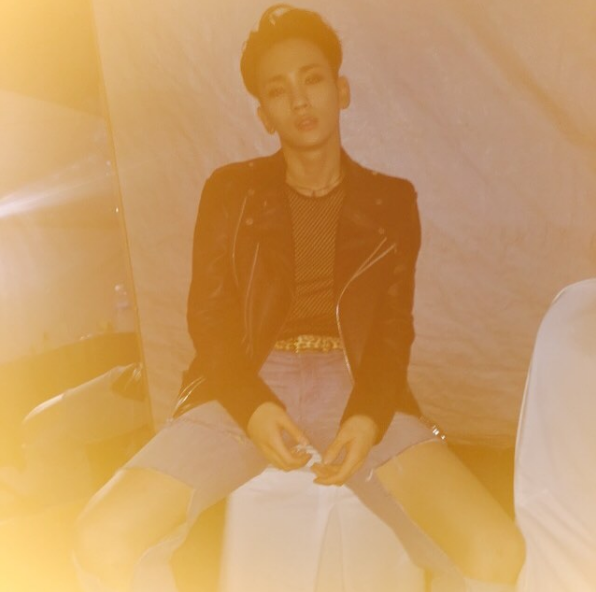  The reason I can't only change the texture is bc the leather jacket has a shirt underneath it by default that's not flat, so it wouldn't look tight or work very well. The fishnet should be in the same item I think And oh my god yes I end up with mountains and mountains of backup files and subfolders about to burst with them haha |
|
|
|
Post by keysmuse on Jul 24, 2016 13:53:46 GMT -5
Hi! I'm trying to make a top with a nude shirt space to put a fishnet texture in.
I've made sure to save a backup just in case so thank you for letting me know!
When you say move the jacket, would it be ideal to move the pieces of the jacket (where the nude top should go) into the lower black area on the map? Or would it mess the UV map up?
thank you I love yours tbh <3
|
|
|
|
Post by keysmuse on Jul 24, 2016 13:20:35 GMT -5
Right now I've got the top placed randomly for the sake of being able to see the UV map fully. But could anyone help me by telling me where I could move things or giving me some tips so that the underneath nude top can show properly? 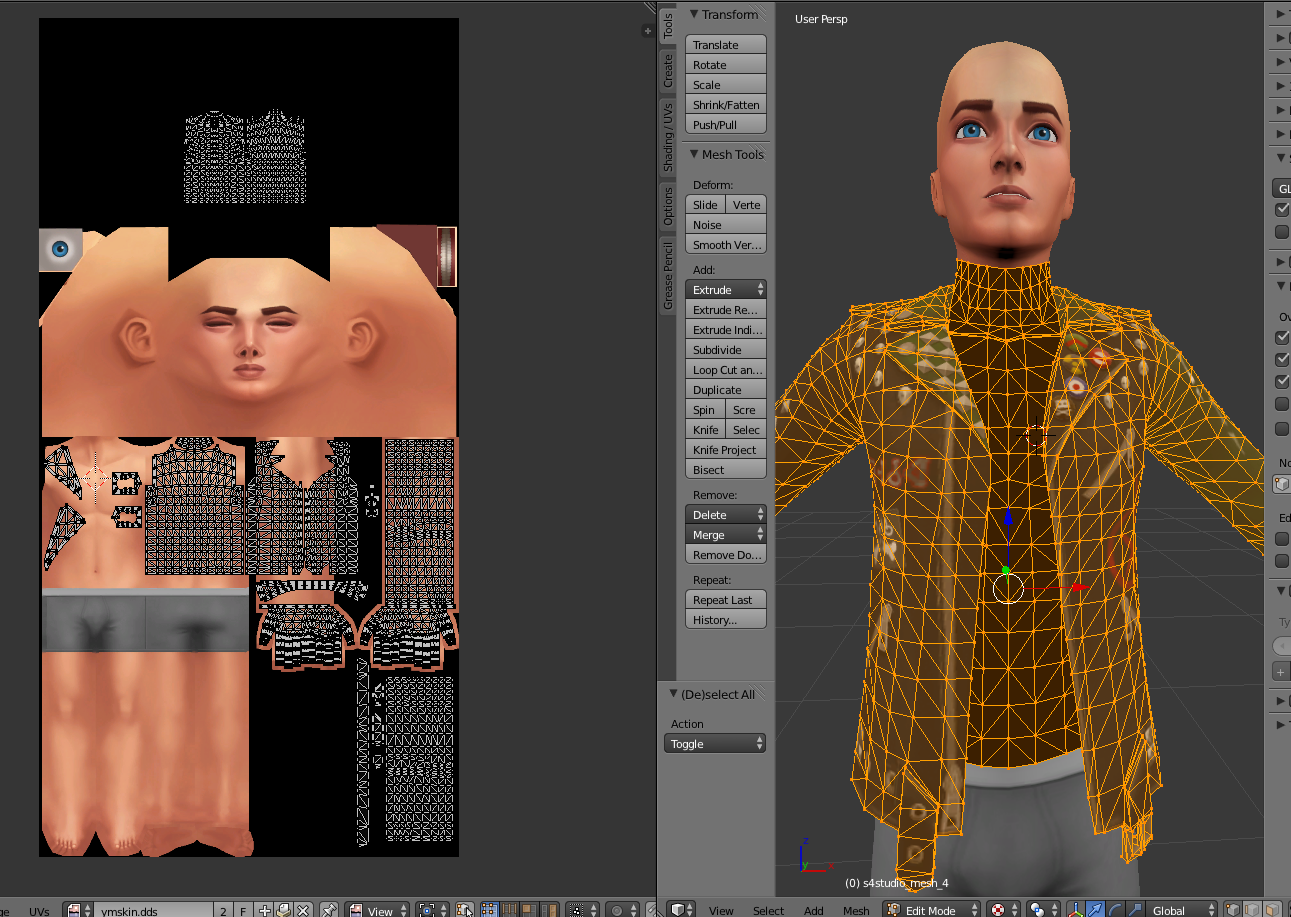 |
|
|
|
Post by keysmuse on Jul 21, 2016 8:56:11 GMT -5
It looks like mesh itself is not actually a turtleneck, and this is why your changes to the texture file do not work. You can only recolour surfaces that are mapped on the mesh, because the mesh itself has a hole around the neck you will have to change that, first. You can export the mesh to blender and fiddle around with the area until it looks right by trying to move some of the vertices in that "hole" upwards. I think what you are trying to achieve is pretty simple and should not need any additional geometry, meaning you do not have to remap the mesh either. See I was thinking that but I used the nude body mesh so I was assuming it'd all be dependent on the texture file itself 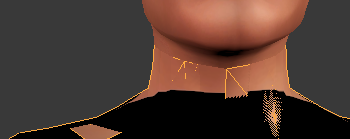 I'd say it should be pretty capable of becoming a turtle neck, I think I just need to take the texture up higher. |
|
|
|
Post by keysmuse on Jul 21, 2016 8:07:54 GMT -5
I'm trying to make a tight turtleneck shirt. I'd like to make the neckline straight but no matter what I do I can't connect it entirely around. I've tried a lot of back and forth testing but I think I'm gonna need some guidance on this if somebody could help me? My dds file looks like this currently:  And this is the issue I'm having with the neckline:  |
|


