|
|
Post by sisselin on Dec 8, 2018 18:38:34 GMT -5
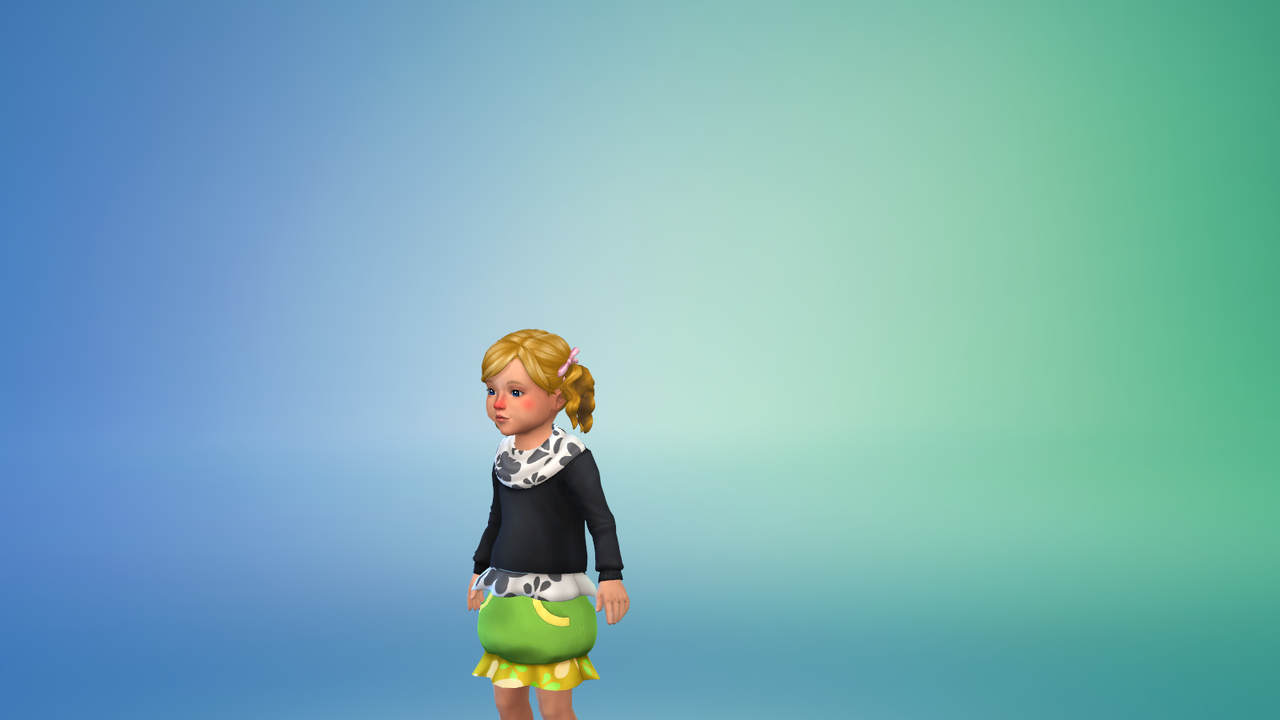
Sorry I'm back again OTL This time I wanted to convert one of my shirts for toddlers but for some reason there is a tiny gap between the shirt itself and the ruffle even thought they are connected properly in the mesh and the uv_1 looks all connected
|
|
|
|
Post by mauvemorn on Dec 9, 2018 5:48:46 GMT -5
Hi. It happens because of the difference in colors in Vertex paint. You need to sample the same exact color for it to work. - switch Viewport shading to Bounding box ( 1 ) to sample the exact color; - click on color ( 2 ) and then on the dropper icon ( 3 ); - sample green ( 4 ); - flood everything with color with Set vertex color ( 5 ); - switch back to Texture ( 6 ). 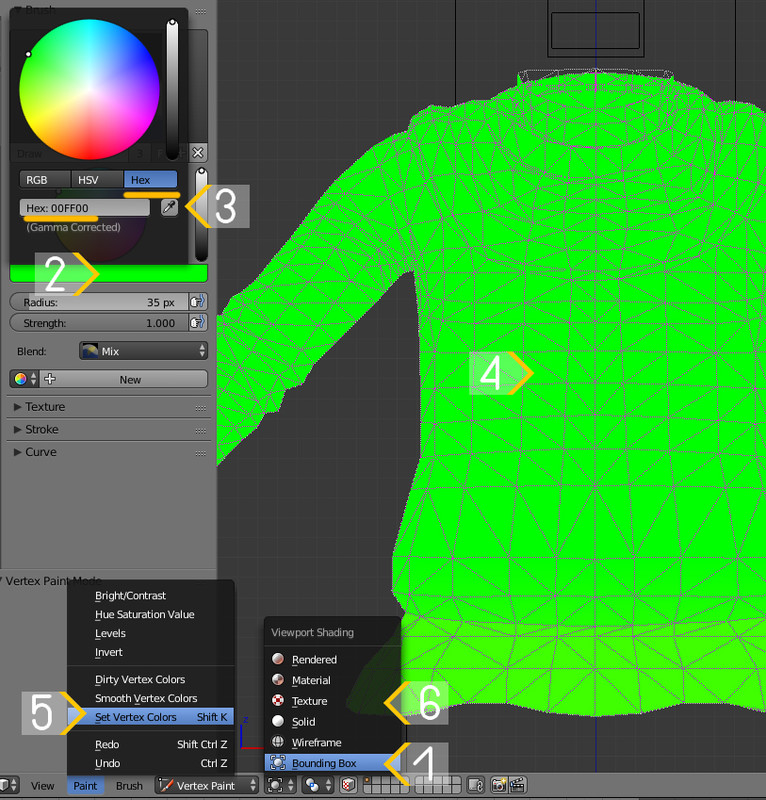 Also keep in mind that:  And don't feel sorry for asking. Not only we all have been there, but you might also help someone learn something new. |
|
|
|
Post by sisselin on Dec 9, 2018 10:28:09 GMT -5
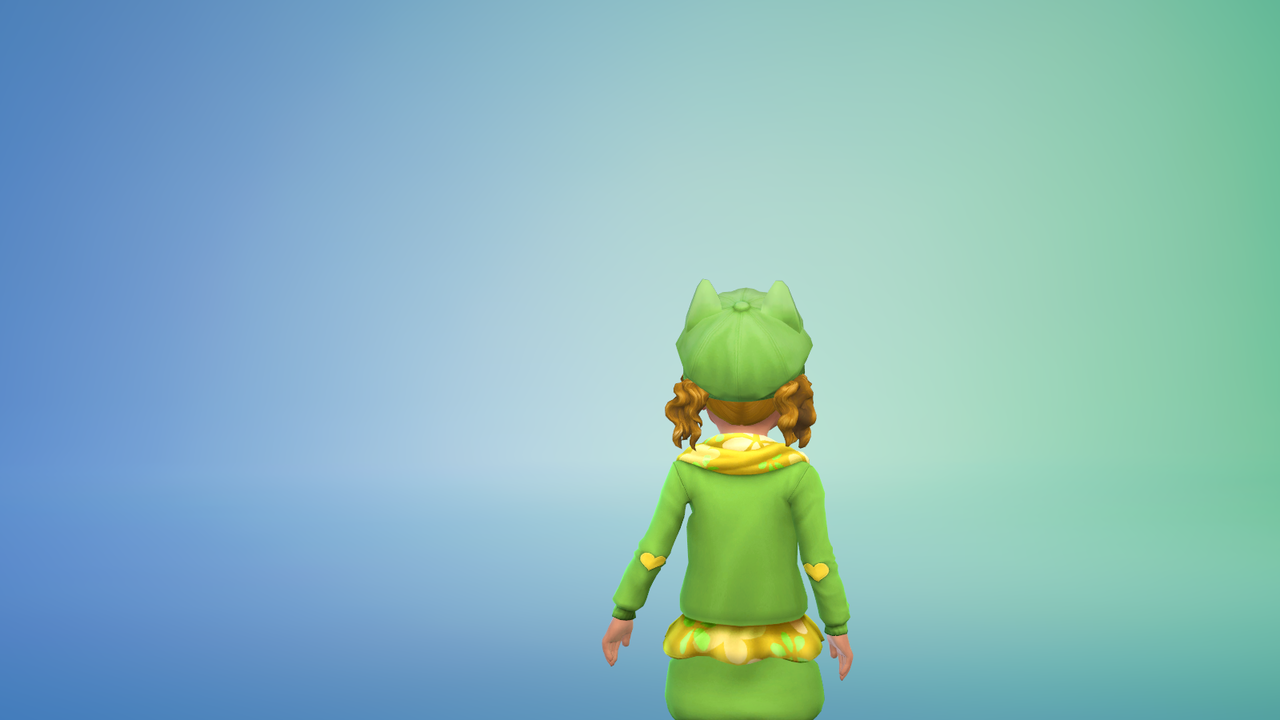
mauvemorn Thank you I I did the first part and it works now! =D <3 I don't quite understand the second part thought? Is it still in vertex paint? My mesh is completely green and doesn't have the yellow part Also I'm really grateful you have thaught me a lot the last few days! Thank you Oh actually also do you know how to fix this weird deforming in the armpit?
|
|
|
|
Post by Mathcope on Dec 9, 2018 11:17:13 GMT -5
The vertex color lets you differenciate between parts of your clothing that need to be tight to the skin or close. (That's green). The yellow lets the game know that part it's a bit loose, like a skirt for example. This way it applies the sliders with different strenght to that part.
|
|
|
|
Post by mauvemorn on Dec 9, 2018 13:45:51 GMT -5
Yeah, green for tight, yellow for loose. What I meant is that there should be no, how to say, sharp line between colors? Because it will create a gap, too, so if you will ever encounter yellow, make sure it transitions smoothly into green. As for armpits, the weights were transferred in an unfortunate way ( the same on the other sides btw, right and front ). I tried re-transferring it from a nude top, but it still happened. There's already a tutorial that addresses exactly this issue, but basically what you need to do is to: - select both sleeves ( in UV editor ); - find b__Spine1__ and hit that Remove button; - inverse selection ( Ctrl I ); - remove b__L_UpperArm__ and b__R_UpperArm__ from torso; - press Shift H to hide sleeves; - in Weight paint switch to orthographic ( 5 key ) side ( 3 key ) view, select b__L_Clavicle__, set Draw to 0,5 (weight) and paint it like this. Hit 9, select b__R_Clavicle__ and repeat. Click on the lock icon next to each of them;  - select b__Spine1__, disable Limit Selection to Visible, paint with 0,5 green, too, lock; 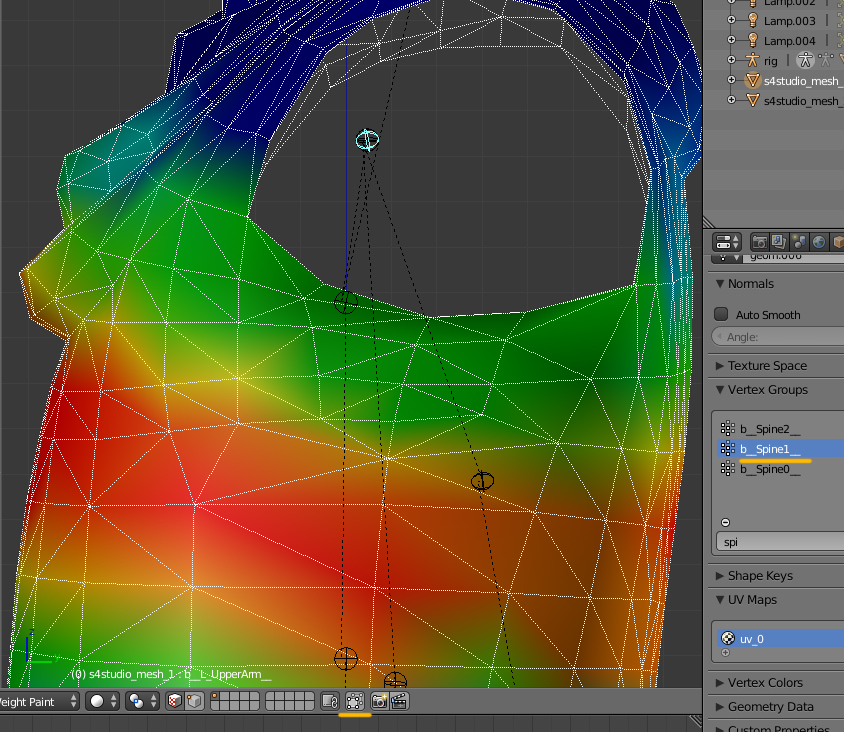 - Alt H to unhide sleeves, select b__L_UpperArm__ and with smooth brush smooth out this area;  - you can find how to pose a mesh in Blender to check how it deforms in the tutorial i linked previously ( 1 - 8 steps ). it looks ok, but you can touch up certain areas with smooth brush, just unlock vertex groups first. Once done, clean all groups. Also, was s4studio_mesh_2 like this in the original file, too? |
|