|
|
Post by orangemittens on Mar 30, 2016 15:29:07 GMT -5
Only the mesh parts you have selected will be unwrapped when you click the unwrap button. You should leave the EA earring hooks unselected so that they are not included in your unwrap process. This is because the hooks are already mapped correctly and including them in the unwrap would cause them to require mapping again. The uv_1 (second UV), in conjunction with the deformer map resource, is used by the game to determine how the item will work with the CAS slider system. For a more complete discussion of how this works see the second post in THIS THREAD where an EA representative goes over the very basics of the system. Sims 3 did not have a similar system and so it did not require a second UV. |
|
|
|
Post by suprememugwump on Mar 30, 2016 17:35:38 GMT -5
Thank you! One last question. When I click apply under the mirror modifier I get a message that says, "Applied Modifier was not first, results may not be as expected." Is this a problem?
|
|
|
|
Post by orangemittens on Mar 30, 2016 18:07:26 GMT -5
That is not a problem.
|
|
|
|
Post by suprememugwump on Mar 30, 2016 18:09:34 GMT -5
Good. Thank you muchly!
|
|
|
|
Post by orangemittens on Mar 30, 2016 18:11:47 GMT -5
You're welcome  |
|
|
|
Post by suprememugwump on Mar 30, 2016 18:23:37 GMT -5
One more question. I'm sorry, but I did this tutorial all the way through once, and now I'm doing it again. I didn't run into this on my first run. But when you switch to vertex paint the earring hooks are supposed to turn black, but they turned green, instead. Is this a problem? Once I clicked Set Vertex Colors the entire earring, including the hooks, turned black, so I'm hoping that means everything is okay.
|
|
|
|
Post by orangemittens on Mar 31, 2016 9:00:06 GMT -5
After I wrote this tutorial EA changed the vertex color they use for accessories from black/ true blue to dull green/aqua blue. The first time you ran through the tutorial probably predated that change by EA so you saw the black vertex paint they used to use instead of the green they're using now. This change matters more for hair than it does for an earring although I am slowly going back and updating my tutorials and this one will be updated to reflect that change at some point. For now the black vertex paint will not harm your project but if you want it exactly like EA's you can vertex paint your earring with 007F00 green. My newly updated tutorial showing how to add an accessory shows how to select this color instead in steps 25-28. That tutorial is HERE.  |
|
|
|
Post by sennypaine on May 4, 2016 13:33:41 GMT -5
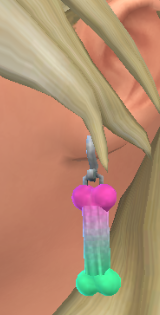
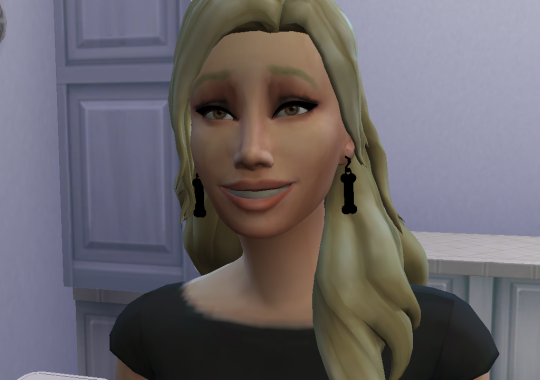
Thanks for the tutorial! I've made these [below] and at first when I tested them in game they were fine in CAS but black IG.  CAS  In Game ETA : I forgot to generate mini-maps. Besides a few things minor things I want to change it came out great! :D I'm super happy, thanks so much for this tutorial! It was super easy to follow. |
|
|
|
Post by orangemittens on May 4, 2016 16:10:14 GMT -5
They came out looking great and I'm really glad to hear the tutorial was helpful  |
|
|
|
Post by simonim-toast on May 4, 2016 20:43:17 GMT -5
i gave up after step 21 when my uv map didnt come out right and the there were ten steps of puzzle, i'll try again in another 2 years. i hate my life.
|
|
|
|
Post by aubreybarnes on Jul 12, 2016 15:02:40 GMT -5
How do you tilt the view???! I cant figure it out omg sorry its probably obvious
|
|
|
|
Post by Feyona on Jul 13, 2016 1:04:55 GMT -5
aubreybarnes you need to press down mouse wheel and move the mouse at the same time. If you're talking about tilting the view in viewport. If you need to zoom scroll mouse wheel for zoom in and zoom out. And mainly you manipulate the view my key on numpad. If you need to center on the object, press . (dot) or 3 on numpad, they work slightly differently but will center on the object, not the dummy (you will need to click name of the object). Check this video to see how pan and zoom work in Blender and also how to set up the mouse if it's using another settings. And here is an official guide about how to navigate in Blender. wiki.blender.org/index.php/Doc:2.4/Manual/3D_interaction/Navigating
|
|
|
|
Post by yunanesca on Sept 7, 2016 23:36:26 GMT -5
this is a two part question 1) Would this work for assigning a object to your sims hand as well just what part to I need to look for and how do I get object to stick to the hand. sorry again if this wasn't the right place to ask this?
by the way love the tutorial orangemittens
2)
I'm also working on making some earrings to :)I just don't think my weight's set right when I did the part with the weight It didn't show red like it was suppose to. so I'm was not sure if it did anything if it didn't show red for it. is I did everything up to that point but not sure why they never turned red. so I'm bit hesitant to move on till I get it right. |
|
|
|
Post by momobunniisims on Oct 9, 2016 23:18:13 GMT -5
I'm on part 2 number 4 and I try holding down shift and clicking the sides but nothing happens :/
|
|
|
|
Post by eretriax on Jan 19, 2017 13:52:19 GMT -5
orangemittens FeyonaHello im new in this forums and in everything in general xD i have a problem just at the first step of the tutorial, when i export the mesh to blender it doesnt apear any mesh in the menu, i mean i dont have the "rig" i just have; render layes, world, camera, lamp, lamp 1, lamp 2, lamp 3, lamp 4. Any idea why it could be? i have the last version of blender and sims studio :/ thanks in advantage
|
|