|
|
Post by insanehippie on Mar 21, 2019 10:16:20 GMT -5
|
|
|
|
Post by mauvemorn on Mar 21, 2019 11:37:02 GMT -5
Hi. In The Sims 4 all CAS items share the same uv-space which is split into areas for different items. Set this template as a background image in UV Editor and use it as a guide when placing UVs. Bad news though. Before creating something from repetitive parts, unwrap the original one first. If you happened to have a version of this file before you created the current UVs, you should go back to it. If this sphere had UVs by default, you are saved. If not, you will either have to unwrap each and every one of them or (better) restart the project. You also need to create a uv_1 map. Hair blends have 3 meshes, 2 of which are meant to interact with hats. Covered in the step 8. Each has a cut number assigned to it to, again, properly interact with hats, so make sure to read this. Don't forget to vertex paint it as well. |
|
|
|
Post by insanehippie on Mar 22, 2019 0:15:16 GMT -5
Hi. In The Sims 4 all CAS items share the same uv-space which is split into areas for different items. Set this template as a background image in UV Editor and use it as a guide when placing UVs. Bad news though. Before creating something from repetitive parts, unwrap the original one first. If you happened to have a version of this file before you created the current UVs, you should go back to it. If this sphere had UVs by default, you are saved. If not, you will either have to unwrap each and every one of them or (better) restart the project. You also need to create a uv_1 map. Hair blends have 3 meshes, 2 of which are meant to interact with hats. Covered in the step 8. Each has a cut number assigned to it to, again, properly interact with hats, so make sure to read this. Don't forget to vertex paint it as well. not sure what you mean by unwrap...i thought i did that already...? i created a uv_1 map as well. |
|
|
|
Post by insanehippie on Mar 22, 2019 0:32:51 GMT -5
decided to start over....*sigh* thanks
|
|
|
|
Post by mauvemorn on Mar 22, 2019 11:57:23 GMT -5
No, wait, you need to understand the purpose of uv mapping or you will make the same mistake again. UV mapping is a process of projecting a 2-dimensional image to a 3-dimensional object's surface. A real-life analog: The paper glued to the surface of a globe is not rectangular. It is cut this way to be accurate: 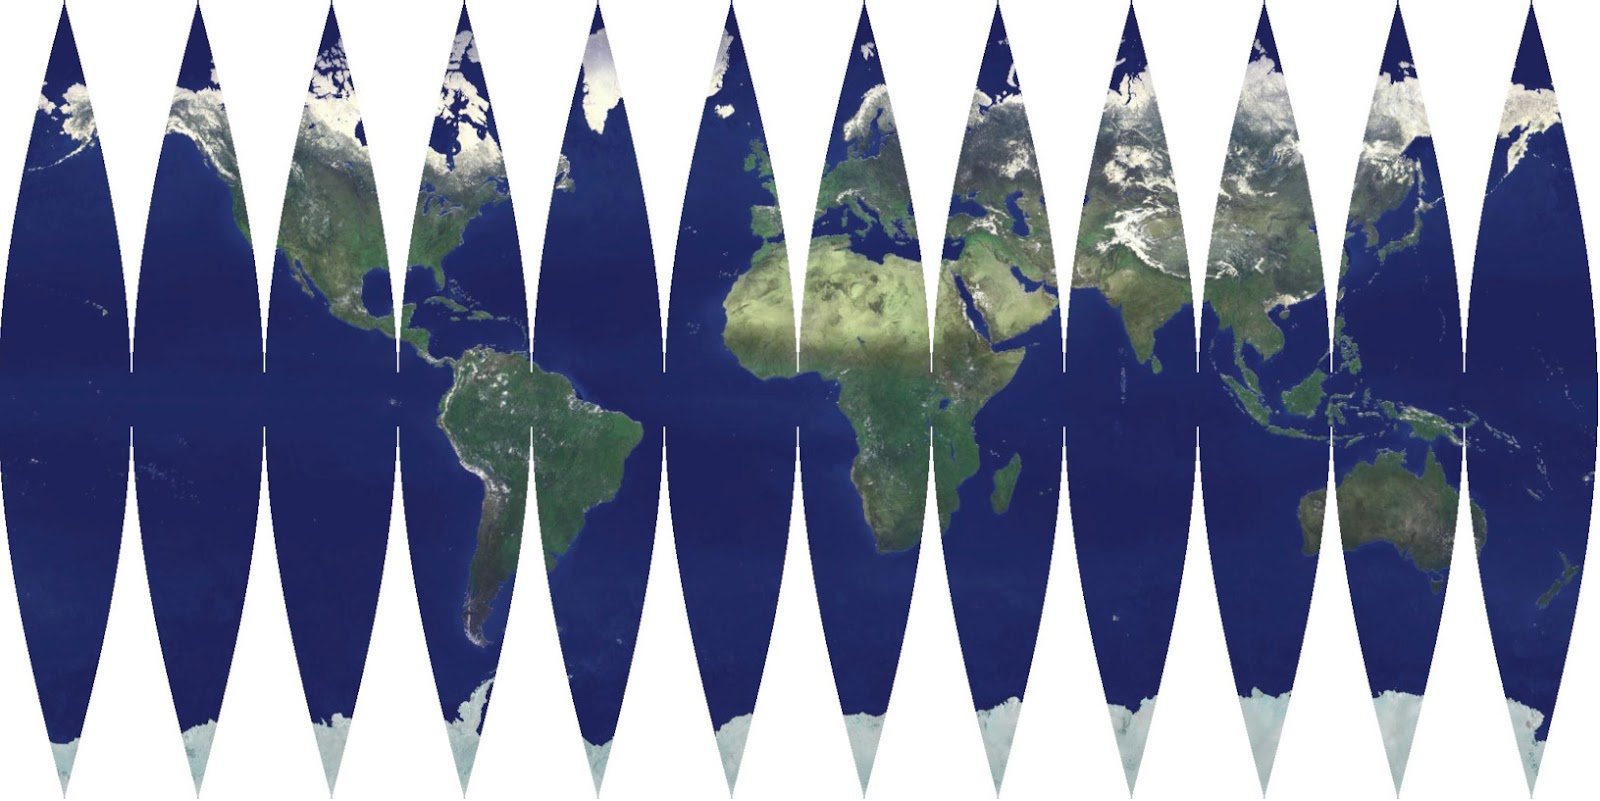 Think of UVs as a 2d projection of 3d object. Here is an example of how you projected it ( 1 ) and how it should be ( 2 ) ( on a cylinder ):  How to unwrap a sphere: - switch to orthogonal ( 5 key ) front ( 1 key ) view; - holding Alt, select the center edge loop( 3 ); - mark it as seam ( 4 ); - select everything with A; - switch to top view ( 7 key ); - in UVs/Shading unfold Unwrap and choose Project from view ( 5 ); - in UV Editor choose UVs - Unwrap ( 6 ); - click on open ( 7 ) and set this image as a background; - select the UVs with A, press S to scale, Y to scale vertically, type .5 to shrink in half. Using G ( to move ), place them in the right spot for hair. NOW you can duplicate them. If you plan on making hair, I strongly recommend to watch any Introduction to Blender video on youtube to have a basic understanding of this software and 3d related concepts, not "How to make hair for The Sims 4" or anything like this. Edit: that I was talking about a uv_0 map. As for a uv_1 map, you do it once everything is done like this |
|


