|
|
Post by archieonic on Apr 17, 2019 4:52:57 GMT -5
Hello! I seem to be having an issue when creating a brand new mesh. I know Blender quite well so the modeling process is quite painless but boy oh boy, the texture/normals/specular maps are killing me. I've never done them separately so I'm clueless. I started 2 days ago learning the whole process of how TS4 uses them and trying to keep poly count low. I've followed some tutorials on this board but here's the thing. Just to test I created a new mesh, baked the colors directly from blender to the UV map (so I end up with the UV map perfectly colored without having to do it manually). But when I use it in game, I get this: 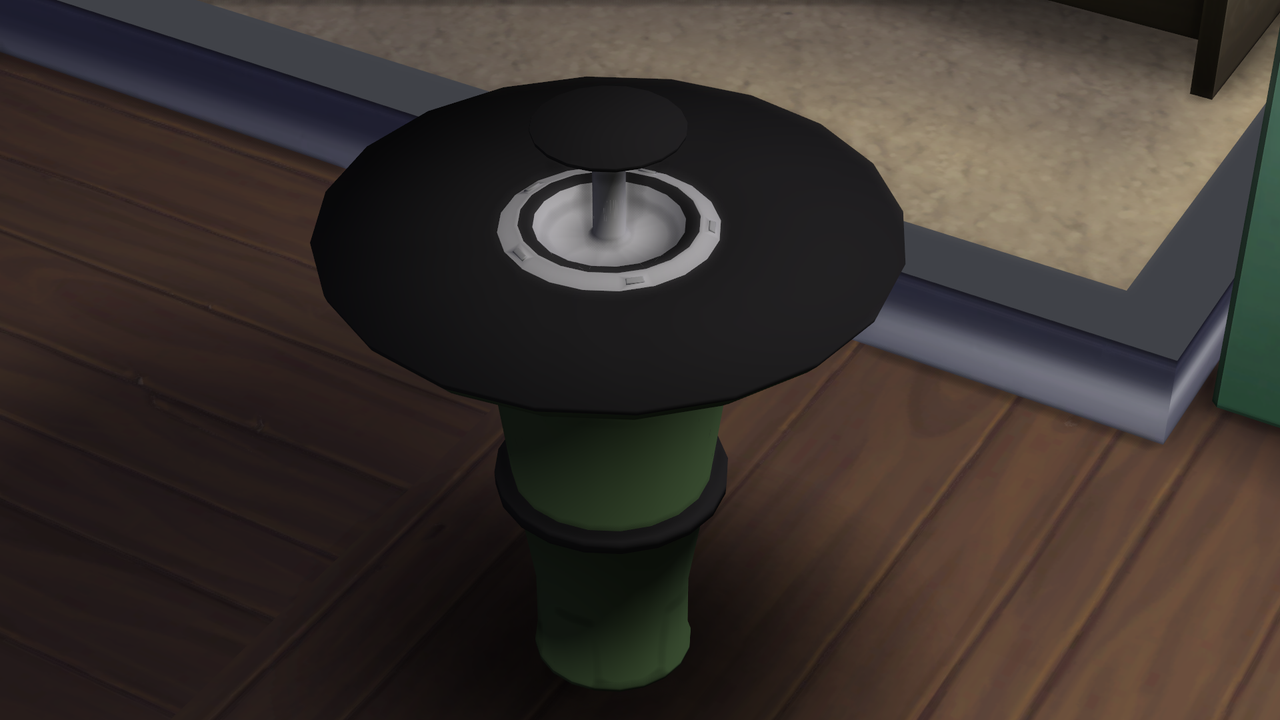 On the top, the support has those white lines. They almost look like edges from the mesh. Subdividing, decimating, etc., all have the same effect: variations in how the lines show but they still show. Here's how it looks in S4S: 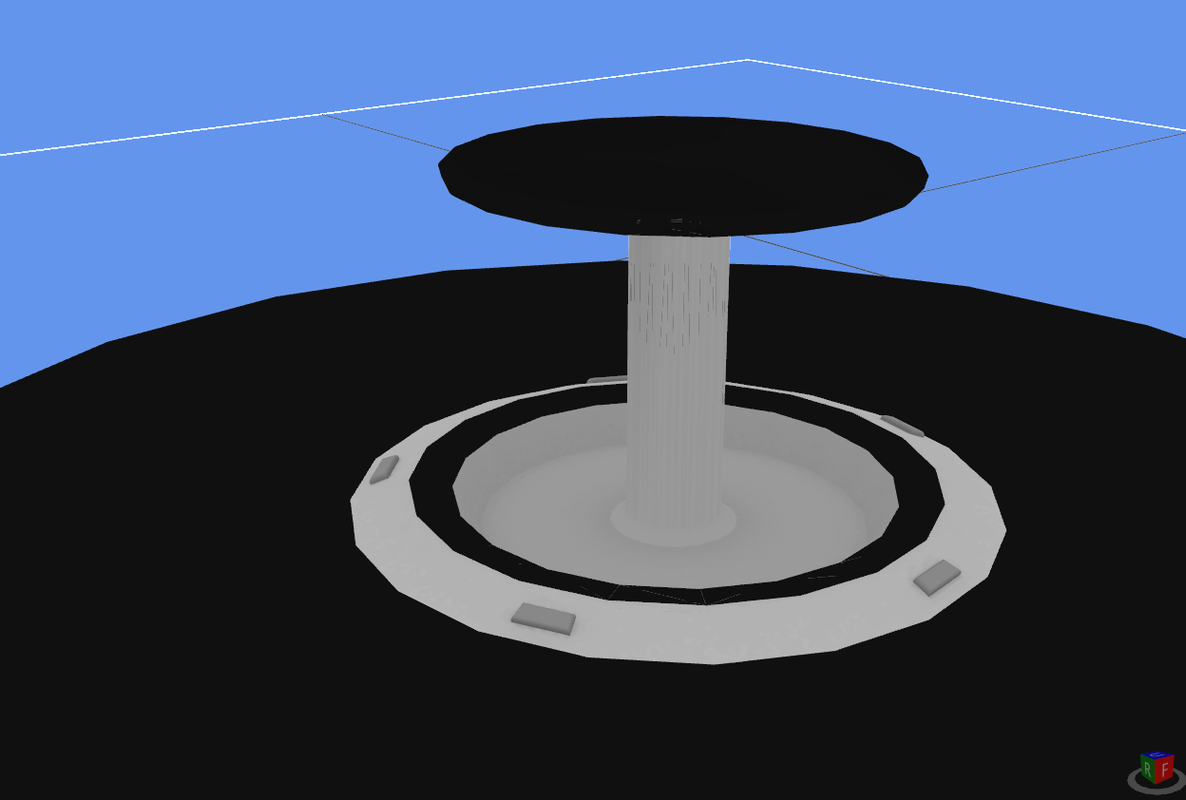 Blender model: 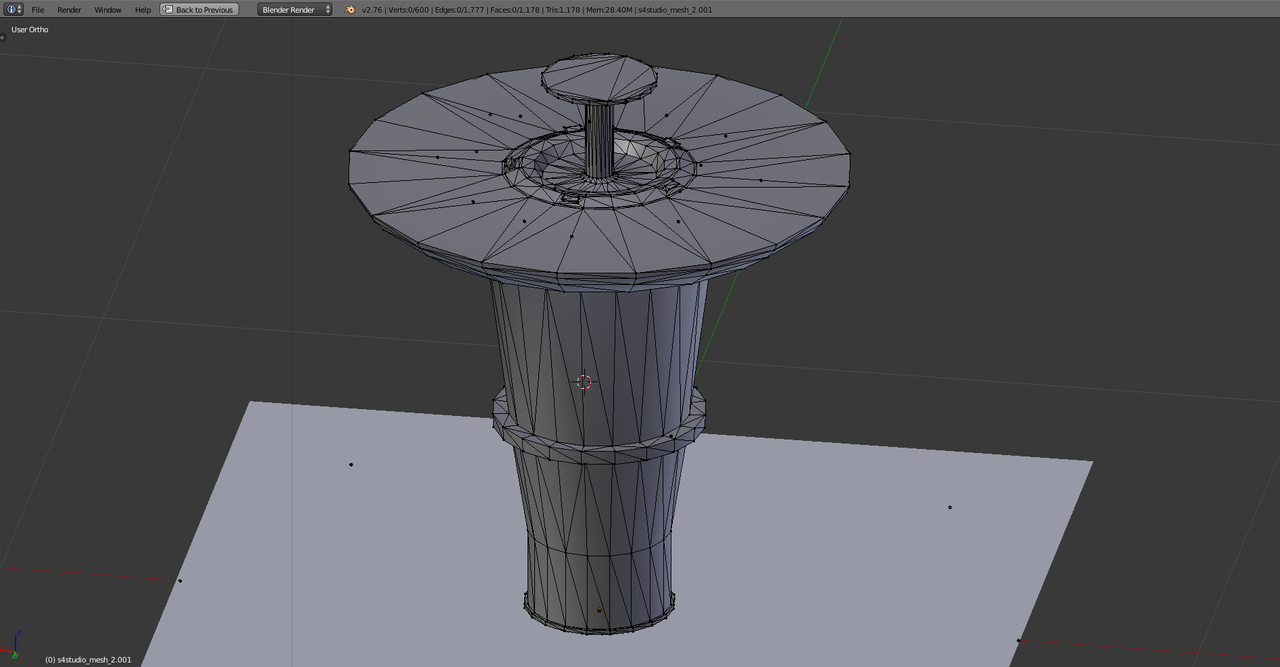 .package file: Round TableWhat am I missing? Thanks in advance! |
|
|
|
Post by Fwecka (Lolabellesims) on Apr 17, 2019 7:33:47 GMT -5
My first thought: Did you check the textures in Sims 4 Studio to make sure none of the original textures are hanging around? You can go to the warehouse tab to see the textures.
|
|
|
|
Post by minimonster on Apr 17, 2019 7:56:59 GMT -5
Without having a copy of the .blend to look at closer myself, and from the three images, I would venture to guess that the cylinder that is displaying the behaviour is not 'solid', as it almost looks in the last shot from Studio that one can see through the mesh in-between the lines. Just a wild guess, imagining the creation process and seeing how the polys line up with the gasket at its base, I would maybe think that an entire bunch of points were inadvertently left behind when it was scaled by Z. May need to repeat the process for that piece only, making sure that all points are scaling properly.
Just a couple of guesses. Cheers!
|
|
|
|
Post by archieonic on Apr 17, 2019 10:56:49 GMT -5
My first thought: Did you check the textures in Sims 4 Studio to make sure none of the original textures are hanging around? You can go to the warehouse tab to see the textures. Yes, none of the original are present. Without having a copy of the .blend to look at closer myself, and from the three images, I would venture to guess that the cylinder that is displaying the behaviour is not 'solid', as it almost looks in the last shot from Studio that one can see through the mesh in-between the lines. Just a wild guess, imagining the creation process and seeing how the polys line up with the gasket at its base, I would maybe think that an entire bunch of points were inadvertently left behind when it was scaled by Z. May need to repeat the process for that piece only, making sure that all points are scaling properly. Just a couple of guesses. Cheers! I've tried checking for that but nothing. I've even created a similar mesh from 0 with the same results even if using different trchniques. Worth noting that it is not just that part, the inner black ring also shows those lines depending on the angle you look at them. In fact on the other mesh I tried, the top was fine but the mid-botton was showing that behaviour. When yoy move the camera around the lines show in different patterns and places. I'm so lost :/ EDIT: Here's the .package file with everything I've done up to now. I completely forgot about adding it, sorry! Round Table |
|
|
|
Post by archieonic on Apr 17, 2019 20:37:39 GMT -5
All I've found on this issue is this thread: sims4studio.com/thread/8631/mesh-conversion-white-linesThat thread seems to reference that the issue is blender itself. In my case, the less polygons the object has, the less issues it has. Depending on the texture and angle it could look fine, but it isn't. Those lines directly correlate to the edges in Blender. The more faces/edges/vertices I add, the more edges show as white lines on S4S and in-game. But at the same time it seems this issue is rare as I have not seen many at all discussing it. So frustrating :( |
|
|
|
Post by minimonster on Apr 17, 2019 21:25:26 GMT -5
Hi archieonic. Thank you for uploading your .package... Extracting the model, it is very interesting to look at. So cleanly made, it makes me *almost* think that maybe even I could possibly make a mesh from scratch, but then I think to myself, "Nah...", there's WAY too many already made meshes waiting for me to bring into the game... o_0 The screenshots posted were definitely misleading - there are ZERO gaps within the column. Not the issue at all. I hope that you are able to find your solution. A side note - I see that you are making a dining table out of it from a 4-seat round dining table, yet have seating for eight. I didn't make a clone to check out the rigging of a 4-seat able from the game myself, however I am not sure that it will work as you wish, as four of the seated Sims will not have any assigned place on the table of their own. Just a thought... Cheers & Good Luck! |
|
|
|
Post by archieonic on Apr 17, 2019 23:34:55 GMT -5
Hi archieonic . Thank you for uploading your .package... Extracting the model, it is very interesting to look at. So cleanly made, it makes me *almost* think that maybe even I could possibly make a mesh from scratch, but then I think to myself, "Nah...", there's WAY too many already made meshes waiting for me to bring into the game... o_0 The screenshots posted were definitely misleading - there are ZERO gaps within the column. Not the issue at all. I hope that you are able to find your solution. A side note - I see that you are making a dining table out of it from a 4-seat round dining table, yet have seating for eight. I didn't make a clone to check out the rigging of a 4-seat able from the game myself, however I am not sure that it will work as you wish, as four of the seated Sims will not have any assigned place on the table of their own. Just a thought... Cheers & Good Luck! You can definitely do it! I started 3D modeling a month ago, my first project a photo realistic scene of my call center office made up of over 11 million vertices, took me 2 and a half weeks. Hard? Extremely, but the plus side is that modeling really low poly things then becomes extremely easy. That model took me 20 minutes to make. So you can certainly do it too! Yes, the pics do not show properly the issue. This is definitely not just texture lines. The lines move in S4S as you move around the camera and they perfectly align to the edges in 3D. I'm not sure about the slots. I imported the round table but didn't touch anything as far as the rig. Would have to re-check the original mesh. Still very irritating that I'm experiencing this issue. Hopefully someone has shared this issue that can help me out while I break my brain trying to figure out why a mesh with very good topology, low poly, does that :( EDIT:
Tried following the linked thread's method of importing mesh into MeshLab, triangulate there, re-import to Blender. It looks better, the seams are not too strong, but they are still there. If you have tested my files, can you please verify if you also see the seams? Thank you! |
|
|
|
Post by archieonic on Apr 18, 2019 2:28:55 GMT -5
Here's another discovery, I'm trying to provide as much info to see if something clicks with someone that has tons of more experience than I do because as far as I go, I'm stumped. I've tried everything, every tutorial made and followed videos through but nothing. This is a very low poly model, but the cube on top was subdivided to have a lot of vertices. Also, exporting the mesh to MeshLab and re-importing in Blender fixes roughly 50% of it, so this leads me to believe this is something in Blender causing issues. From examining other game meshes or CC, it seems to be the way the mesh is created and triangulated. Blender's way of converting quads to tris does not result in what you see in vanilla meshes at all. Look with different colors: 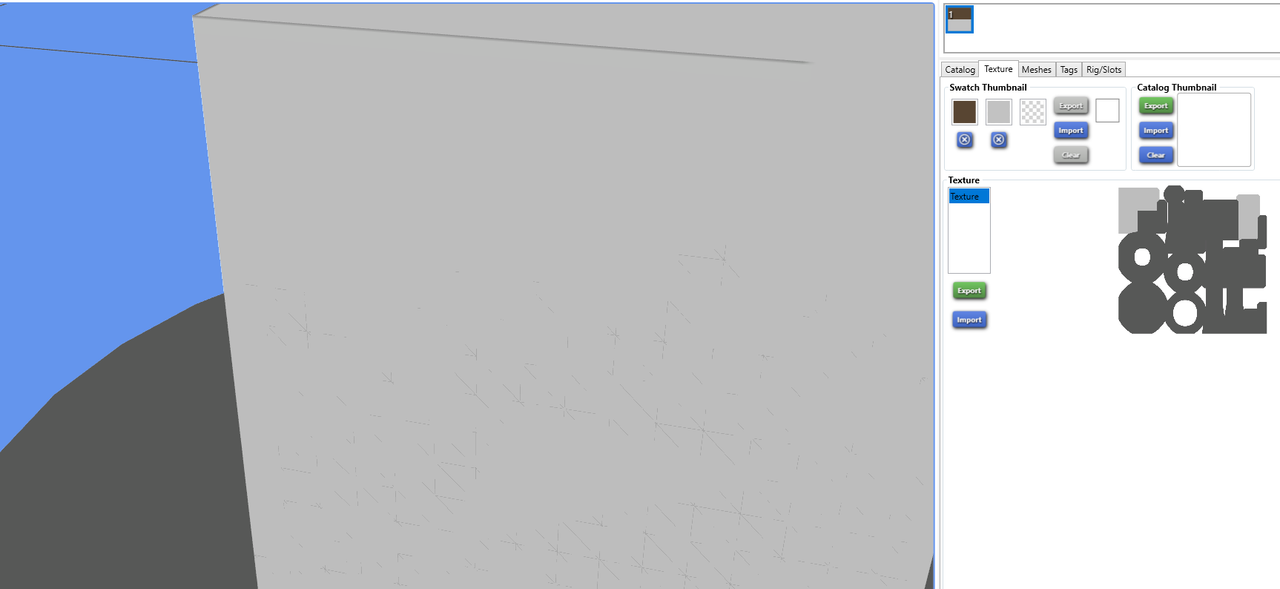 Look with one single color for the whole mesh: 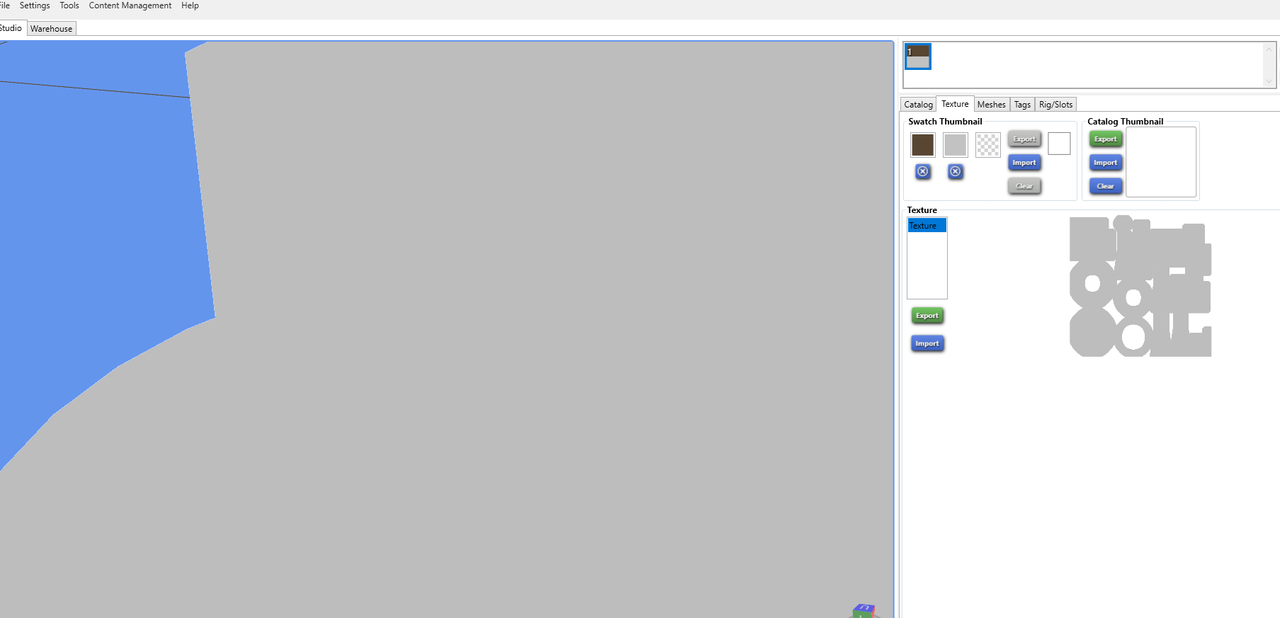 Model LOD look: 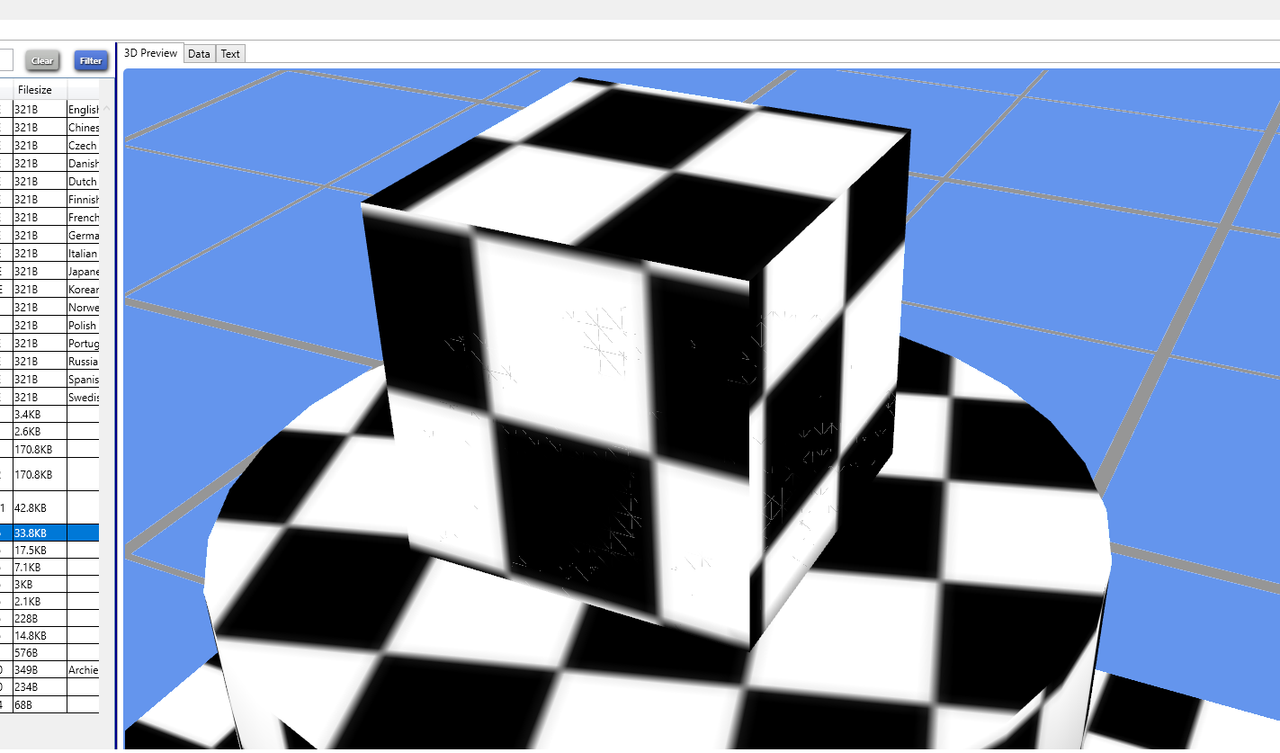 |
|
|
|
Post by archieonic on Apr 18, 2019 4:40:59 GMT -5
I can't believe it, but I solved it!Bear with me for a second. Typically, duplicate vertices are a big-no no as the engine/renderer would not know which face to render and flicker. Somehow here, in TS4, it solved everything! I noticed something about other meshes, they all had an enormous amount of duplicate vertices. I'd get 300-500+ removed. So I thought well, what if I grab my entire mesh in edit mode, duplicate it and leave it there. This somehow worked! Here's the results (pardon the shininess, I was too excited and left the original EA normal map and specular map): 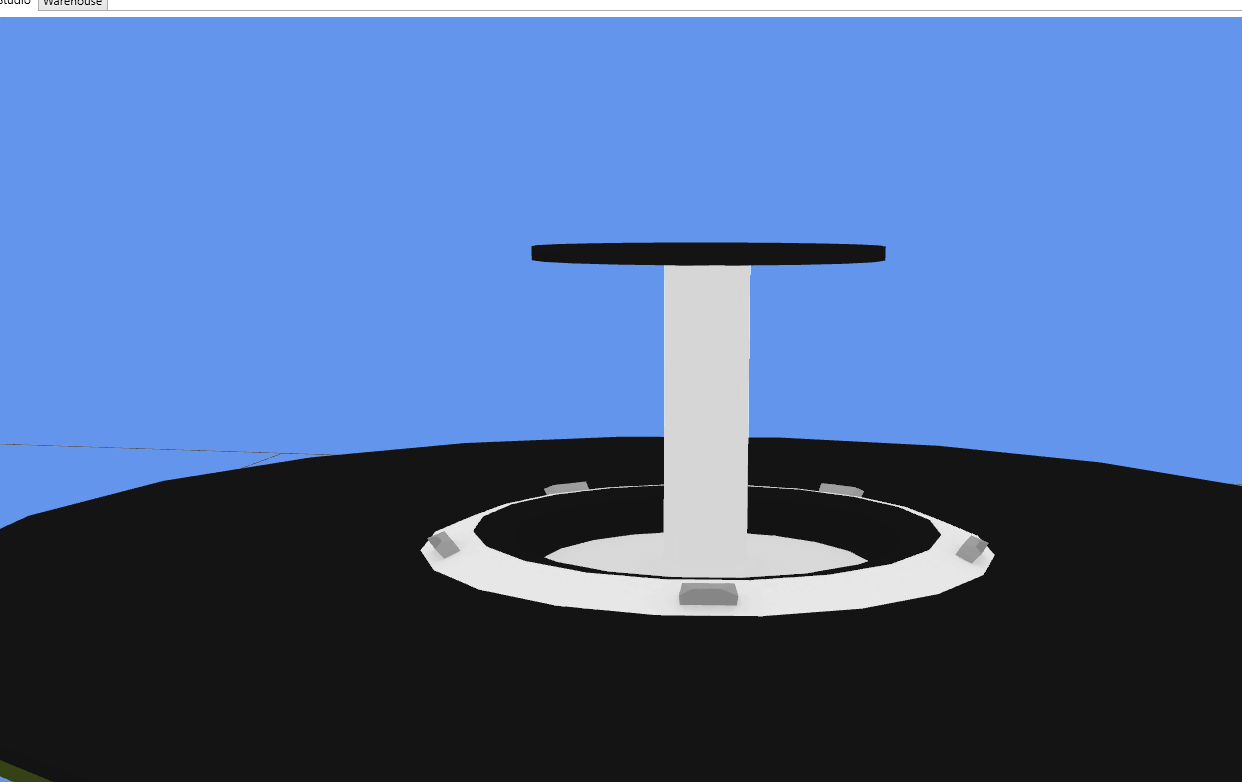  As you can see, both in S4S and in game, the seams are completely gone. I noticed on some CC the seams were also present but were either very small or the texture made it hard to see in-game. But EA meshes barely have them, and they are plagued with duplicates. So happy!
|
|
|
|
Post by menaceman44 on Apr 19, 2019 12:08:16 GMT -5
I'm just going to throw this out there; what graphics card do you have? Is it nVidia?
|
|
|
|
Post by archieonic on Apr 19, 2019 15:28:11 GMT -5
I'm just going to throw this out there; what graphics card do you have? Is it nVidia? Yes, NVidia GTX 1080ti. |
|
|
|
Post by archieonic on Apr 20, 2019 4:16:46 GMT -5
Well, this issue is now (at least for me) officially solved. The technique of triangulate -> duplicate all vertices works like a charm: not a single seam. EA meshes have tons of duplicates too although a bunch are due to edge split. I still suck at bump maps and speculars by hand, quite hard. Here's the result I've gotten so far:  Going for that Maxis look and low poly is hitting me hard. I've been learning 3D for one month now but I was mostly doing photo realism. A bit off topic but this was my first project. Everything is so much easier when done all in one software lol! 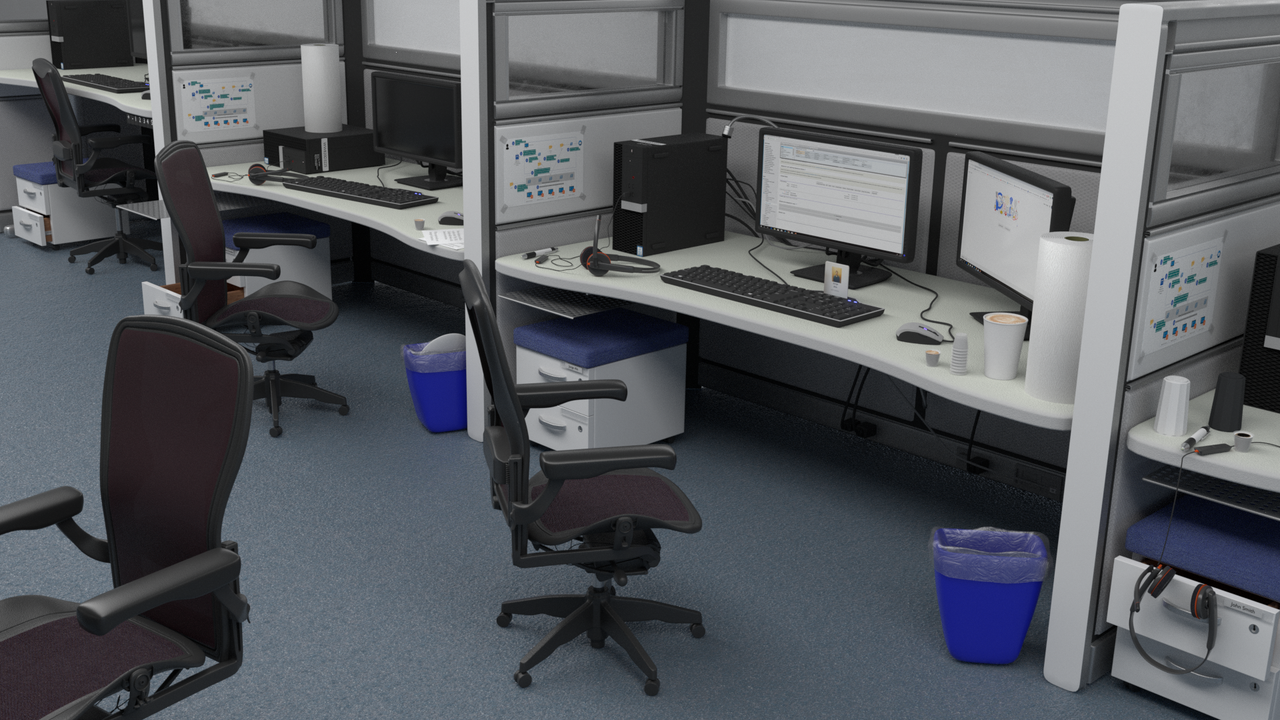 Any advice on painting the edges of objects when the UV is not squared? When I examine EA UVs and diffuse maps the lines that define objects are smooth, but when my UV is not a square (like a circle or other shape) painting the edge is a real pain since the shapes are low poly to get them to align. Or I could just do lightmap and have the whole UV be squares. I could try that. |
|
|
|
Post by menaceman44 on Apr 20, 2019 9:22:33 GMT -5
The reason I asked about your graphics card is because the anti-aliasing in TS4 does not play nice with all nVidia cards and the result is these little "cracks" that you can see in your meshes. The most common place to find it is around the mouths of Sims while in CAS.
If you search for and download the nVidia Inspector then you are able to apply an anti-aliasing fix for TS4 which removes the "cracks". I have done this in my own game as I have a nVidia card also. The downside to this workaround is that it needs to be applied again after every patch.
|
|
|
|
Post by jwofles on Apr 20, 2019 15:48:54 GMT -5
For painting the edges of your mesh, you can export the UV layout, then invert it and overlay it over you texture. Then delete the unnecessary edges and lines / tweak the alpha / blur it / make it look better and that will add highlights to the edges of your object.
|
|
|
|
Post by archieonic on Apr 21, 2019 4:01:57 GMT -5
The reason I asked about your graphics card is because the anti-aliasing in TS4 does not play nice with all nVidia cards and the result is these little "cracks" that you can see in your meshes. The most common place to find it is around the mouths of Sims while in CAS. If you search for and download the nVidia Inspector then you are able to apply an anti-aliasing fix for TS4 which removes the "cracks". I have done this in my own game as I have a nVidia card also. The downside to this workaround is that it needs to be applied again after every patch. Ah, makes sense. Thanks! For painting the edges of your mesh, you can export the UV layout, then invert it and overlay it over you texture. Then delete the unnecessary edges and lines / tweak the alpha / blur it / make it look better and that will add highlights to the edges of your object. Great idea! Works like a charm! For some areas I can combine that with UV mapping it as a lightmap, to not overkill the edges when there are too many vertices. I worked a bit more on the original model and created a new one today, and applying that technique helps a lot! I just need to keep studying how EA highlights the edges and follow that pattern. Here's what I managed to do today. 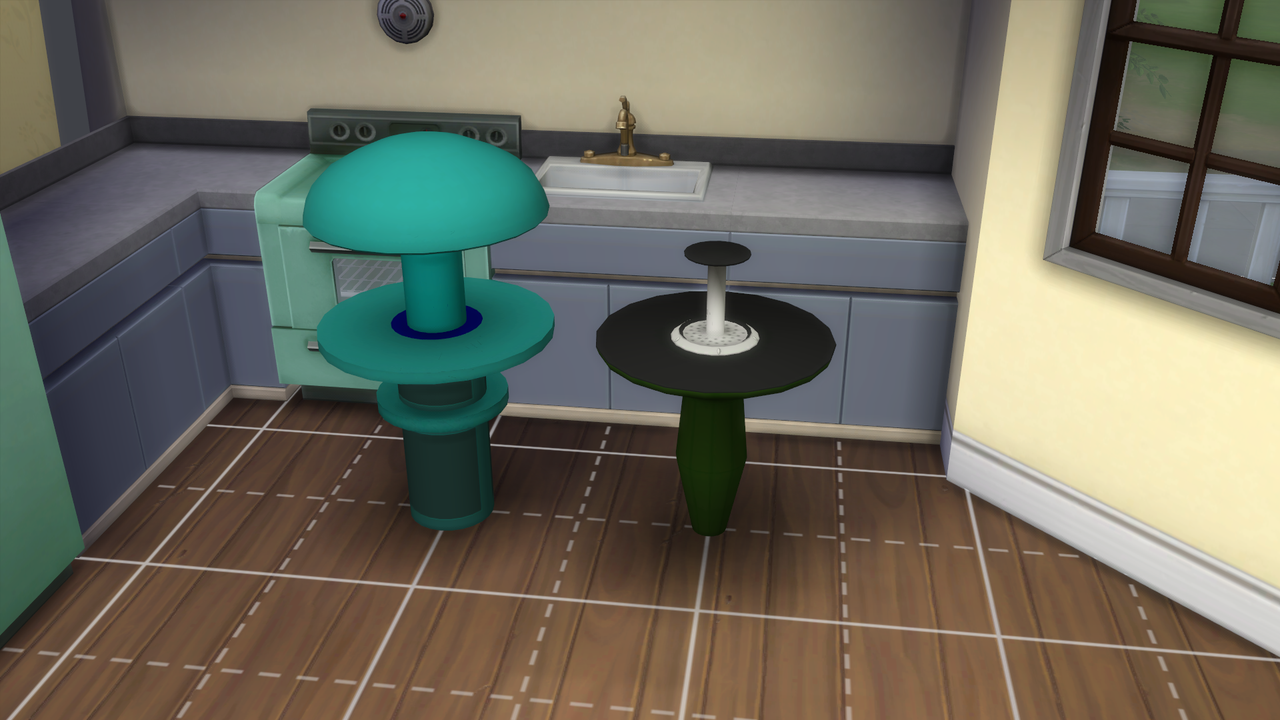 By the way, can you modify the rigging to make the table wider? |
|


