


Post by soaplagoon on Aug 29, 2019 15:20:46 GMT -5
Hi, I'm trying to convert Goro Akechi's hair from P5 Dancing into a Sims 4, and I'm very new to converting Meshes to Sims 4
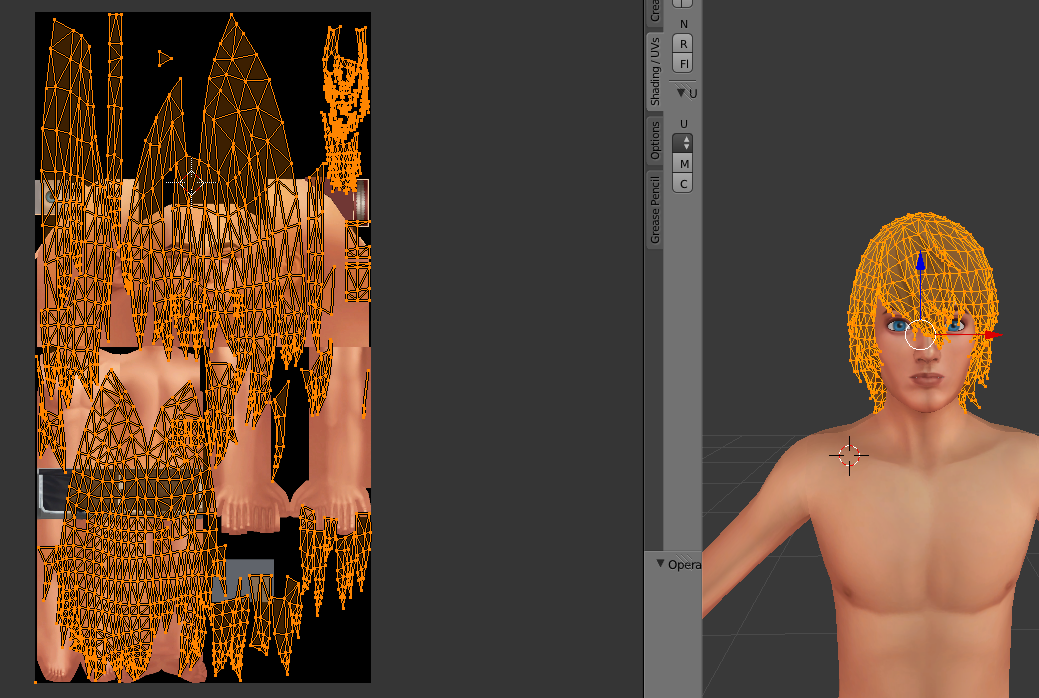
While I was able to figure out how to get the mesh for the hair properly finished, I am having troubles with UV Mapping - specifically being able to change what area the mesh references as its texture.
Here's what I have so far:
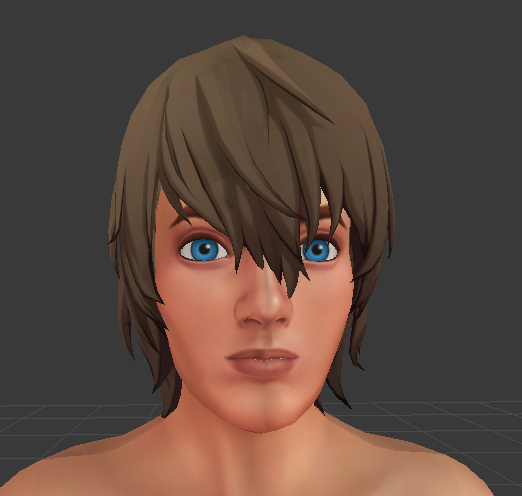
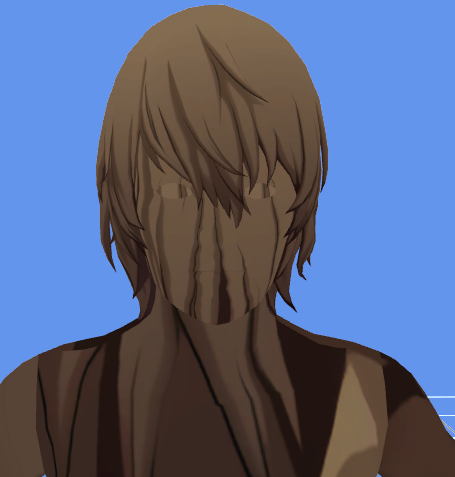
*It is the proper dimensions its just flipped + when used it covers the whole body, like so:
I understand it is because Sims 4 uses one UV map as opposed to several, so I need to edit the UV mapping. I watched a tutorial on how to slide the selection area but it only helped me so much because the selection area is stretched differently on the Mannequin UV Map...
I tried using the trick where I scale it down to the corner space, which did solve it in a way, the only problem is that the texture wont be HD when I do that (please note that I do not own Photoshop, the best I can use is Pixlr.com which is great but wont let me double the size of the mannequin proportionately due to its maximum image sizes).
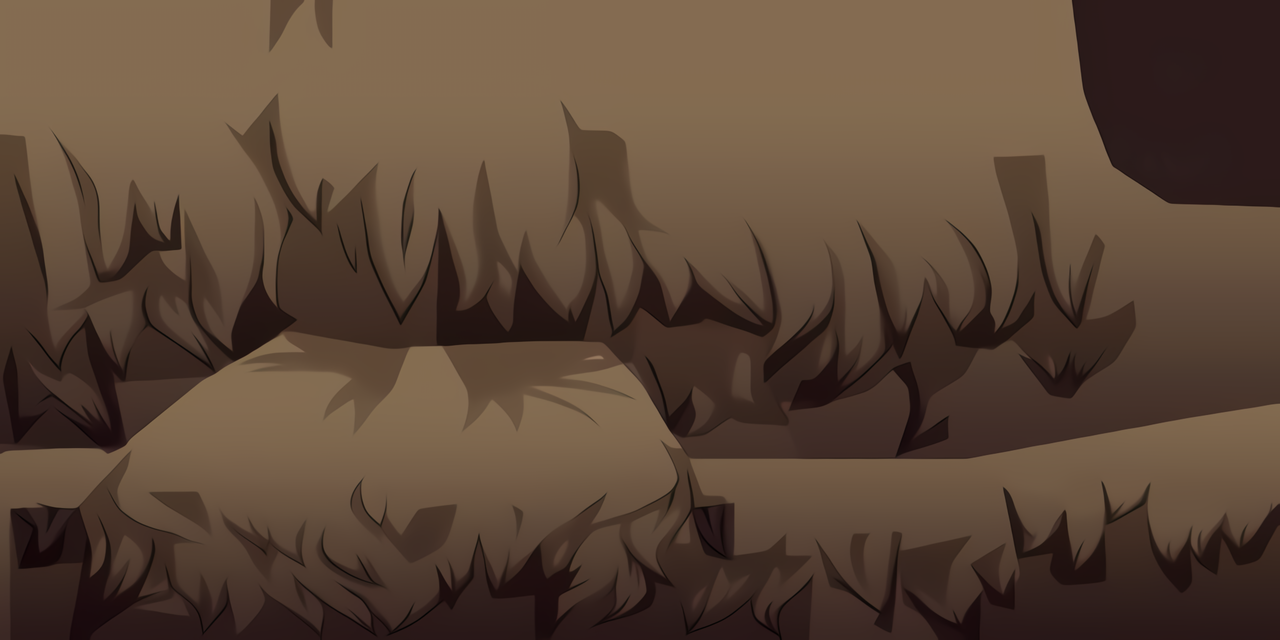
So I used Pixlr Pro (free trial) to scale the image higher so it can be more HD while still being proportionate, but even then the best I can do to fit the texture in a space without reducing its quality or overlapping on the mannequin was by setting it like this:
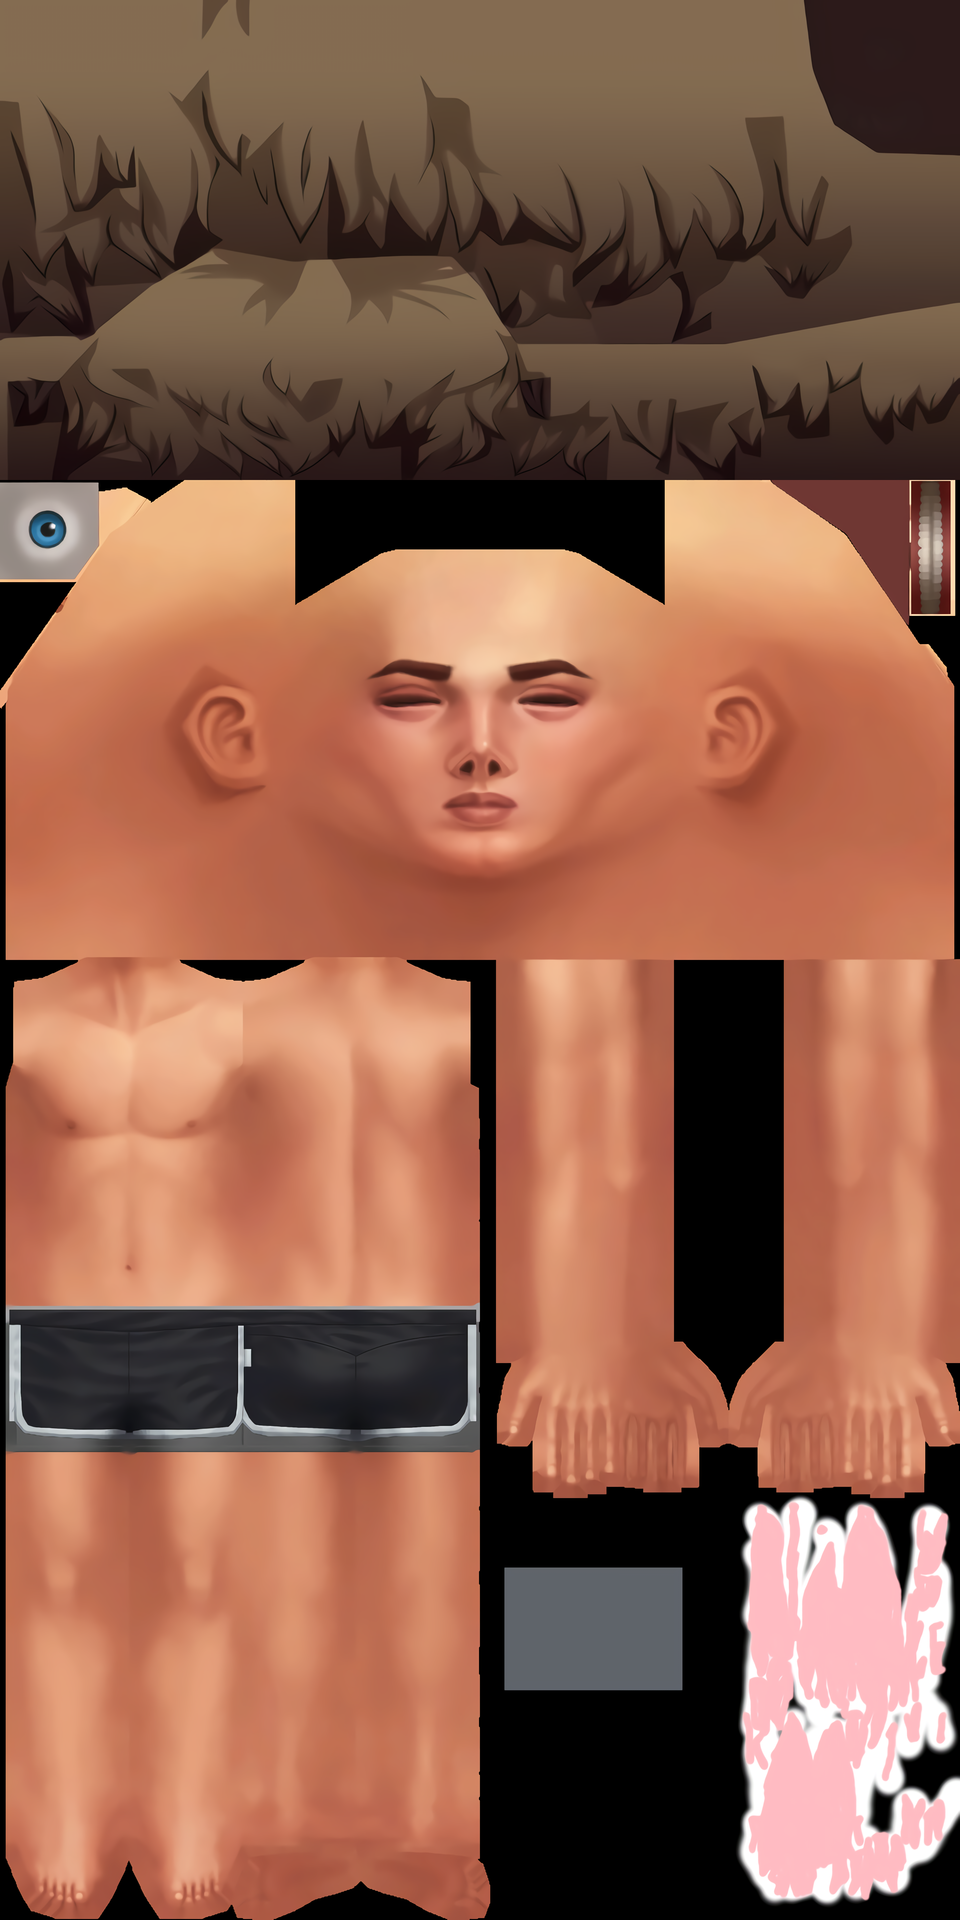
**The pink/white area was the previous attempts, just for context
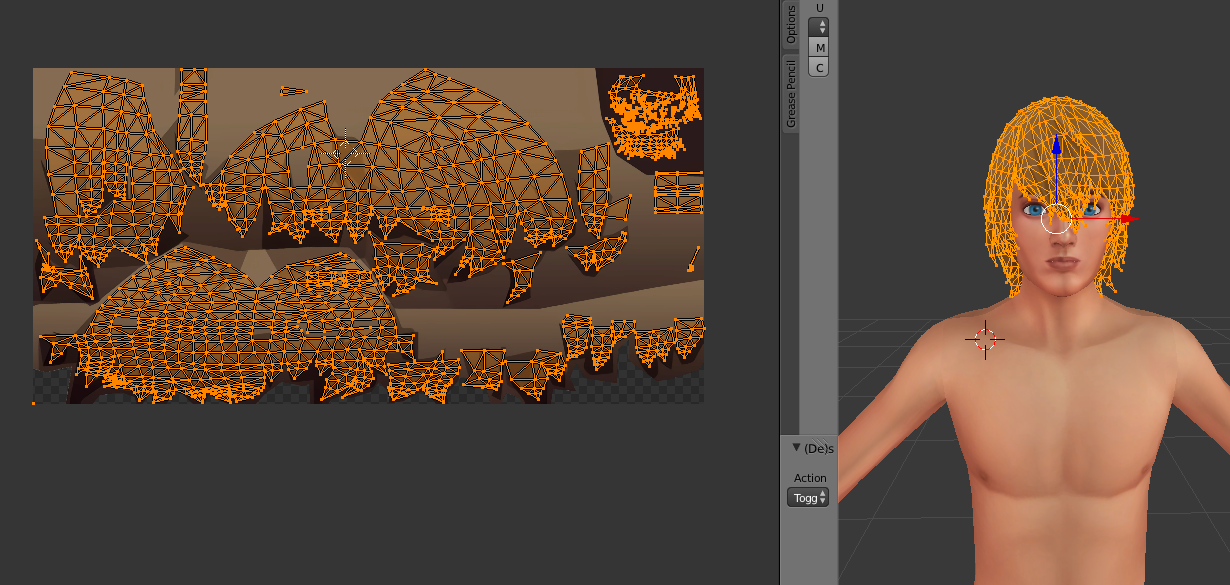
However, like I pointed out earlier, the texture mapping is stretched differently on the mannequin texture than it is on its regular texture (see the above images w the edit mode selections). I would like to be able to stretch it but I cant seem to find out any information on whether or not I can stretch or change the proportions of the UV area it references for the texture. Someone with more knowledge of this / of Blender as a program please help???
While I was able to figure out how to get the mesh for the hair properly finished, I am having troubles with UV Mapping - specifically being able to change what area the mesh references as its texture.
Here's what I have so far:
*It is the proper dimensions its just flipped + when used it covers the whole body, like so:
I understand it is because Sims 4 uses one UV map as opposed to several, so I need to edit the UV mapping. I watched a tutorial on how to slide the selection area but it only helped me so much because the selection area is stretched differently on the Mannequin UV Map...
I tried using the trick where I scale it down to the corner space, which did solve it in a way, the only problem is that the texture wont be HD when I do that (please note that I do not own Photoshop, the best I can use is Pixlr.com which is great but wont let me double the size of the mannequin proportionately due to its maximum image sizes).
So I used Pixlr Pro (free trial) to scale the image higher so it can be more HD while still being proportionate, but even then the best I can do to fit the texture in a space without reducing its quality or overlapping on the mannequin was by setting it like this:
**The pink/white area was the previous attempts, just for context
However, like I pointed out earlier, the texture mapping is stretched differently on the mannequin texture than it is on its regular texture (see the above images w the edit mode selections). I would like to be able to stretch it but I cant seem to find out any information on whether or not I can stretch or change the proportions of the UV area it references for the texture. Someone with more knowledge of this / of Blender as a program please help???

