|
|
Post by Feyona on Jul 3, 2016 4:27:38 GMT -5
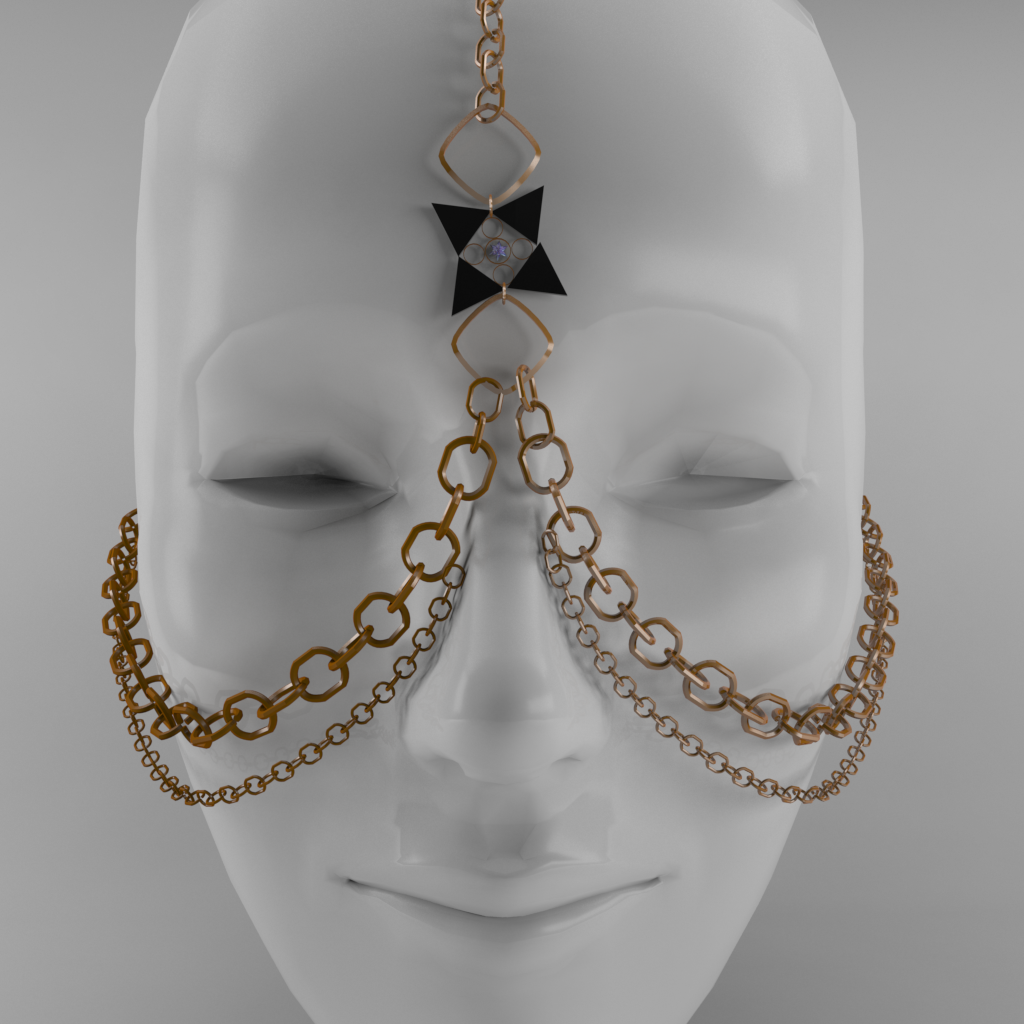
Hi! I have a question regarding the look of polygons. Is this part of the mesh ready for texturing (later will try to decimate a little in blender, according to 3DS Max it's 188 polys) or is it bad looking polygons? Is it fine to leave them this way: 
Or should mesh (polygons) always look like this? 
I need precise shape like on the first picture (for earrings). I got it by creating 3 circle splines, attached them, used boolean -> substract, turned into editable poly, selected all vertices and used "connect". Thank you for advice. Also another question. I can't figure out how set up custom texture size in 3DS Max so it won't stretch UV right away when I add UVW modificator. I found where to change numbers for UV render with and height, but when I change them texture gets stretched along y axis. Pictures in spoiler. I know how to scale it but want to know may be there is a way to make it look normal since the beginning. I googled for a few hours but didn't find a solution. With default settings (256px by 256 px)  And when I change to 1024 by 2048  |
|
|
|
Post by inabadromance on Jul 3, 2016 13:39:54 GMT -5
It's perfectly fine to have the mesh like that. S4S adds the remaining edges "conectors" (i don't really know how to call them) when you re export it. it just doesn't change a thing. Try importing your mesh, and re importing it. You'll see  As for the other, i'm sorry i only know blender. i found this though (?): "Texture size can be changed by Customize->Preferences->Viewports->Display Drivers->Configure driver-> and set "match bitmap size as closely as possible" for both texture size." |
|
|
|
Post by Mathcope on Jul 3, 2016 14:00:02 GMT -5
Yes it is fine to leave the meshes like that. It will be triangulated later by itself.
As for the uv. If you change the sice you need to scale the uv in the x axis in the uv map editor after you change the size. Or as it is a simple map you can re-do it after changing the size. I don't know what mapping mode did you use. I think a planar map will be the correct one. Since that map looks a little wonky.
|
|
|
|
Post by orangemittens on Jul 3, 2016 15:59:27 GMT -5
As inabadromance and mathcope have said, Studio will triangulate the mesh for you. It does this because the game requires the mesh to be triangulated and it's just easier to let Studio do it than having creators need to worry about it.
|
|
|
|
Post by eliavah on Jul 3, 2016 16:28:34 GMT -5
Ah someone that works with 3ds max like I do :D
That mesh is fine honey, for the UV map the map seems to look ohkayy, but heres what I do when im UV mapping and my textures usually come out nice.
First, I use the unwrap UV modifer like you do, then I mark seams. I use the point to point seam tool (I forgot the exact name) But it should be in the same space as that Green line tool, and then I use vertice selection, to make a seam.
Heres a video explaining pretty much exactly what I do
Use either a 2048x2048 map or a 1024x1024 map. Do not make your mesh originally to the Sims 4 texture map, I usually do this because I make my meshes for both sims 3 and 4 usually, and if I want to render I usually use the better textures, as sims 4 texture map space, especially for acessories is soooo tiny.
So jus resize your uvs according to one of the standards. Then when you finish your mesh, collapse all modifiers and Export it as a .obj. Also if you want you can bake the textures in 3ds max because Mental Ray is awesome. You'll just have to create a studio, make some lights assign materials etc. I personally have switched to Vray but I used to use mental ray and use the default 3ds max Studio as my place to bake out materials.
When you do that, import it to blender, then you can resize your UV, and if you baked your textures in 3ds max you can resize them down in photoshop and sharpen them.
Of course you can just scale it alon the sims 4 texture map in 3ds max, Just import a image of the sims 4 texture map, and make it super small to fit the appropriate texture space. Then you can bake your textures like that as well, however you won't be able to scale the bake up without it blurring a lot, so importing to other games is kinda out of the question, unless you make new textures, but its up to you! I just always like to have the original 1k or 2k textures for future projects. (Skyrim, Secondlife, IMVU, Daz Studio, etc.)
|
|
|
|
Post by Mathcope on Jul 3, 2016 16:40:27 GMT -5
eliavah Just a question, since you seem to know a lot about accesories  How do you keep the quality of the textures when resizing to the Sims 4 correct space. As you said, the place assigned to accesories is really tiny and the textures loose a lot of quality. Is there a way not to do it? Maybe increasing the map size? I don't know.
|
|
|
|
Post by Feyona on Jul 3, 2016 16:52:01 GMT -5
inabadromance thank you for clearing this up! I think I read somewhere that studio triangulates meshes and that the mesh has to be triangulated but it didn't settle in my mind. I tried that preferences that you wrote about but it doesn't work. I think it's for different purposes when texture is small and object is very big. When you assign small texture to the big object texture looks very blurry. So I think it's for this purpose (want to try later because it will be a solution for another little problem for me). Mathcope I used Unwrap UVW -> Edit UV. I think it's the only modificator to work on uv layout directly, all other just help to unwrap the texture in different ways. I scaled down the texture, just wanted to know may be it's somewhere in preferences and I don't know about it. orangemittens that's super convenient  . Thank you! Because I've been tweaking it for hours trying to figure out how to triangulate this object the same way that it looks in studio. Learning the program step by step. It's a lot to learn. eliavah thank you for explanation! I love that method with marking seems, great video. Never tried but will do when I make that complicated mesh. Regarding backing in 3DS Max. Do you have any video about it? I am new to 3D programs, and didn't get to render preferences yet. I know that Vray is awesome, I saw a lot of terrific results but concentrated on learning about modificators, I'd appreciate if you can share any video tutorial  . Mathcope for the earrings that I recently posted I created the texture 2048x4096 and also scaled RLES accordingly. I didn't try to use default size of the textures to compare but I think mine looked pretty sharp (but my pieces of texture were pretty big, I used as much space as I could to place circles). Probably I have to make 1024x2048 and compare.
|
|
|
|
Post by eliavah on Jul 3, 2016 20:53:54 GMT -5
Mathcope : I actually do lose *some* quality in my jewelry, although since my jewelry uv maps are already smaller than like clothing or such. But i sharpen the texture a lot in PS and it makes it look alright in TS4 :3. Baking textures also help to, but like I said I bake my textures at 1k or 2k then just resize and sharpen in PS ^^ But yeah theres no way to may the quality look like render quality with sims unfortunately. If you zoom in super close to some accesories .. even in the sims 3, the quality isnt at its "finest", But most of it looks alright keeping the camera abit zoomed out. Like if you're taking a face picture with face jewelery thats fine. Theres also talk of HQ mod for the sims 4. I havent messed with it but thats here : alf-si.tumblr.com/HQ_ts4_English if curious Feyona : no problem hun! I actually think these was the tutorial I followed for baking materials, I baked it with Complete Map so insted of whatever this person does follow that. Instead of setting up a studio like in the video though you can use the template 3ds max provides you, but use the person's settings ^^. Then just put your object where the light/studio backdrop is and bake it. Make sure your uvs are finished first. Ive made some pretty decent bakes with mental ray, and the template studio, this is before I switched :   And if you want to check out some of my other Renders of my CC here : eliavah.tumblr.com/tagged/3dmodelingHowever i dont have much lol, and most of those beside the first are a bit older. (Also NSFW warning when scrolling down ^^ 
|
|