|
|
Post by nantia3345 on Aug 1, 2017 9:21:15 GMT -5
|
|
|
|
Post by inabadromance on Aug 1, 2017 11:34:33 GMT -5
I've downloaded your latest blend and i'm happy to see some progress. I would like to know what is it that you've done differently now that you weren't doing the previous times? It would help me GREATLY to know this, to help you more in the future or others as well.
Still there's some things to be fixed:
- It seems that you did the weight transfer on a version that wasn't 2.70. I can tell by clicking on any vertex and seeing the weights on them. As you can see, there's a lot of 00 weights that got transferred even though they shouldn't (because they are at 0) and the game only reads 4 causing the bones that have numbers to not be counted towards the final weight. to fix this: open your file with 2.70, change to weight paint mode. Press Limit Total and change the number that appears on the box below to 3.
- The uv_1 looks awesome (again, i would like to know what did you do differently this time to get it right)
- The vertex paint is the wrong color. There's not such thing as light blue. It has to be the correct green shade. Go into vertex paint mode, click on the color bar and paste this : 00FF00 under HEX number.
Remember to delete all the extra rigs, bone shapes and groups.
|
|
|
|
Post by nantia3345 on Aug 1, 2017 11:57:21 GMT -5
The wrong things was that previous times I deleted all the rigs except rig (I had rig, rig1 and rig2) and as I remember now I delete only rig 2 (the last rig) Now I had a swimsuit not an other mesh that has more than one meshes and maybe other times I don't choose select face corner and but when I choosed that sometimes choose topology, nearest face (not the nearest face matching normal) or something else as I choose wrong uv at the third box then I do this with uv 1 maps import and scaling as the tutorial said
|
|
|
|
Post by nantia3345 on Aug 1, 2017 12:04:18 GMT -5
|
|
|
|
Post by inabadromance on Aug 1, 2017 12:15:22 GMT -5
Yes, the vertex paint is correct.
That's why i've been telling you to just press "weight transfer" and just that. There's no need to be changing any of the settings that are there by default.
As for uv_1, just follow what the video tutorial does and nothing else. Which is what you must have done now seeing that it looks much better than previous versions.
|
|
|
|
Post by nantia3345 on Aug 1, 2017 12:18:15 GMT -5
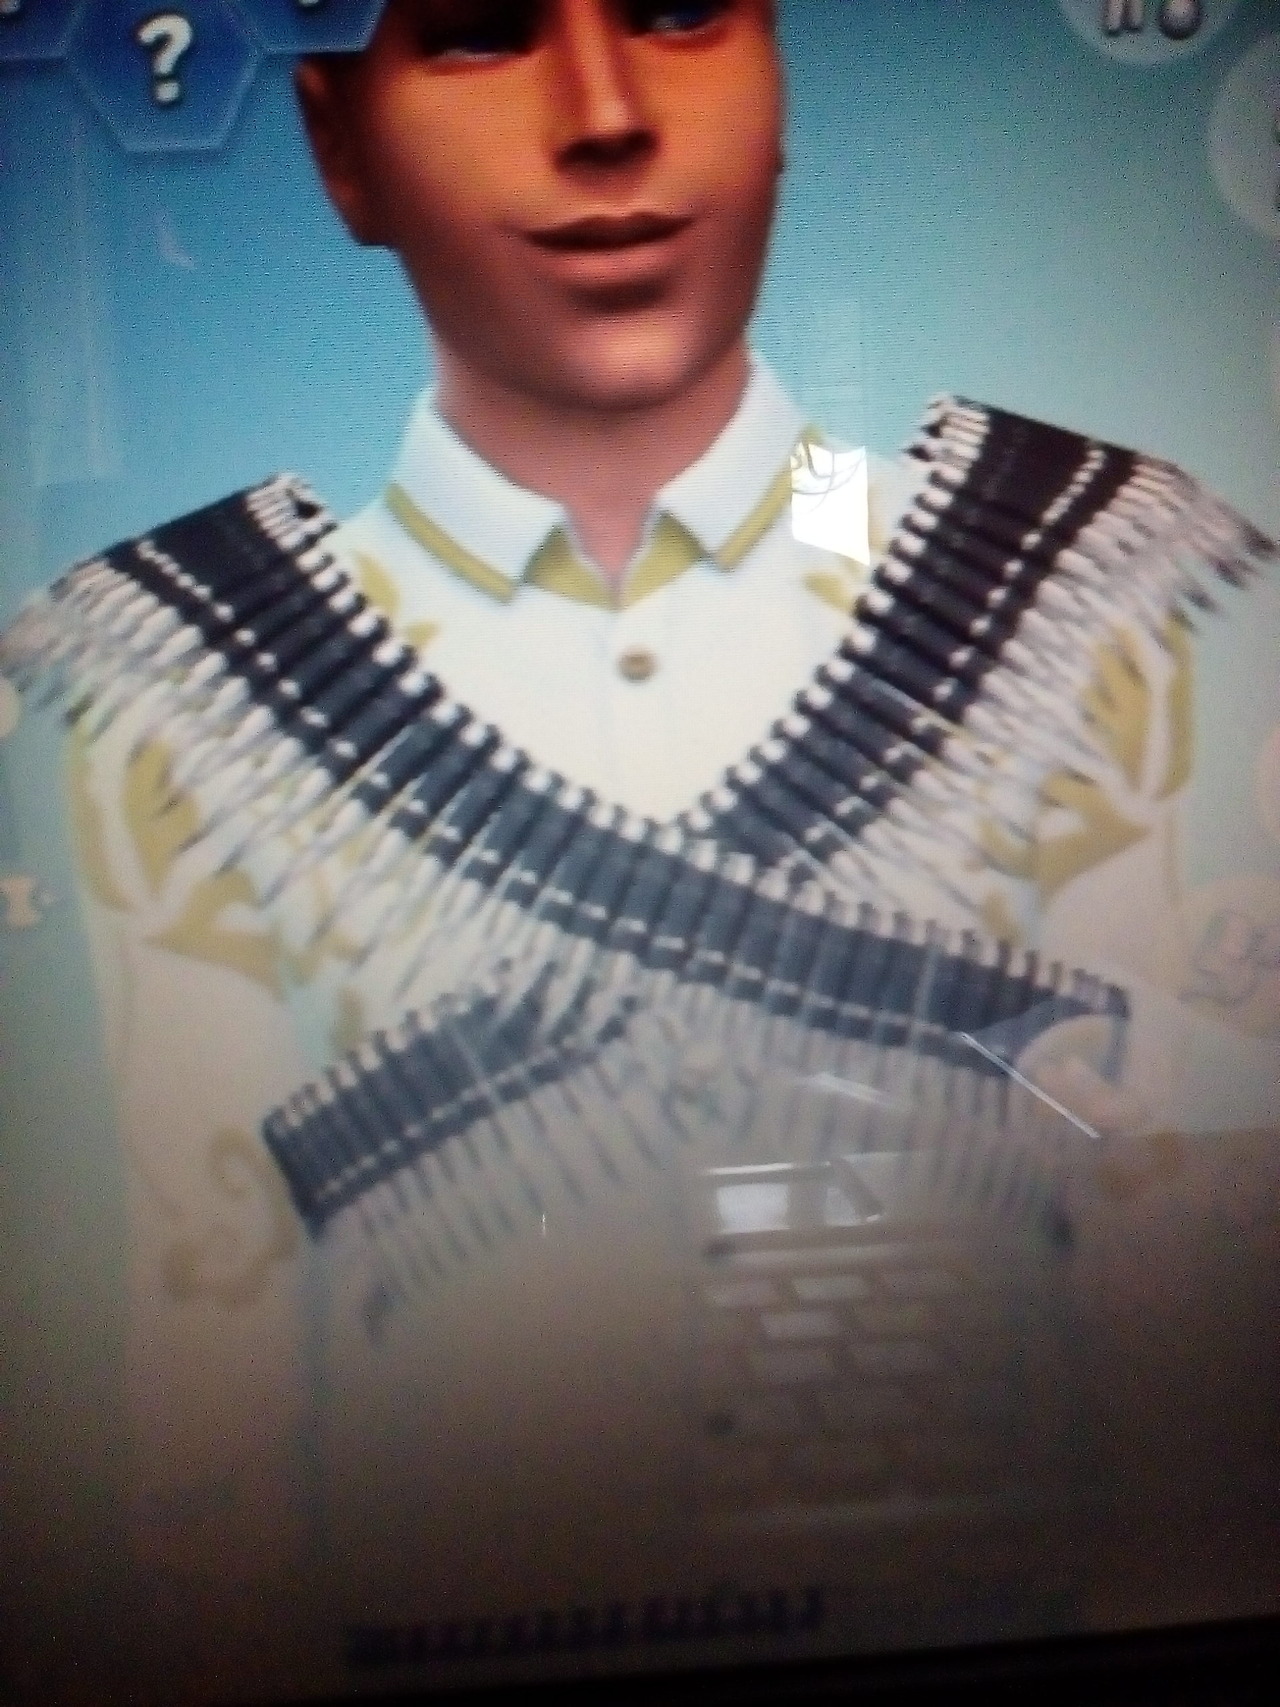
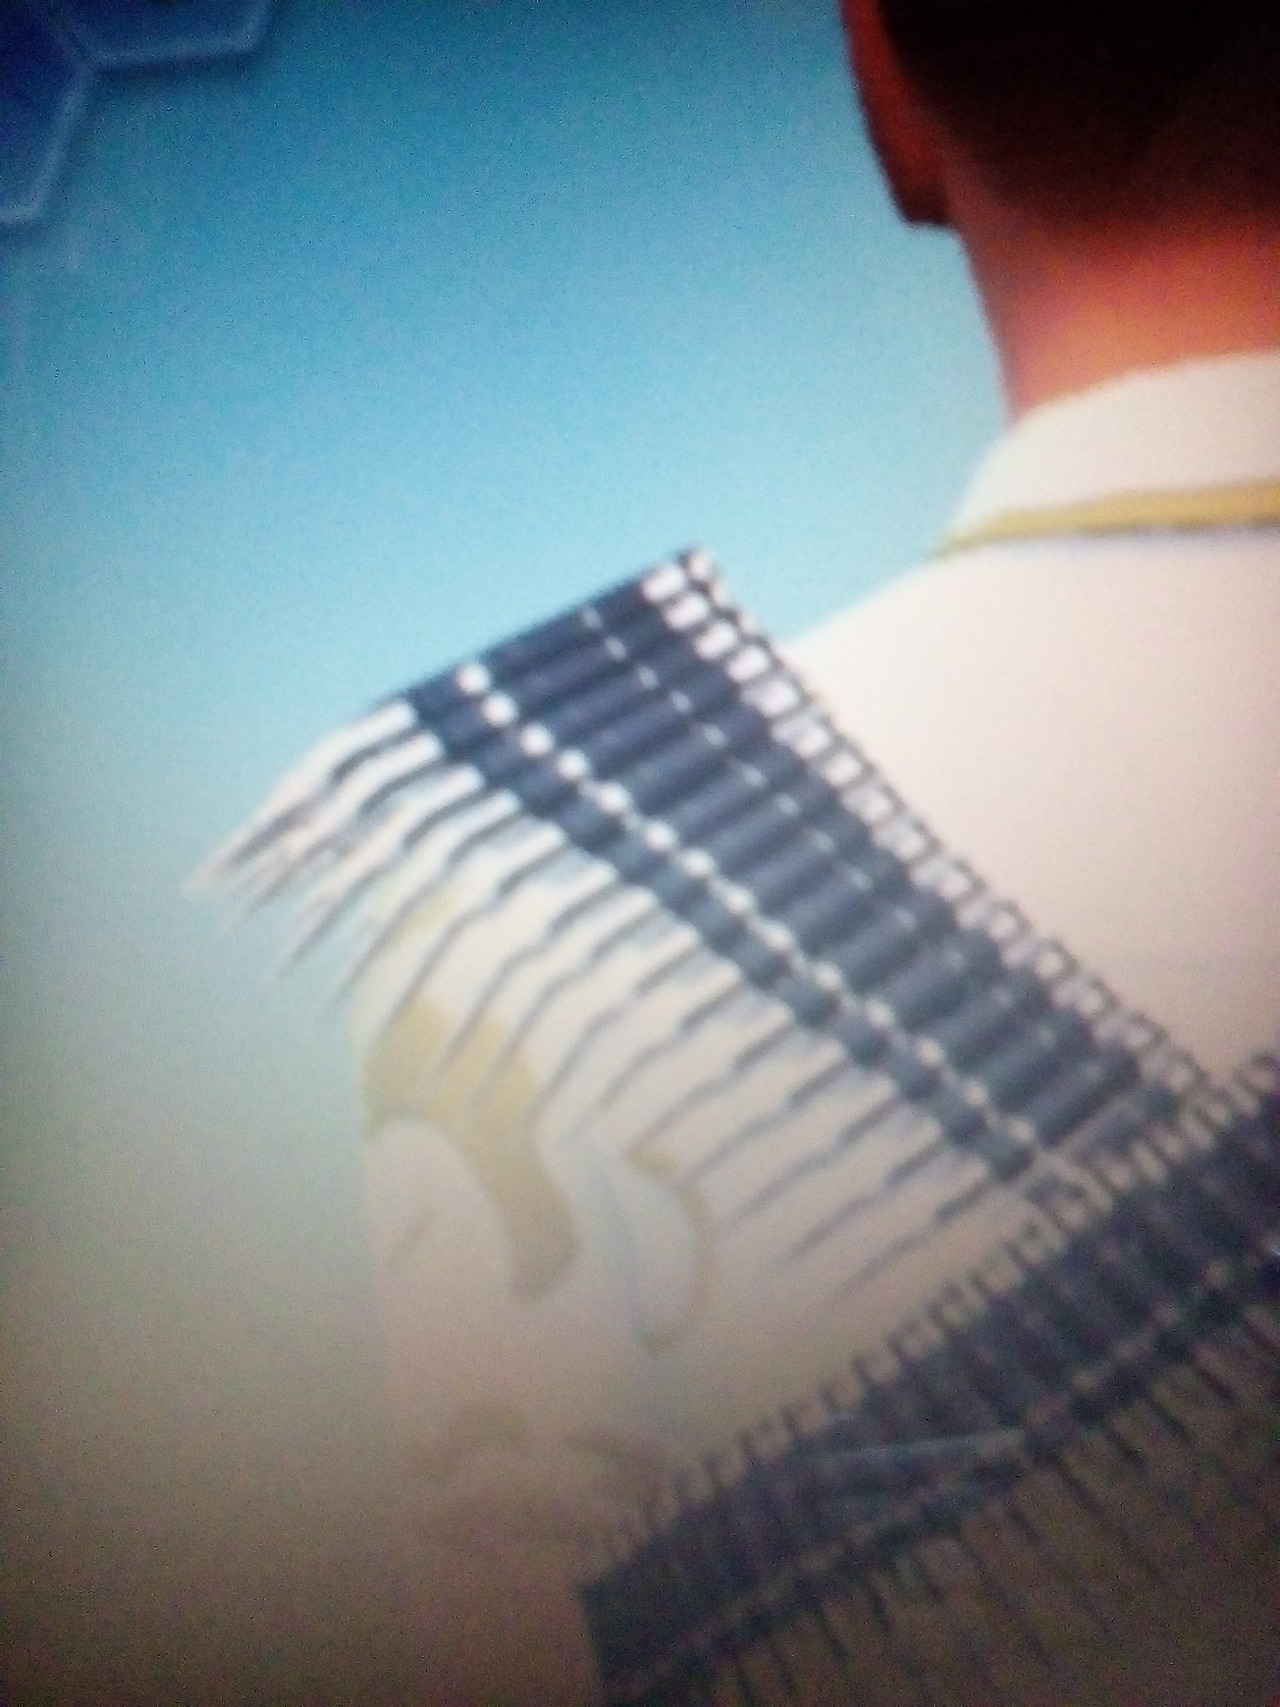
I made as the tutorial said step by step here is my last blender file : simfileshare.net/filedetails/282757/ ( I hope that works on game because when I opened 2.70 says that is an older version data loss) In game meh looks better but altered in some places:   |
|
|
|
Post by inabadromance on Aug 1, 2017 12:52:02 GMT -5
Great! Everything is technically correct. As you can see the object molds and moves with the sim without any weird vertices going off. And that's how it should be. If you want to fix the "bending" of the bullets you'll have to go over each bone in weight paint mode and see how each part gets colored. Then you'll have to manually paint over each part so that the bullets move more with one bone than the other. Please read carefully this guide that SLYD wrote to learn how to do this. |
|
|
|
Post by nantia3345 on Aug 2, 2017 1:05:25 GMT -5
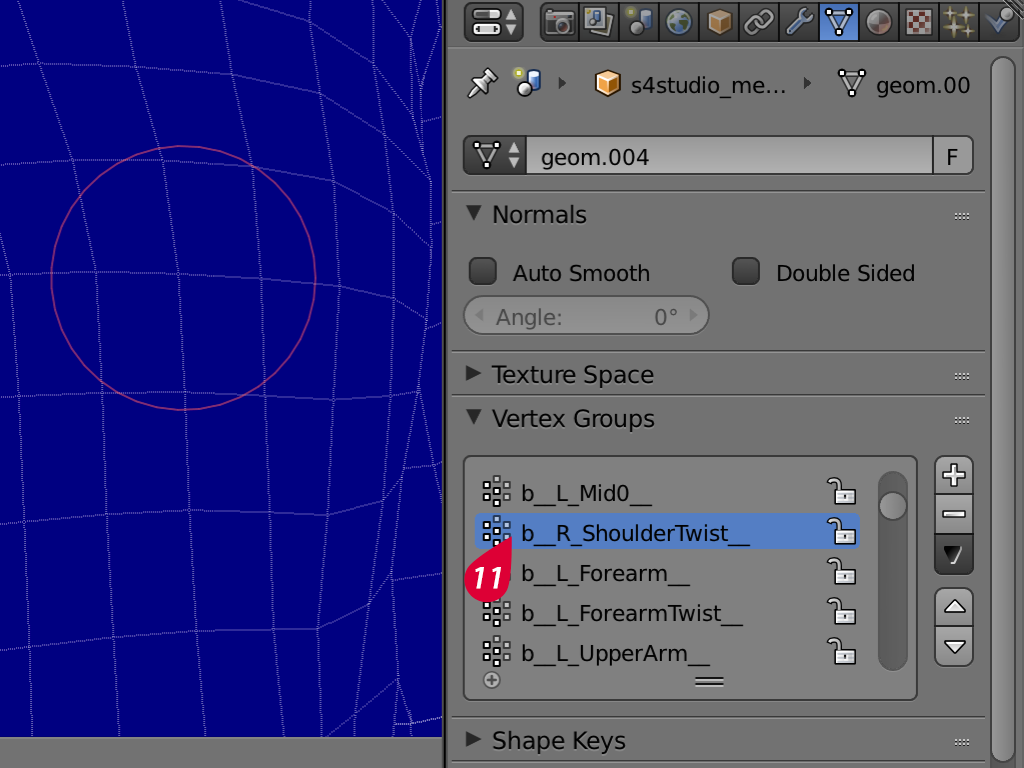
I don't know how to choose a bone only with a choosed all and how to make the sim move? (Please be patient with me I don't speak English and I translate from google) :D :D
|
|
|
|
Post by nantia3345 on Nov 18, 2017 11:14:36 GMT -5
Can anyone help me with this? Please I stucked...!!!!
|
|
|
|
Post by inabadromance on Nov 18, 2017 16:03:21 GMT -5
what is it that you're stuck with? the guide I linked on my last post explains all the steps. which one specifically is giving you trouble?
|
|
|
|
Post by nantia3345 on Nov 19, 2017 5:24:09 GMT -5
The difficult is to find the right bone and correct the edges of the bullets that existed in shoulders...! That the reason I stuck..
|
|
|
|
Post by inabadromance on Nov 19, 2017 22:57:30 GMT -5
You have to scroll over all bones until you find the one you need. Every time to clic on a different bone the mesh will be colored different depending of the weight for that particular bone. Being blue (weight 0), through green up to red (weight 100).  What the tutorial explains is how to shift the weight from one bone to the other so that a particular part of the mesh stops moving with certain bone instead of another. When you reduce the weight of the bone in favor of other, blender automatically fixes both bones. Removes the weight on one, to give more to the one you're brushing over. I'm not really sure how else to explain this since it's done with all steps in the tutorial i linked. |
|