|
|
Post by sherry101 on Apr 24, 2015 13:54:32 GMT -5
Thanks OM! This is exactly what I needed, pictures and explanations. Hopefully, things will work out this time when I start from scratch. I noticed that one of the meshes I was working on did show the original EA mesh when zooming out and in another instance I even saw the shadow plane in the game (Now I know why). That is why I thought it would be best to ask the person who wrote this tutorial, you. This cuts down a lot of confusion. I hope asking didn't inconvenience you in any way. It's a great tutorial OM! Thanks for your help! Sherri, it was not my intent to confuse you. The questions you had were the same questions that I had and I gave you the same information that I had received. Sorry for the confusion. Ms. MsTeaqueen, I know that you did not intentionally try to confuse me - You were just trying to help. I thank you for that, but listening to more than one person at the same time is confusing to me. Hope you understand! |
|
|
|
Post by sherry101 on Apr 24, 2015 13:57:23 GMT -5
Should I have started with a mesh that already has a glass texture included like a glass or glass vase (I sure can't find one) or is it something I can do to it? 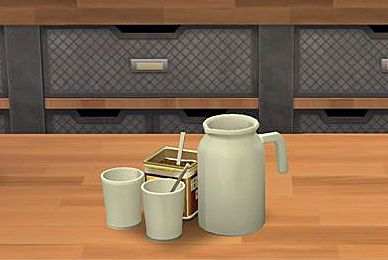 try the Viney League Encased Scrolls Thanks X! I totally missed this one. |
|
|
|
Post by -X- on Apr 24, 2015 21:12:16 GMT -5
Hi sherry101, the easiest way would be to use something that already has a glass group. The object X suggested has that. What you would do is separate the items in your object by whether they should be glass or not. Join all the items that should be glass into one mesh group and use that to replace the glass dome of the encased scrolls. All the items that should be solid would then need to be joined into a second group and that group would replace the scrolls inside the glass dome. Alternatively you could change the shader on some other item that has two separate non-shadow plane mesh groups. Thanks OM but I don't know what you mean when you say separating then joining into one mesh group. Is there still going to be one map (I had a lot of trouble with that). I also noticed that the glass dome had a cut number of 2 and the base had a number of 1. Do I combine numbers to 3? When applying textures to the map for the glass, how would I make it transparent in Photoshop? I wish there were two separate textures to import (one for the glass and the other for the solid) That way I could just use the original TS2 textures and be done with it. LOL there are 2 maps in the object but you only use one. i dunno why there are two since the glass and texture are both in 1 map on this item. you don't combine the numbers your shadow map has cut 0, texture cut 1 and glass cut 2. i don't know how it's done in photoshop but in pspx7 you select your glass texture or color and drag the opacity up and down on the layer to make it less transparent. the more you drag the more transparent it will be. take a look at my crystal glass sculpture there are 2 versions one has very clear glass the other doesn't. the clear glass i used an opacity of about 50 with the blue glass i think i used somewhere around 70. if your looking for an object with a separate glass texture than the Commemorative Freeze Ray has that but it requires a career requirement but you can always get rid of it. (that's them one i used with my crystal in glass i didn't know the Viney League Encased Scroll existed either until recently  ) |
|
|
|
Post by sherry101 on Apr 24, 2015 22:23:50 GMT -5
Thanks X I'll have to look that one up! I did have success with these: 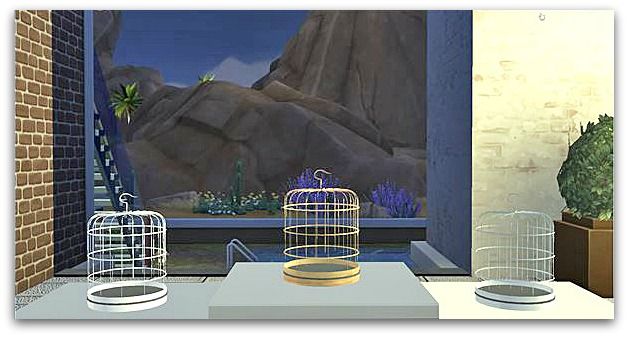 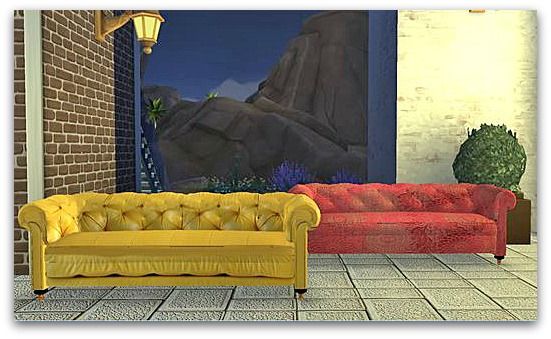 One Map, One Mesh and No Glass!!! |
|
|
|
Post by ajOya on Apr 24, 2015 22:54:20 GMT -5
Very nice sherry101! I have a thing for bird cages. ♥ |
|
|
|
Post by orangemittens on Apr 25, 2015 1:00:12 GMT -5
Hi Sherry, you need to put all the items you want to be glass into one single mesh group and replace EA's glass dome with that mesh group by assigning it the same cut number as EA's glass group has. Put all the non-glass parts of the mesh into another group and use that to replace EA's scrolls with by giving it the same cut number as the scrolls have. Both items are on the same map. The glass part sits on a semi-transparent alpha on the map. You will need to save it as a .dds DXT 5 (interpolated alpha) instead of a DXT 1 like most other objects use.
Another person asking a similar question posted saying she had good luck using the minimalist unplant. That has two separate groups on two separate maps if I'm not mistaken. Or, as X suggested, you could try the Commemorative Freeze Ray. Getting rid of the career achievement thing is very easy to do...it's just changing a single number in one field per swatch in the Warehouse tab.
|
|
|
|
Post by sherry101 on Apr 25, 2015 13:16:08 GMT -5
Om I get what you're saying about having two separate groups (glass and non-glass). Maybe I just don't know how to do that in Blender. I thought blender tells you what part of the mesh is the vase part (glass) and which one is the flowers (non-glass) when you select each part. Are you able to make two different maps in blender since there are EA items that have two separate textures in Studio (like the freeze). I have so much trouble putting two items on one map. When I think I'm getting all the vertices, I still see remnants of the vertices when I move them - A big mess. I looked at your additional notes on retrieving the vertices but 9 times out of 10 my map looks a mess. I think I understand about the cut number situation and saving .dds DXT 5. You'll have to walk me through the Warehouse part if I get to that part (smile).
|
|
|
|
Post by orangemittens on Apr 25, 2015 13:47:34 GMT -5
If you send me the original item in .obj or .blend I can take a look at it and show some pics illustrating what I mean and showing how to do it. Blender is able to have multiple maps present at the same time. If an item has a different texture for each mesh group Studio should be sending those to Blender in the mesh .blend. I'm not sure what you mean by remnants of vertices. Can you show a picture of what is going on that looks wrong to you?
|
|
|
|
Post by sherry101 on Apr 25, 2015 19:06:19 GMT -5
I did it! That's all right OM. I'm sure that mess is gone by now, but if it happens again I'll be sure to send you a picture. Instead of using textured maps that I was suppose to make by myself, I just used the original textures from Sims PE (just turned them in to DDS). That's why I was banking on someone finding a mesh with two separate textures in Studio. Thank you so much X! - the freeze worked out perfectly. But I'm worried about one of the meshes (Cocoa and milk). It doesn't sit directly on its plane or surface when putting in on a counter or table - It's half way on and off the table. I don't know what happened or how to correct that. And, OM you said I would have to change a single number in one field per swatch in the Warehouse. You may want to clarify that. 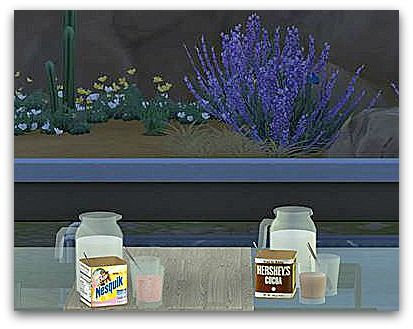 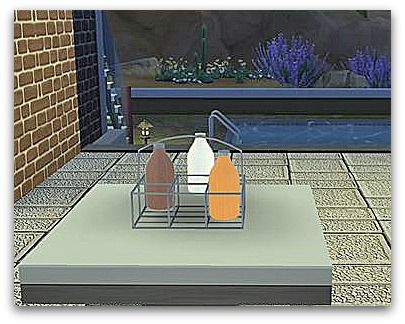 |
|
|
|
Post by orangemittens on Apr 25, 2015 19:13:28 GMT -5
I wrote a tutorial showing how to get rid of the career achievement thing and posted it here: www.sims4studio.com/thread/354/make-locked-objects-buyable-achievementIf you send the working (looks like Nesquik mesh is working) and the off the table (cocoa and milk) .packages I can take a look at them to see what's going on to cause one to not sit correctly on the table. |
|
|
|
Post by sherry101 on Apr 25, 2015 19:55:49 GMT -5
|
|
|
|
Post by orangemittens on Apr 25, 2015 20:13:35 GMT -5
I've got the file if you want to delete your link.
|
|
|
|
Post by sherry101 on Apr 25, 2015 20:18:59 GMT -5
I've got the file if you want to delete your li I'll delete it! |
|
|
|
Post by -X- on Apr 25, 2015 20:44:08 GMT -5
oooo nesquik give me some! when placing your objects that sit on tables make sure to zoom in real close and place the mesh exactly on top so your mesh is aligned perfectly with the originals bottom.
|
|
|
|
Post by lindseyxsims on Apr 25, 2015 21:41:43 GMT -5
I've done some successful conversions, but now I ran across this:  I did the same thing for the shadows as you did in the tutorial, but now to I get rid of those smaller shadows from where the chair's legs were? Those small shadows are not separate from the large shadow, and resizing it still won't get it to fit right. Please help!  |
|