Since some of you are still waiting for the pictures to show up (and to ease Laracroftfan who might have a lot of work and not enough time), I've decided to make my own eyeliner tutorial. I'm gonna post it here because I can't create a thread on this part of the forum (which is normal, I guess ?). This is my first attempt at making a tutorial, I hope it will be understandable...
By the way, this is my method for making an eyeliner, it surely isn't the only one, so I'm not pretending to know everything about making CC or anything like that. Oh and if this isn't the right place to post something like this, please tell me (and I'm sorry) !
You will need the same things that Laracroftfan mentioned in her post (DDS plugin for Photoshop or GIMP, and the face texture).
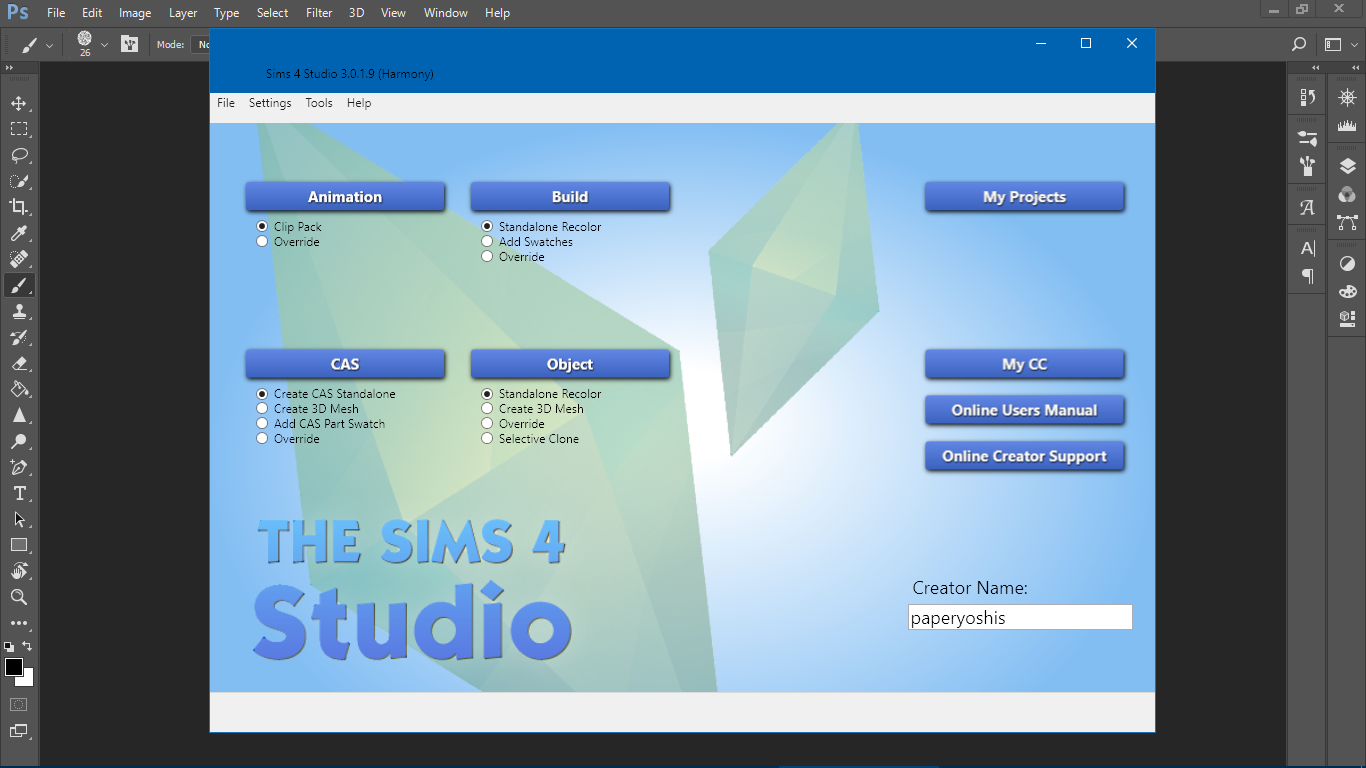
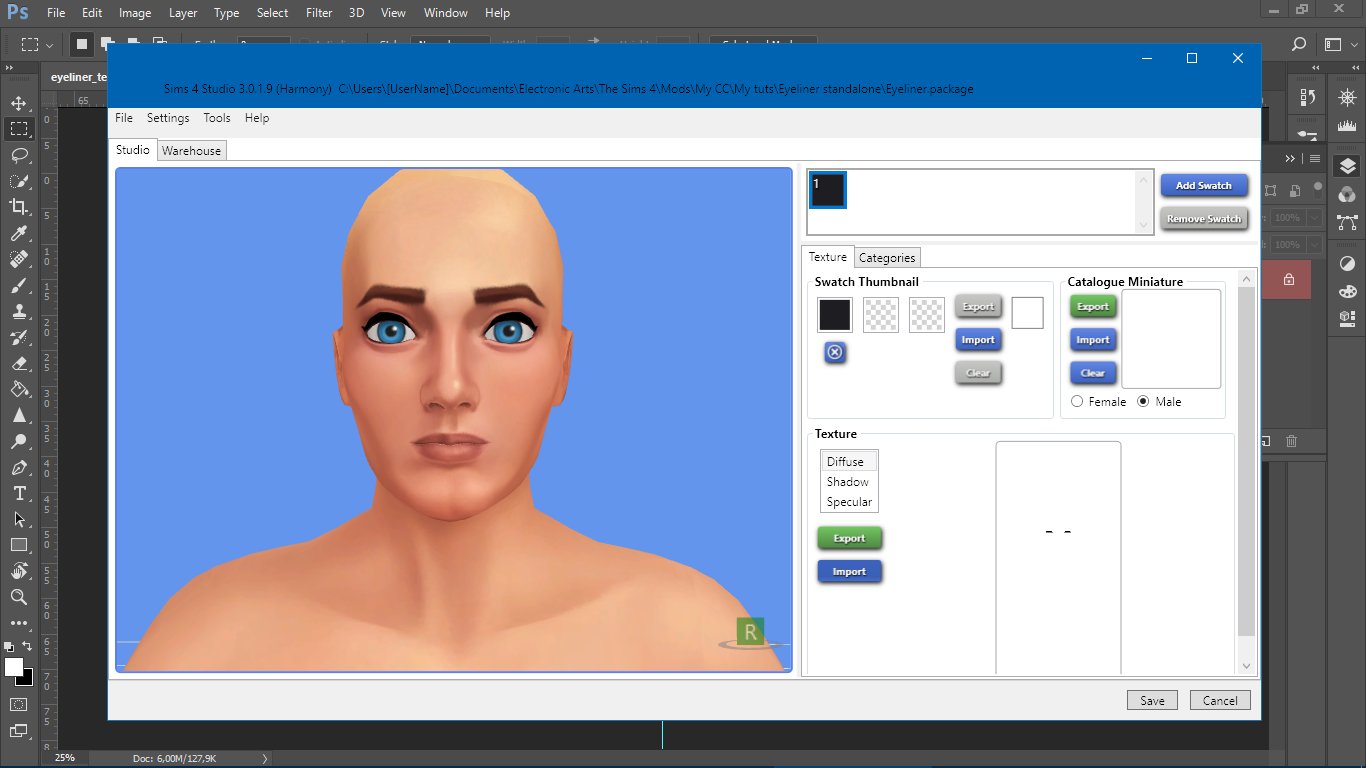
1) Open Sims 4 Studio (I have the Harmony release) and create a CAS standalone.

Select the "Eyeliner" category, and select whichever you want (it will only be used as a template for creating a .package file and DDS texture, so it doesn't really matter which one you choose).

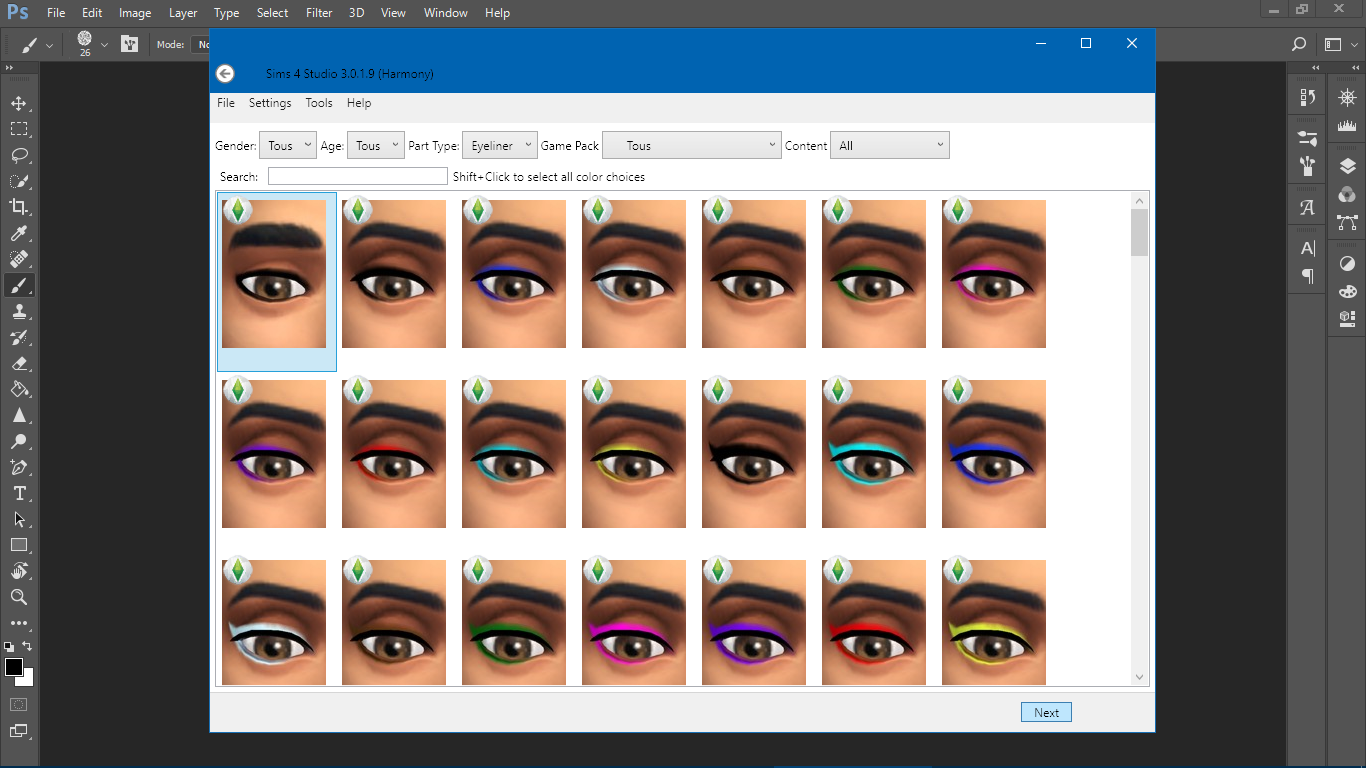
Here I chose the first one (for male, but whatever, this is 2017, folks).
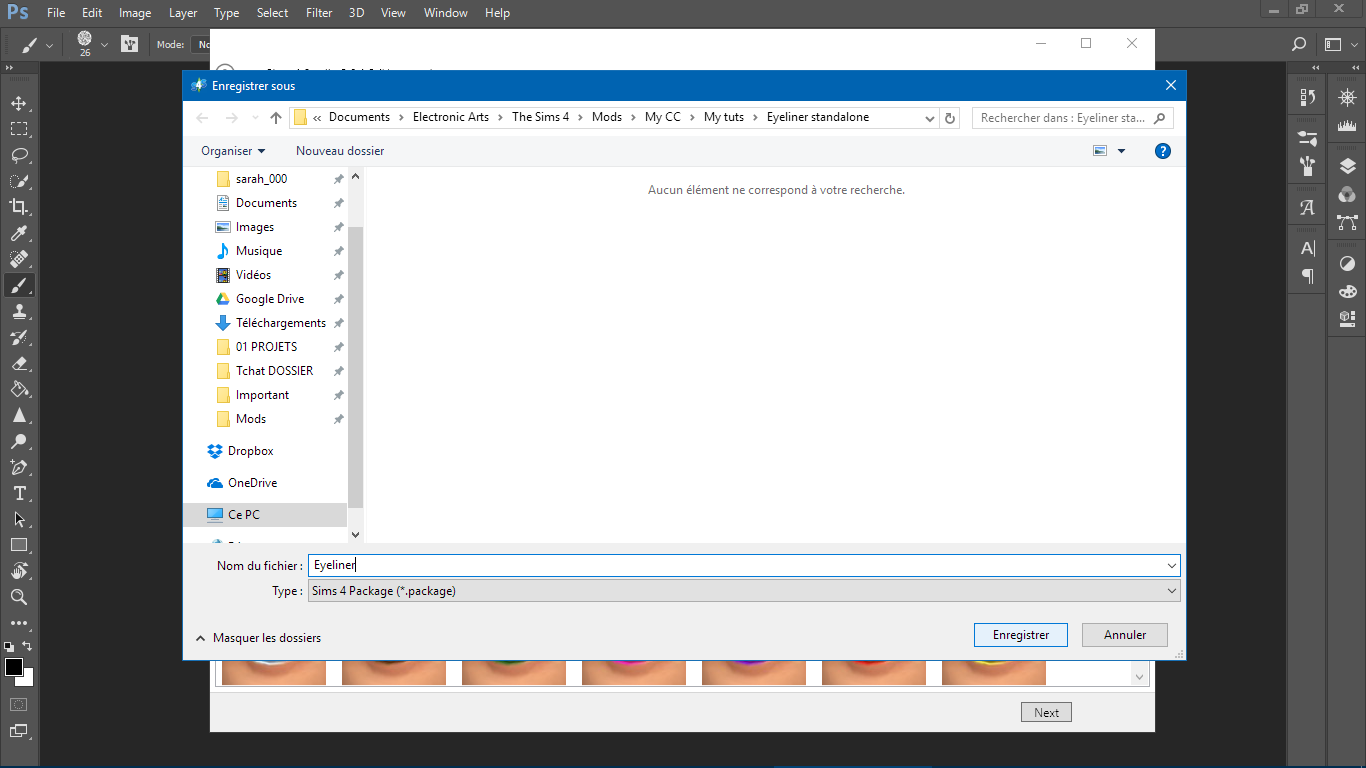
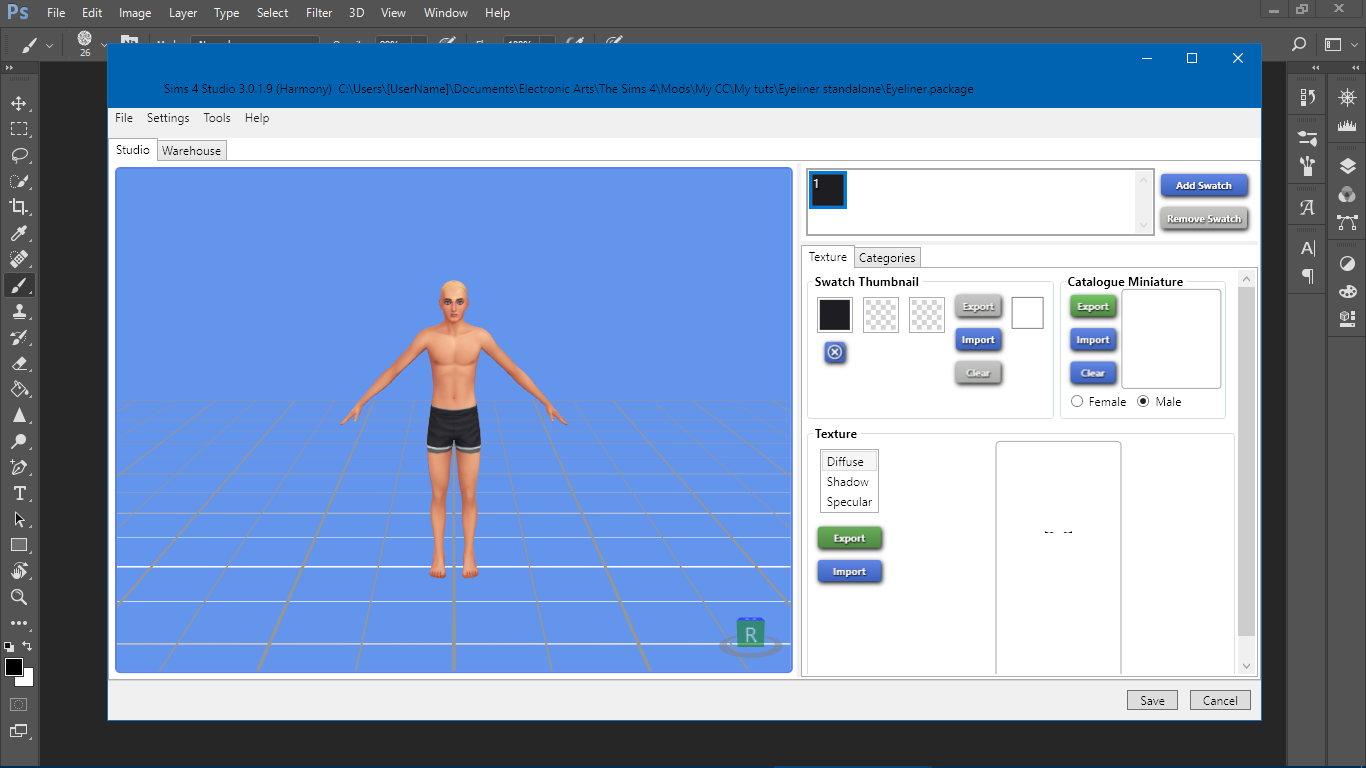
Next, you will extract the eyeliner texture (by clicking on Export) then save it.
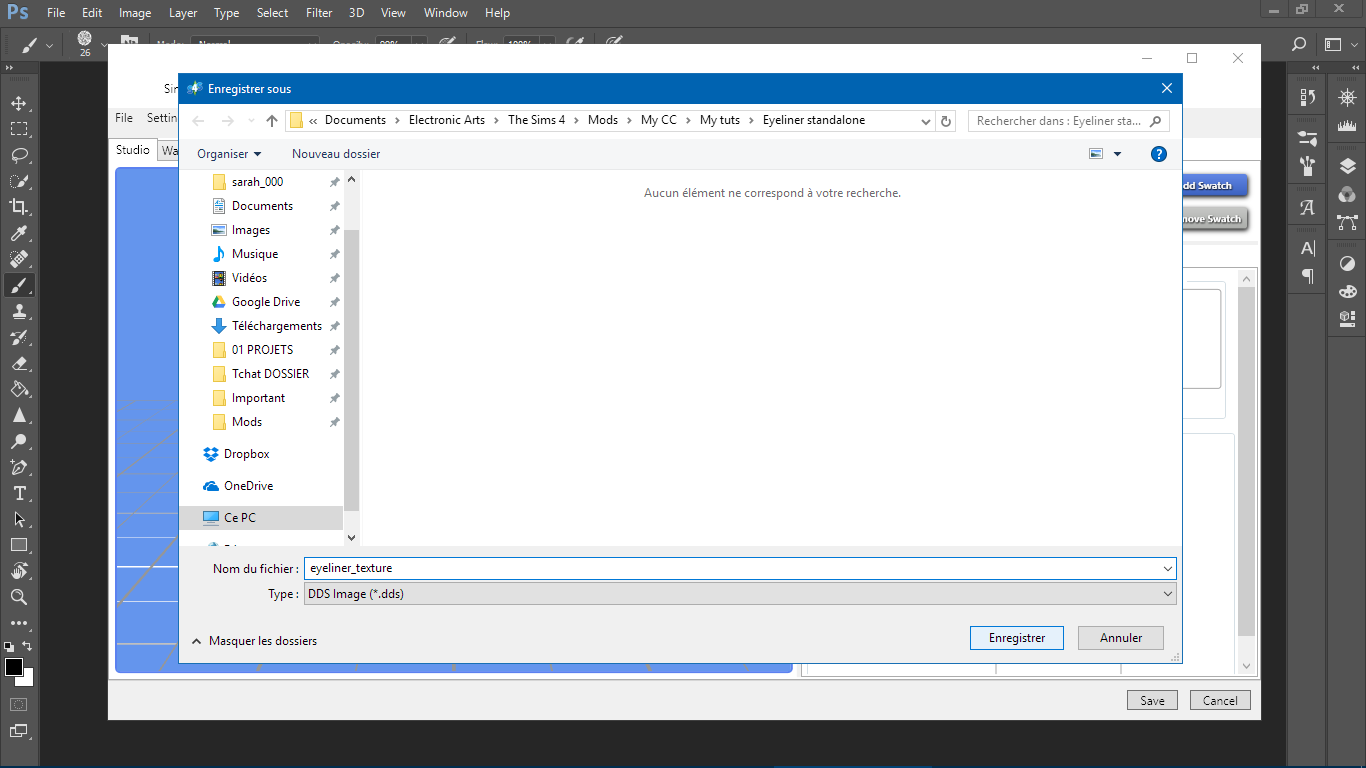
I named my file "eyeliner_texture".
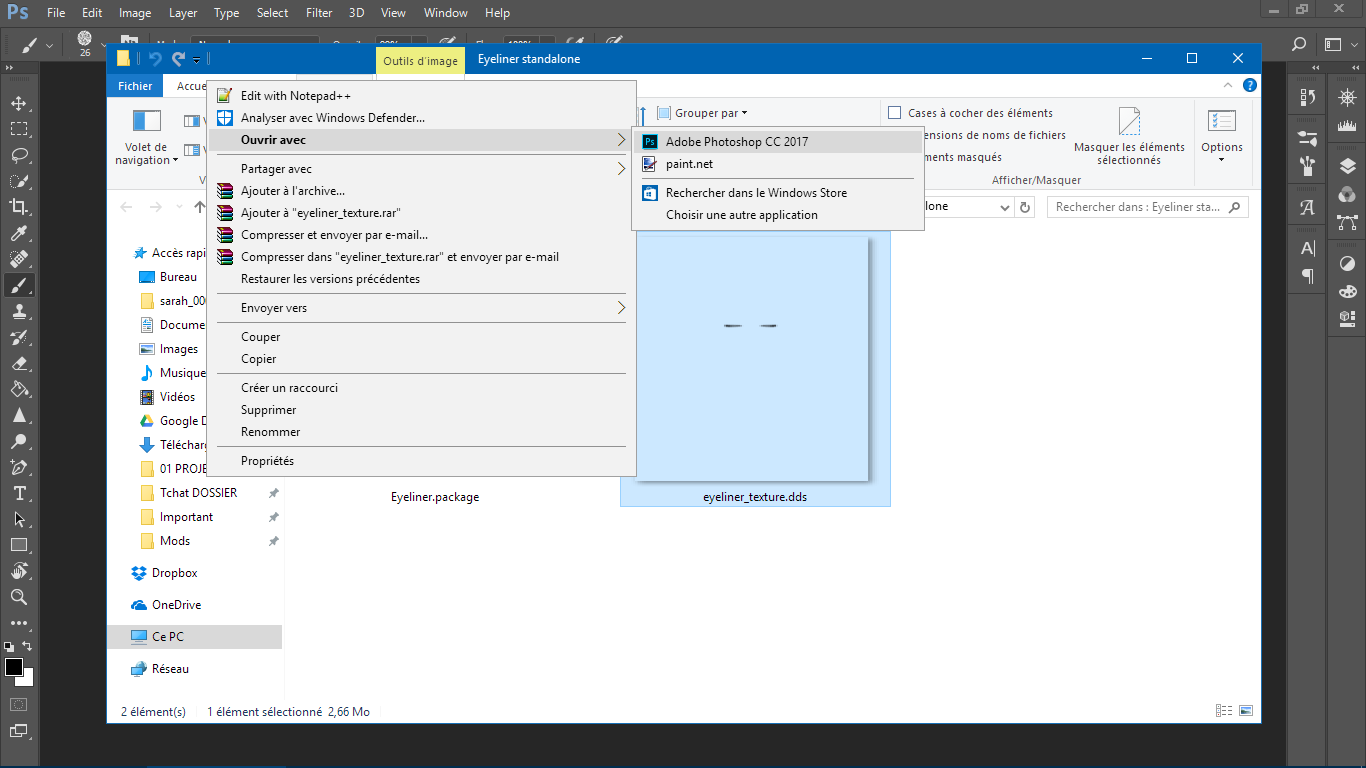
Now open both of the textures in Photoshop/GIMP.

Click "Ok" (you can uncheck "Show this dialog").
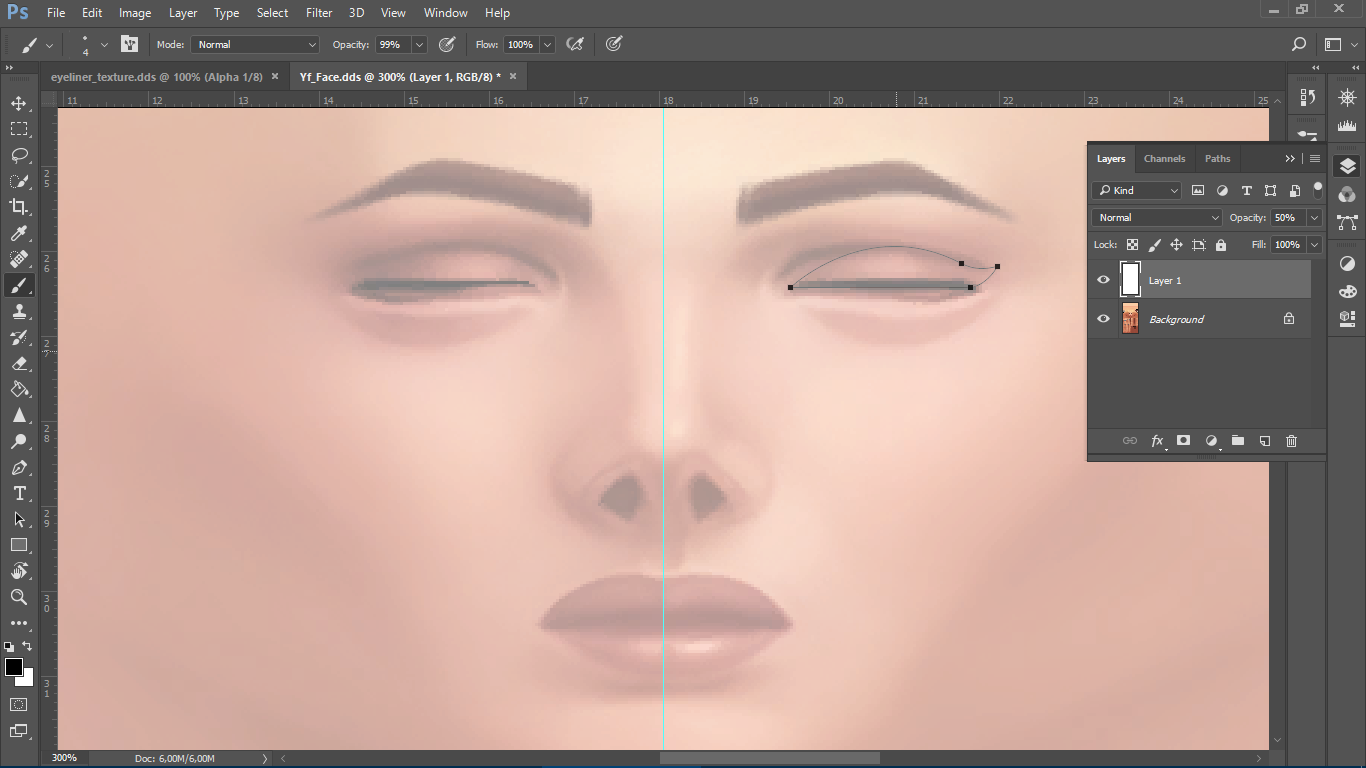
Go to the face texture and make a new layer.
Select that entire layer, and fill it entirely black, by pressing Ctrl+A to select the whole layer, then right-click > Fill > Black (I fill it white and draw my eyeliner black, because it was more comfortable for me, don't mind the pics). Edit the opacity of that black layer to ~60%.
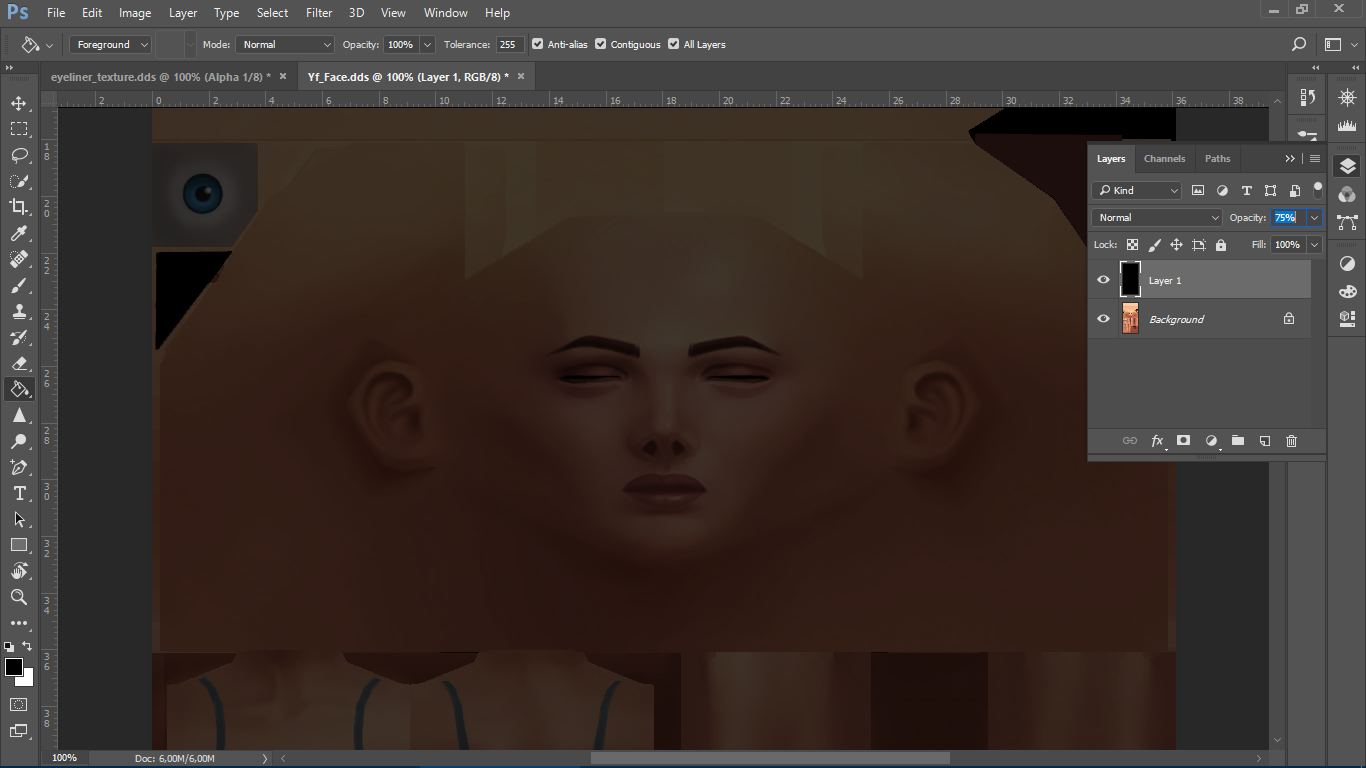
Once you have done that, if you can draw with your mouse or a tablet, use the paintbrush (you should draw in white if you fill your layer black and vice-versa) to make something resembling an eyeliner. Personally, I used the Pen tool to make a smooth and clean line, then fill the work path (in the Path tab) with white :
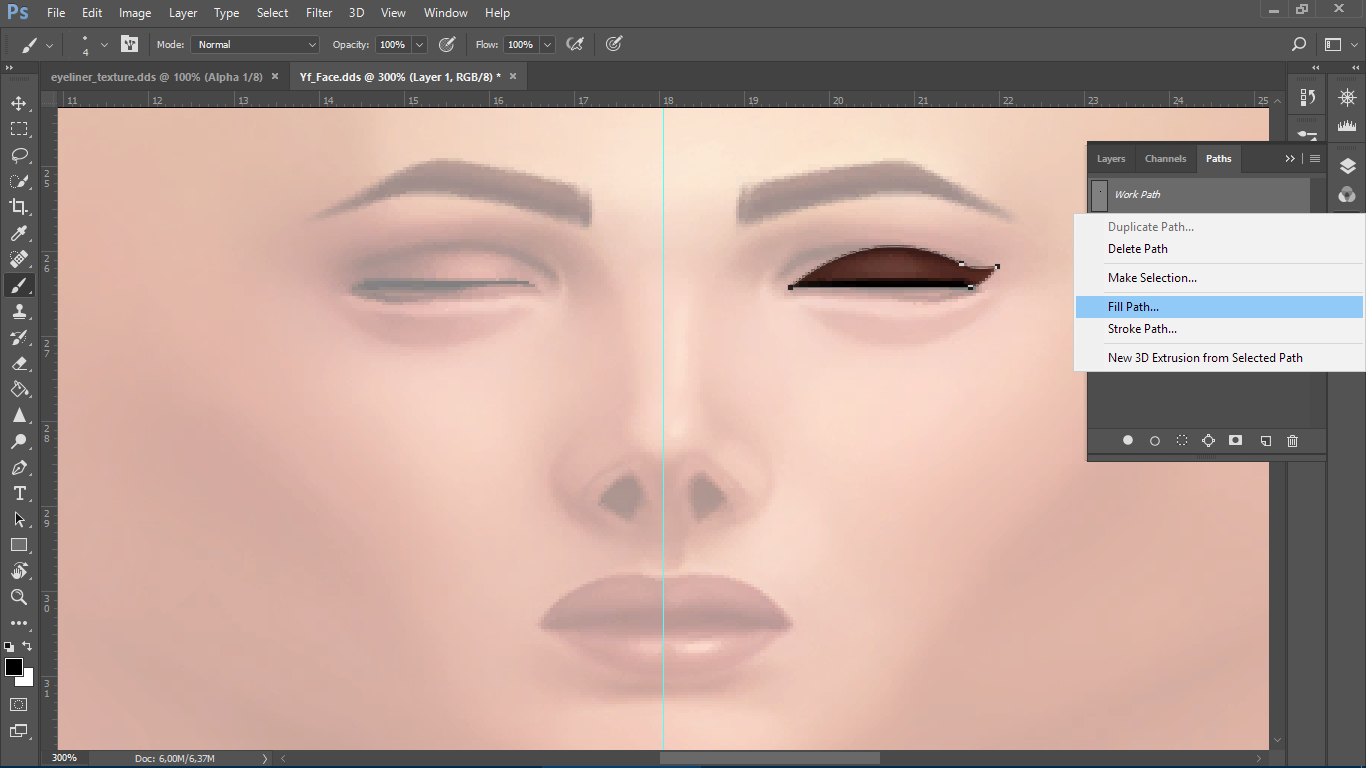
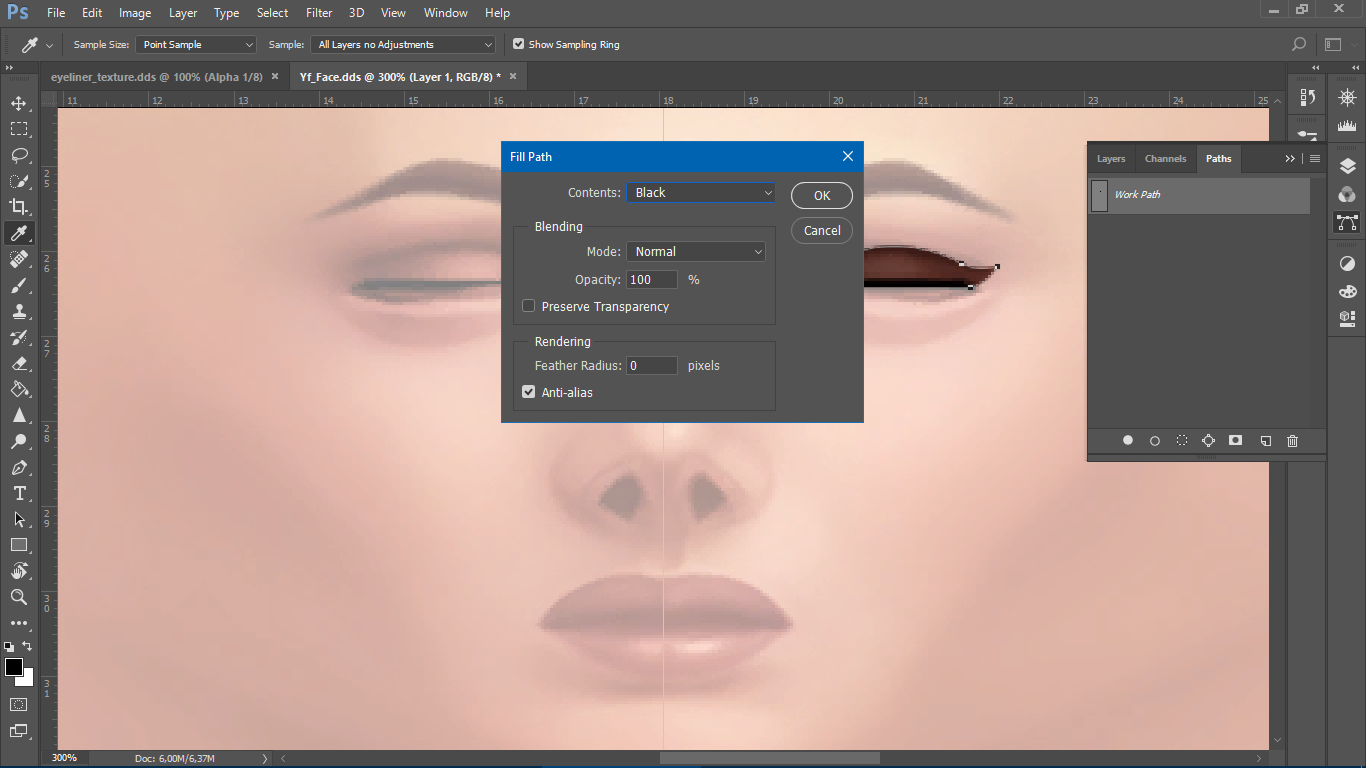
Don't forget to delete the work path after filling it !
Once you finished with the look of your eyeliner, copy the entire top layer (if you did like me, white layer and black eyeliner, press Ctrl+I first ! Then copy the layer).
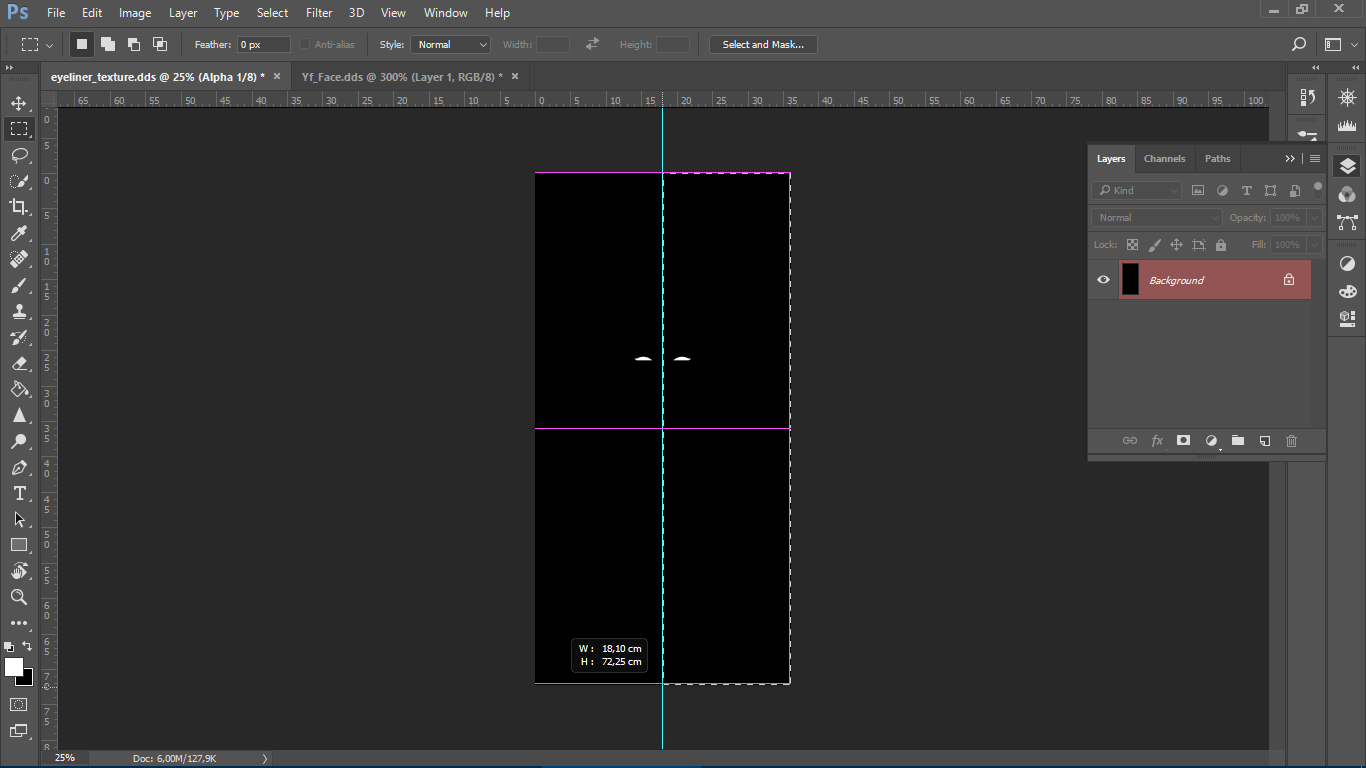
Go to the eyeliner_texture.dds, then the Channels tab, and click on the Alpha layer and paste your layer onto it.

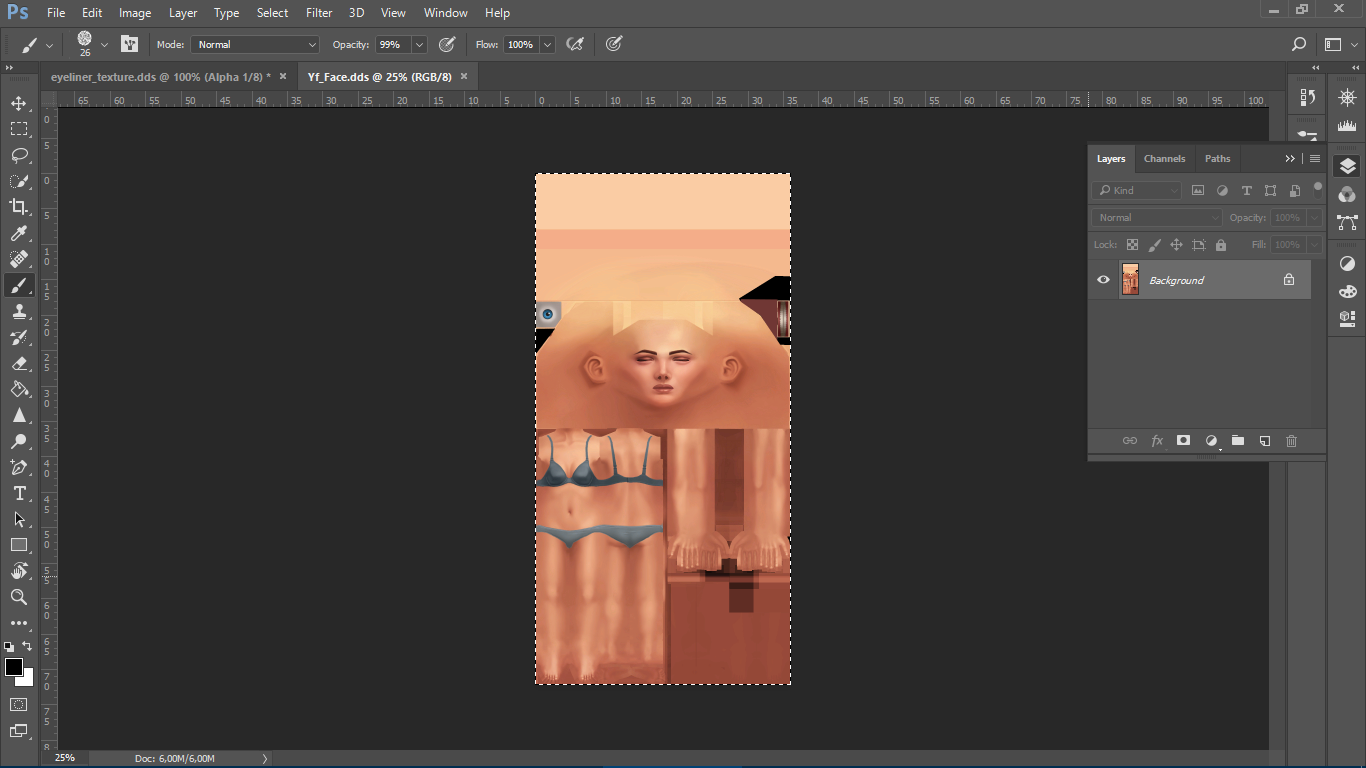
It will look like this (except there won't be two lines yet, don't mind the layer for now, just take a look at the workspace and where you should click xD)
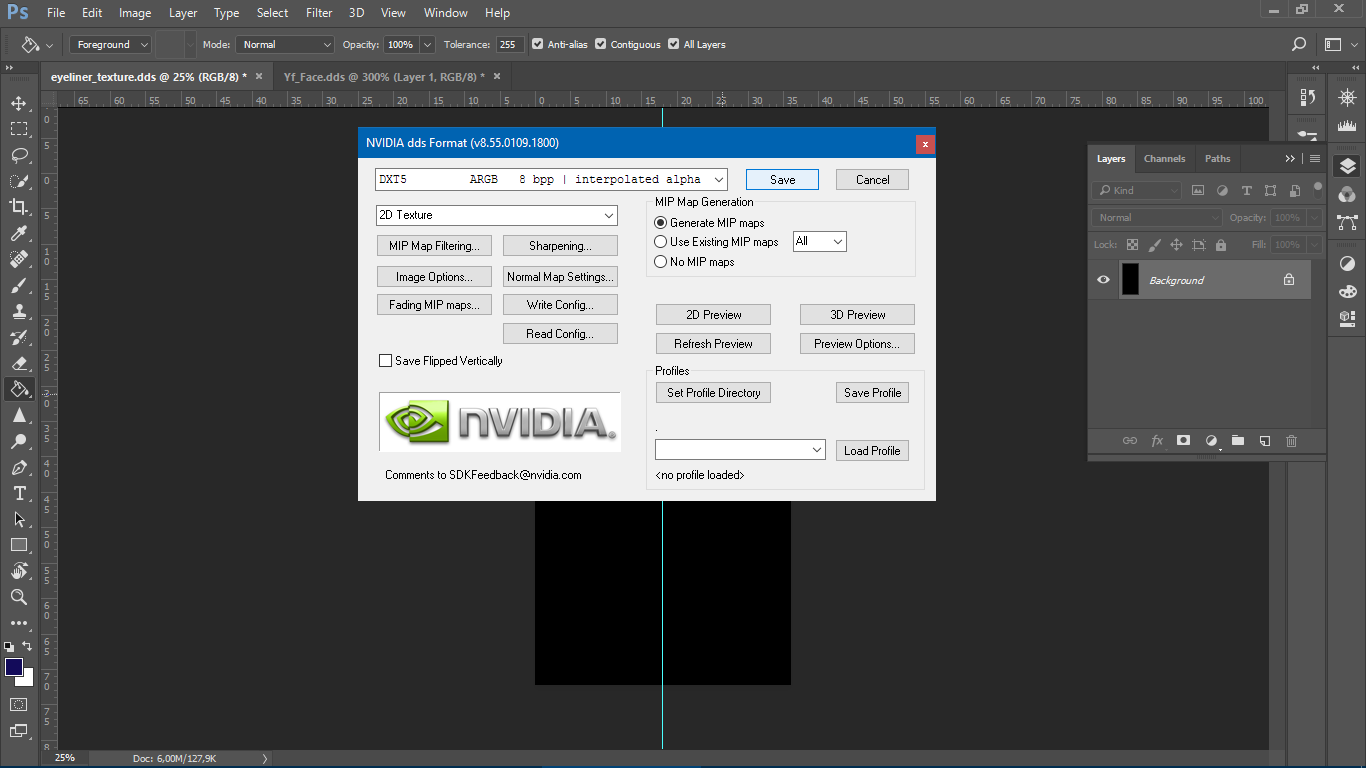
Then save it as a DDS (DXT5 format), like this :
Now import it to S4S, and see how it looks (I already did the other eye) :
If you are satisfied with the way your eyeliner looks, you can do the other eye now :
1) Go back to the eyeliner texture.
2) Click and drag the ruler to the center of the screen (a line should appear), it should snap to center automatically when you are close enough.
3) Press M for the selection tool, select the side of the alpha where your line is (until the selection snap onto the center), then press Ctrl+C > right-click > Select Inverse.
4) Press Ctrl+V to paste the image > right-click > Free transform.
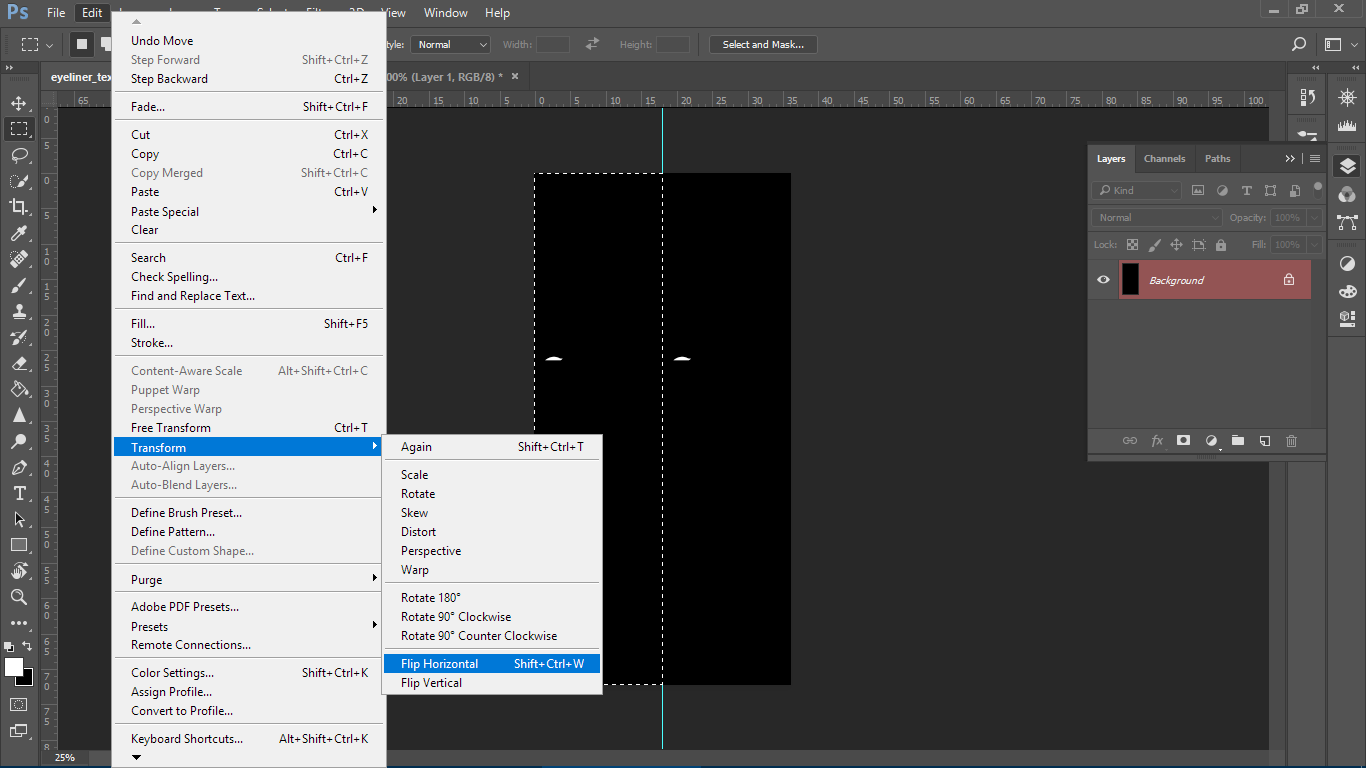
5) Again, right click > Flip horizontally > Enter to finalize.
6) Now, save the image and import it to S4S !
If you want to make it in different colors, simply fill Layer 0 any color you want. Save it and import it as another swatch.
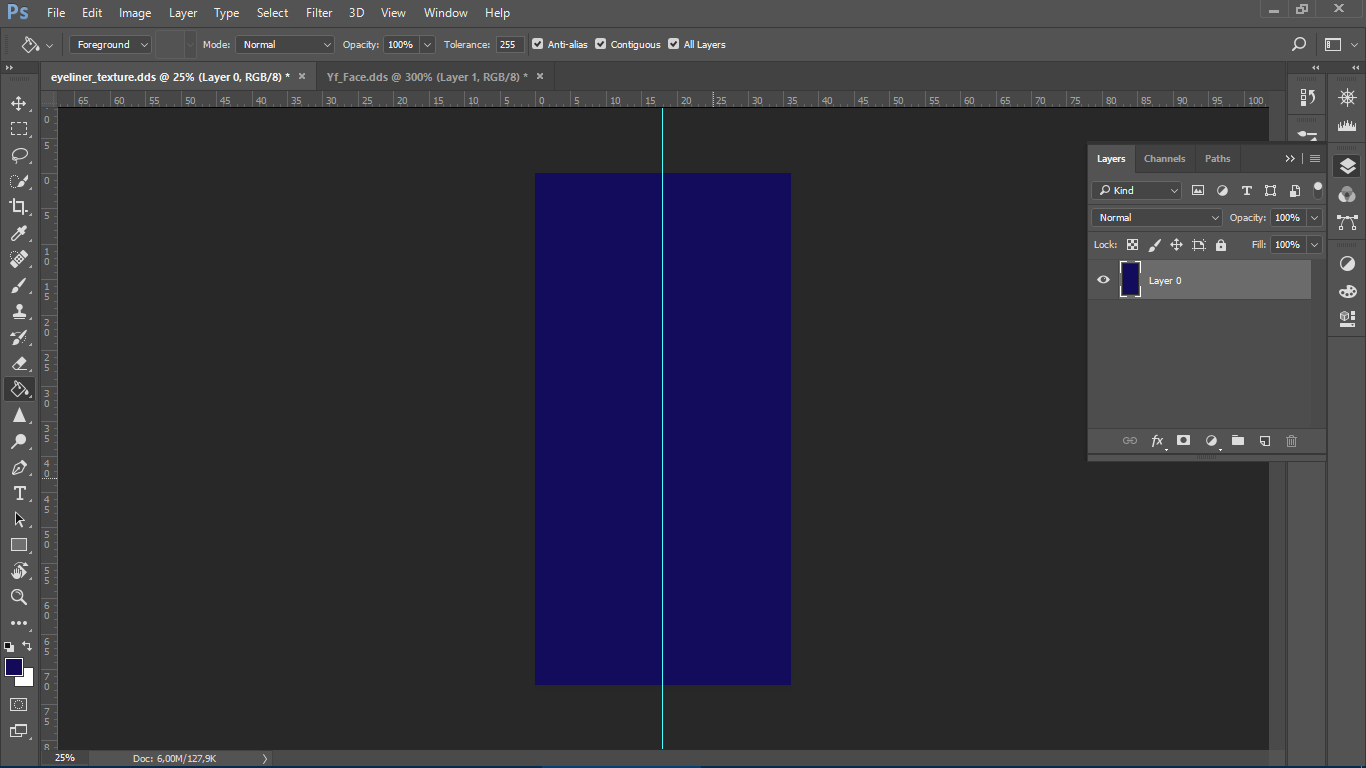
A blue background...

...makes a blue eyeliner !
So, that's it ! I hope you enjoyed this tutorial as much as I did when making it :D If you have questions, feel free to ask ! And I hope I didn't bother anyone...


 ).
). 


