|
|
Post by brybee on Sept 24, 2016 18:33:37 GMT -5
Hi brybee . The thing is that you can't add another custom uv. Imagine that you have one piece of paper 1024x2048 pixels and everything that is on your sim has to be placed on that paper in specific places. You can't do it in another way since it's the way EA programmed the game. Every single item that it on sim uses specific place on the map. Even earrings and bracelets have dedicated space on the map so if you place your texture in that place, it will appear on earrings. There are free spots on that 1024x2048 map that can be used for extra parts. Since epaulettes relatively small, you can scale down the uv and place it between uv of the hands). Take a look at this post. yes i see what you mean. I am really trying and cant get it. |
|
|
|
Post by brybee on Sept 24, 2016 14:27:48 GMT -5
No, everything must be in the SAME uv. What you need to do is scale down and fit the uv from the mesh you added. You need to place it somewhere where it doesn't conflic with anything. For that you can use the template I linked you. The uvs need to be in an sigle image, that's just how EA did it for Sims 4. i dont understand. Can i export the uv map into a 2d editor and make a texture there and add it to the main texture so it wraps the whole thing? |
|
|
|
Post by brybee on Sept 24, 2016 14:05:58 GMT -5
That's probably because the UV map for the new meshes you added is overlaping the part of the suit uv. You need to find a place in the uv map that doesn't conflict with others. As EA made all in one composition uv everything the sim uses has a special part. Brujah made a template where you can take a look at the parts. There are some spaces called extras, there's for bottoms and tops. Find more info HEREdo i make a new uvmap and have the textures on it so its seperate then the body? |
|
|
|
Post by brybee on Sept 24, 2016 13:47:07 GMT -5
why does this happen? in blender i get the textures on the shoudler how i want it then in sims 4 studio and CAS it displays the entire characters texture there. 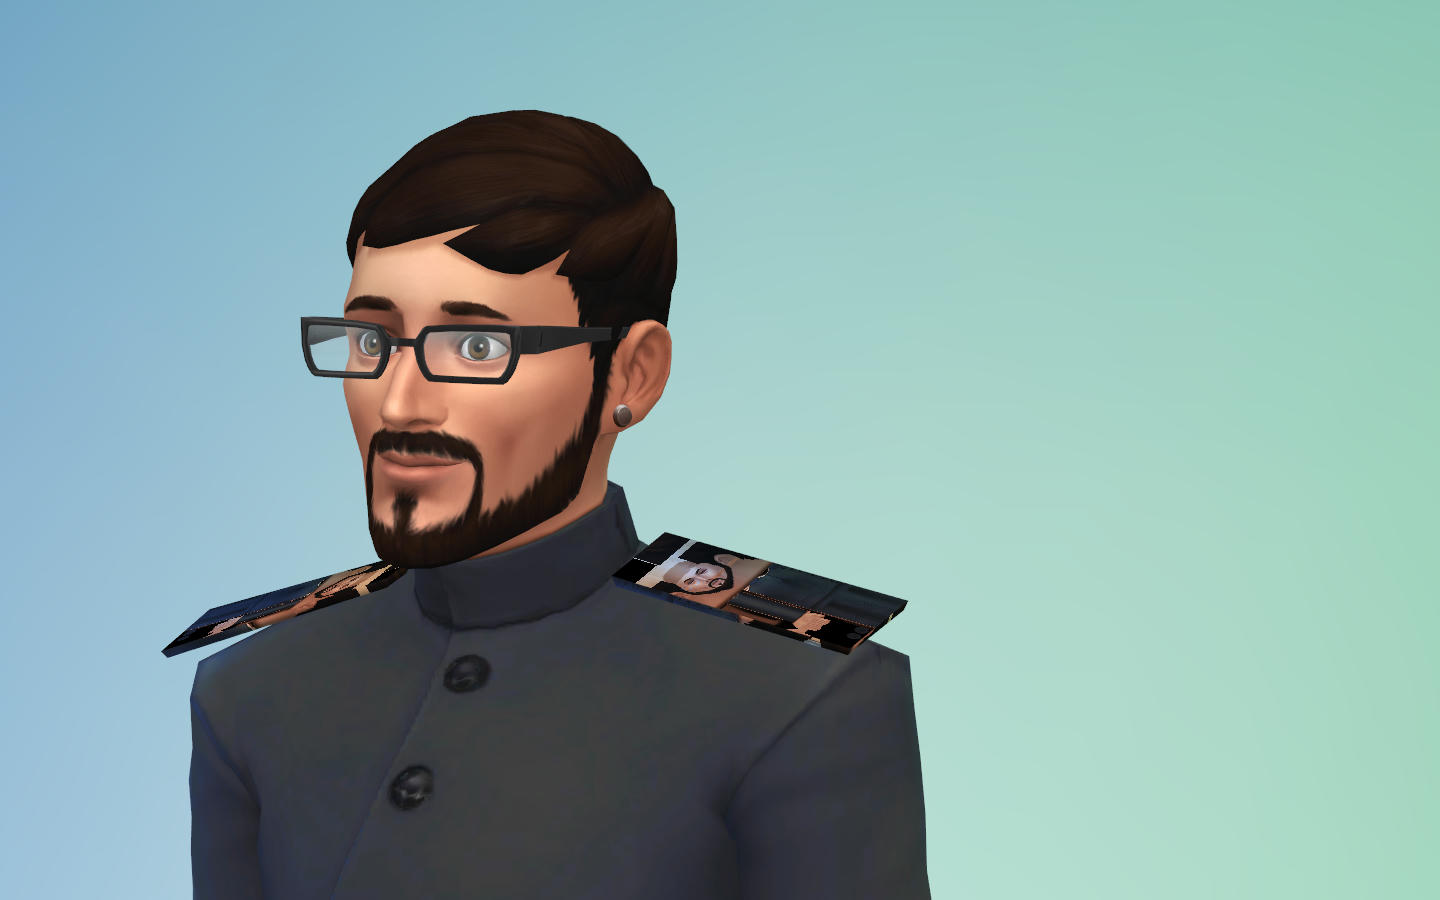 |
|
|
|
Post by brybee on Sept 23, 2016 23:27:27 GMT -5
Can you tell me the exact resolution? You can check this on your image editor, or going to the warehouse, clicking on a texture and you'll see the number above the preview image. i think its 1024 x 1024 is this the right resolution? |
|
|
|
Post by brybee on Sept 23, 2016 18:35:41 GMT -5
Please re share your updated blend & package with the normals flipped. I reduced the scale and scope of my project. So in hope's of actually finishing It by deleting the medals and focusing on adding texture to the shoulder pads and sword and calling it done. Wont have to worry about uv sliders. But things always come up weird in Sims studio. Parts of the shoulder pad is inveresed and it displays both the characters texture and the texture I want on the shoulder pad. |
|
|
|
Post by brybee on Sept 23, 2016 18:30:48 GMT -5
Hi! how are you saving the texture? Which dds format? What's the exact resolution? is it possible for you to share the package so that someone can take a look at it? Hello! I save as the normal re texture process in photoshop dtx5 and dds. |
|
|
|
Post by brybee on Sept 23, 2016 17:54:42 GMT -5
uploaded a pic. Different angles, and zooms it goes blurry. Never touched the mesh just a re color
|
|
|
|
Post by brybee on Sept 23, 2016 16:19:10 GMT -5
This outfit in general is very complex and requires you to read some of the tutorials as regards of making clothing/accessories goes. i can suggest a few. (but you can look for more here) (1) Guide to clothing creation.Morphs, uv_1 (watch video at the end of the first post) Most of the issues you're facing with your item is, as stated by Zelrish. - I don't see one of the cut numbers, the one that should be 0001. You should check the original outfit and see why it's missing. - You have two rigs on your blend, delete the copy. - unmapped parts. Sword, pads, medals. When you create an object from scratch you must mapped each part on an individual space in the texture. See (1), step 3-uv mapping. Also, the necklaces (that come from 2 different meshes) are overriding each other. You have to select one and move it elsewhere. After everything is mapped, you'll have to head over to photoshop or the image editor you're using and create your own texture mixing all the parts in one single dds. - flipped normals. The sword and the medals have the visible parts inwards. You'll have to select the part of the object that is having the issue and flip it's normals. see image.- none of your new meshes have the correct vertex paint color which controls which parts of the mesh react to sliders. You can check this tutorial for that. **note, remember that the weight transfer and uv_1 should not be applied to body parts (such as necks, hands). You have to separate the mesh from the skin by selecting the skin parts by hovering over them while pressing L to light them up orange. Then press P, and "selection" to separate them. Apply uv_1 or weight depending of what you want to do, and after the mesh is done, you click the skin group and shift click on your mesh, and click ctrl+j to join. Check the groups and cut numbers are okay. I reverse the normal maps and in sims studio it is still missing. I am tempted to start over as this one has so many errors or just call it quits, when i read the tutorials i only half understand them which makes me think maybe i have a larning disability |
|
|
|
Post by brybee on Sept 23, 2016 13:21:31 GMT -5
I been making a set of furniture, walls and they blur when not in focus or to far zoomed out. any ideas? 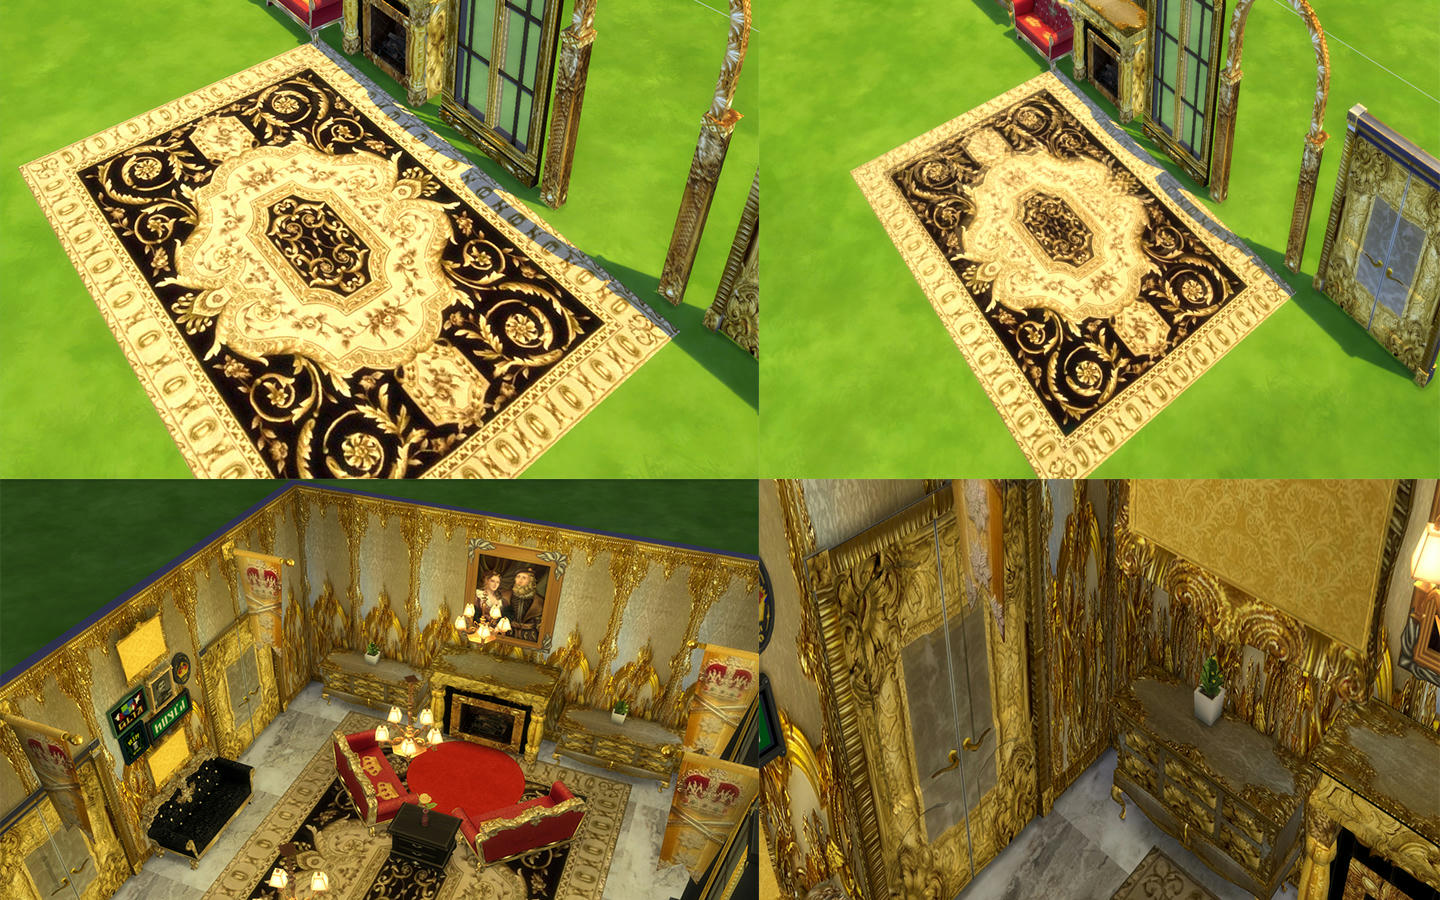 |
|
|
|
Post by brybee on Sept 23, 2016 9:11:01 GMT -5
Btw I had a look at the sword and you have the same problems there. Some of the normals are not in the right direction and the UV mapping is not done. Weight painting should work out. i know your right and thank you for the input. I just cant seem to get this to work. |
|
|
|
Post by brybee on Sept 22, 2016 16:18:36 GMT -5
hi! i'm super sorry, but i can't find the specific step for some reason!. This one is much shorter since it doesn't include the creation step,and gets to the point faster. The step that you should be looking is the n°9. yes thank you this is a good tutorial. My question orange mittens check first to see the default cut is 0 then made her custom changes to 0 so it will match. So does this mean i should open a new mesh check the defualt and make a change to match it? |
|
|
|
Post by brybee on Sept 22, 2016 13:16:24 GMT -5
hi! You have to pay attention to the original cas item you cloned. You need to export the mesh, open it on blender and take note of the number of groups, each of their names and each of the cut numbers each group has. If the original mesh has 2 groups with each being 0000 and 0001 then your mesh must have the exact same correlation of groups and cut numbers. It looks like the medal on the chest isn't part of any of the original groups, that is why s4s isn't importing it. As for the two shoulder parts aren't mapped correctly. You have to re-map them on an specific place on the texture. It looks on the preview that it is mapped on the whole skin texture. I suggest you taking a look at this tutorial, it describes all the steps you should be doing and also how to make things from scratch and mapping them. i am reading and looking cant figure it out. This is very hard |
|
|
|
Post by brybee on Sept 22, 2016 8:30:44 GMT -5
wow this is a great idea thank you.
|
|
|
|
Post by brybee on Sept 22, 2016 5:15:21 GMT -5
i was making adjustments to the shoulders and removed vertices to make it a cleaner look, And then doing that it removed the medals on the chest... I know it is a problem with the cuts as it happened to me before with a missing bicep but i cant figure how to figure what to do to bring the medals back... and the shoulder texture looks nothing like it does in blender, Black textures something to do with the alpha i guess? Could anyone please take a look, I am getting close to finishing this project. After I texture the medals, sword, shoulders, necklace, fix it so the medals react to sliders in CAS i will be done  www.mediafire.com/download/x75ap8cvkqybwpf/imp+mesh+suit+2%282%29.blendwww.mediafire.com/download/i3pl6ia4kdk2xde/Bruxel+-+The+king.package www.mediafire.com/download/x75ap8cvkqybwpf/imp+mesh+suit+2%282%29.blendwww.mediafire.com/download/i3pl6ia4kdk2xde/Bruxel+-+The+king.package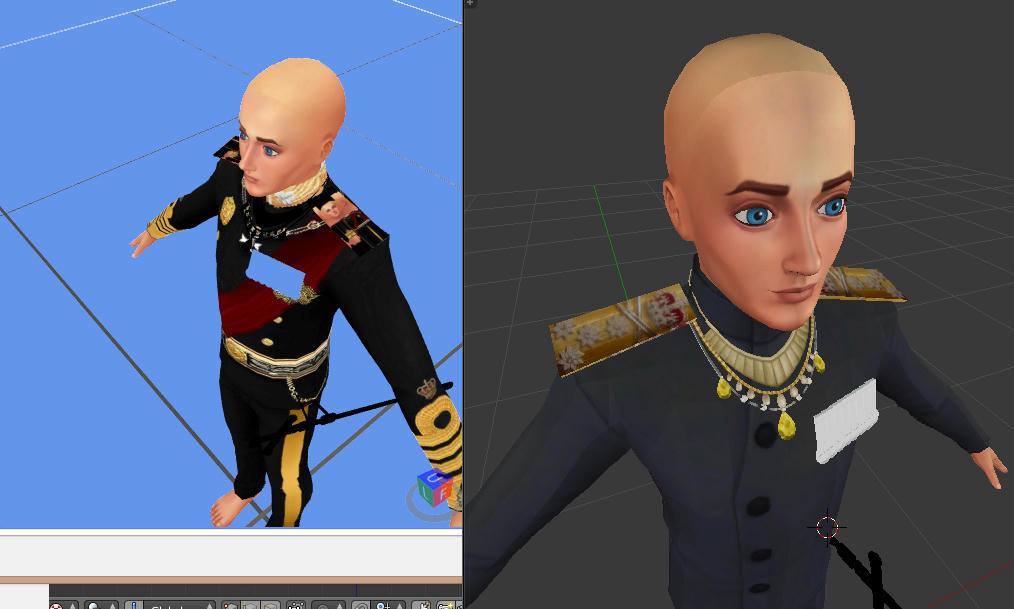 |
|


