|
|
Post by Kouukie on Mar 21, 2016 23:44:44 GMT -5
As for the avatar, I do have the avatar still! Here it is! |
|
|
|
Post by Kouukie on Mar 21, 2016 23:41:56 GMT -5
Hi! If you set them to "All" it'll show! If you don't know what I mean, here's a picture  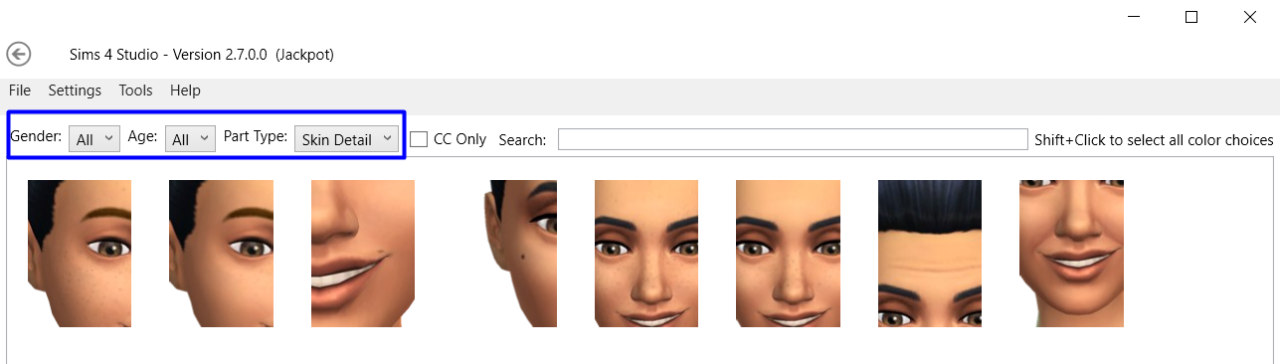 |
|
|
|
Post by Kouukie on Mar 21, 2016 23:32:59 GMT -5
You need to apply the material in s4s, you can apply it to the mesh in blender buts it just for you to see what looks like. Thanks for such a quick reply! I know you have to apply it in S4S, but I mean is it possible to export the material from here? 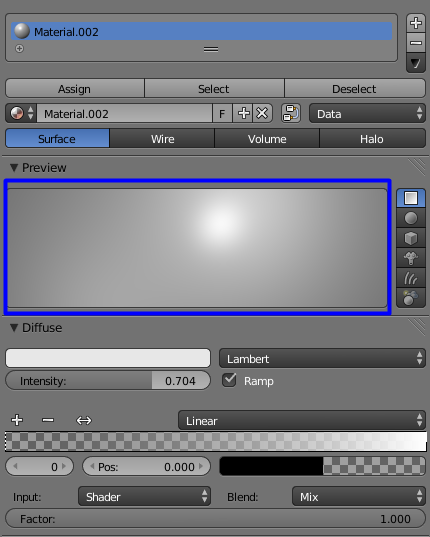 If not, is there any place to suggest where to get nice textures for my accessories? |
|
|
|
Post by Kouukie on Mar 21, 2016 23:27:10 GMT -5
I have been making accessories for the longest time but never released them cause I could never get a nice texture, like the Blinn I apply to my mesh in Maya.   That's what they look like in Maya. I'd like to have a texture like that for my object. Is it possible to save a UV with the texture on it? Even if it's through Blender I will just apply a material in Blender. I enjoy meshing objects, but can't find a texture for my meshes that look nice at metallic gold and silver. Thanks in advance |
|
|
|
Post by Kouukie on Mar 21, 2016 23:06:06 GMT -5
Make sure the cut numbers are correct under Scene. Also are you cloning the sims 4 mesh first from S4S > Exporting the Cloned Hair > Import your new hair > Assign cut numbers, weights, etc etc > Then Reimport? Here's a tutorial on hair basics if you've missed it. This could prove helpful as I myself don't make custom hairs. Thank you for your response and help. I did not clone a S4 hair and edit it, I created an entirely new mesh. Also, I did not assign cut numbers or weights, as I don't know how to do that... I think that is my problem. I'll have to search how to do that (since I cannot find it in the tutorial  ) From experience, if the cut number is wrong or not assigned, S4S will not allow it to import |
|
|
|
Post by Kouukie on Mar 20, 2016 19:31:38 GMT -5
Ah I see. You should hopefully get it working once the weights are sorted. Thank you |
|
|
|
Post by Kouukie on Mar 20, 2016 19:31:20 GMT -5
This is a bit off-topic, but may I just point out that you're the 2nd person with the same weird meshing pattern I encounter this week. I'll go on a limb here and assume you've downloaded the 3D mesh from somewhere? TS4 content is generally considered low-poly overall, which is the opposite of what 99% of downloadable meshes are unless you know how to re-mesh/decimate them. Right now your dress sits at 13,5k poly and for such a simple short garment that's rather high. There's nothing inherently wrong with creating super high poly stuff, but you'd need to remember that many people's games would not be able to handle multiple large files like that. To put it into perspective - your dress file with 1 swatch is 5.3 MB in size. The last dress I've shared had 55 swatches and it was 5.33 MB in size. Those meshes are done from scratch with marvelous designer. it's pretty good, but you end up with high poly at the end of the day. but it's awesome for a base, and can be decreased if you know how to do it and end up with some-what similar polys like the ones the game have. or at least not that crazy. I have it, and i usually use it for doing wrinkles in fabrics for objects, since the dynamic is awesome. you should really try it just for fun. even though blender lets you work with cloth dynamics, marvelous lets you mold in real time. which i find fascinating and pretty useful No I didn't download it anywhere, I made it myself. I haven't lowered the polys because I don't want to waste my time doing all these things to a mesh that isn't working properly. i suggest you working the poly thing prior of doing the uvs since i'm pretty sure it's going to mess up everything... Yes I am going to try maybe just a simple shirt to test and see. I do know how to lower the poly in MD but then the wrinks start getting less realistic and less noticable. Maya does a good job with lowering poly count without losing any quality (to an extent). So I am just going to assume it's the high poly that's making things a but more difficult :p |
|
|
|
Post by Kouukie on Mar 20, 2016 14:04:00 GMT -5
No I didn't download it anywhere, I made it myself. I haven't lowered the polys because I don't want to waste my time doing all these things to a mesh that isn't working properly.
|
|
|
|
Post by Kouukie on Mar 20, 2016 0:28:50 GMT -5
Maybe try using this cheat sheet that Andrew shared Wow this looks so helpful thanks so much!!! |
|
|
|
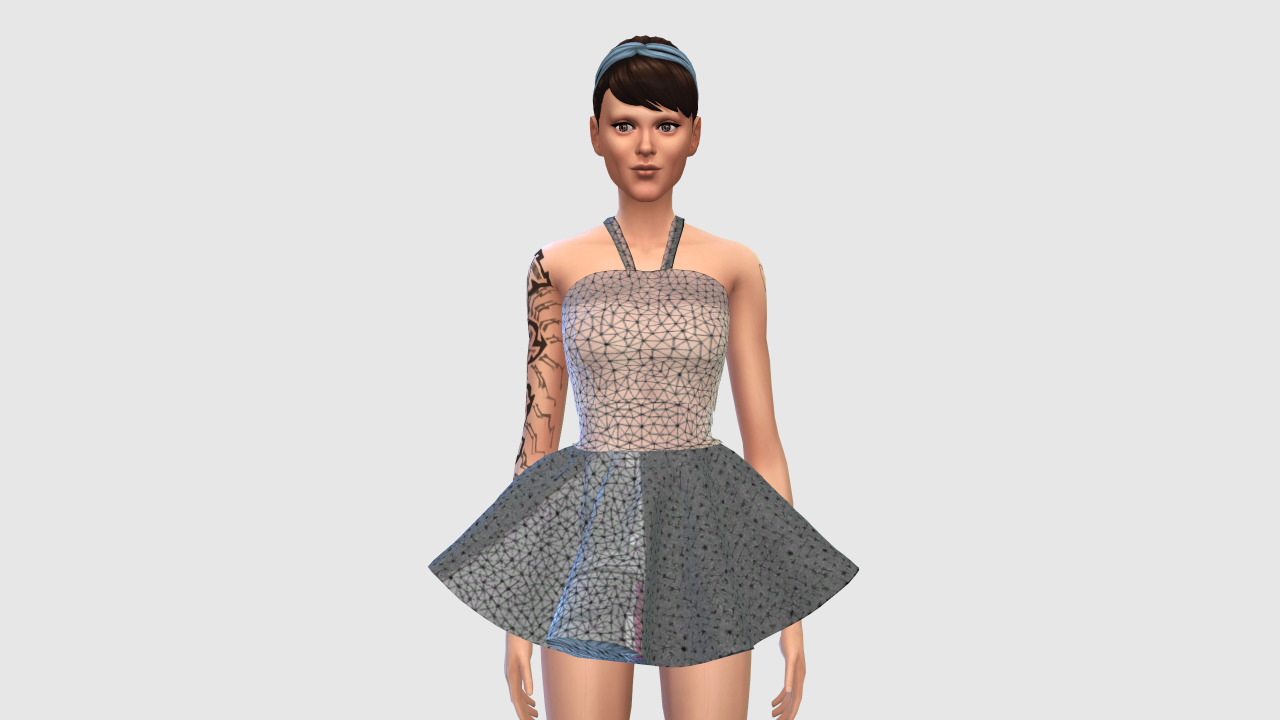
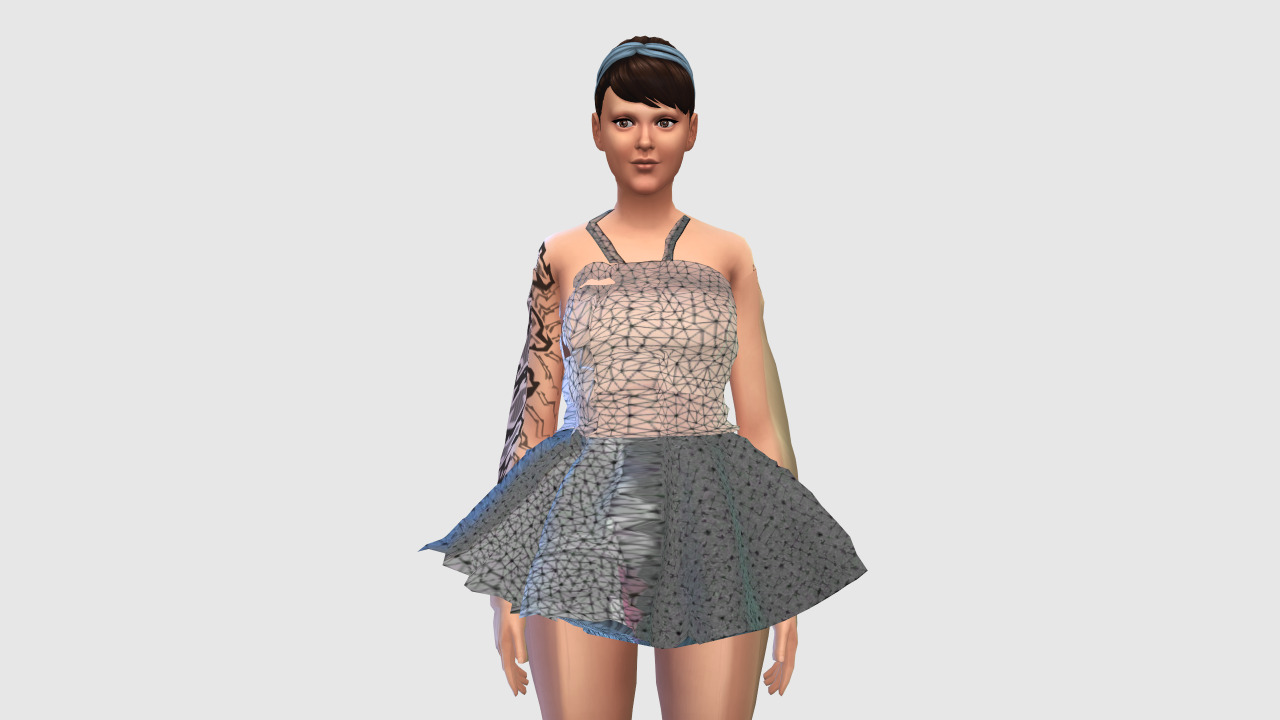
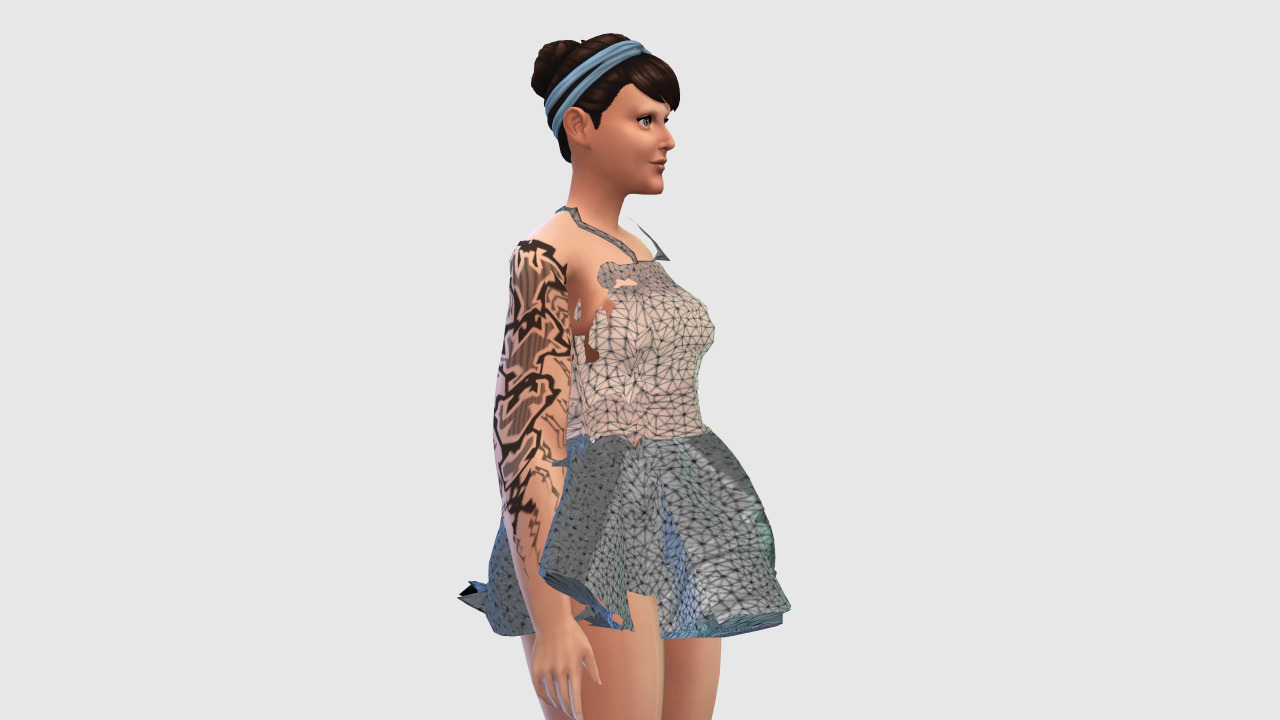
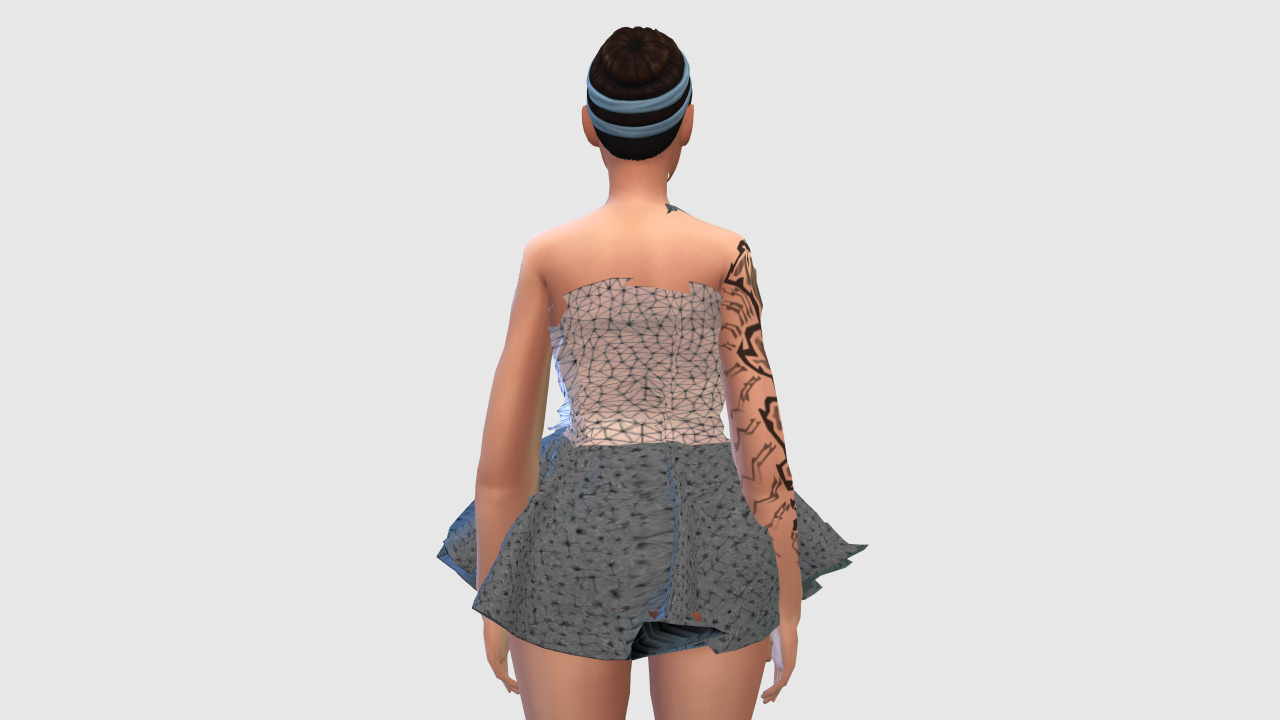
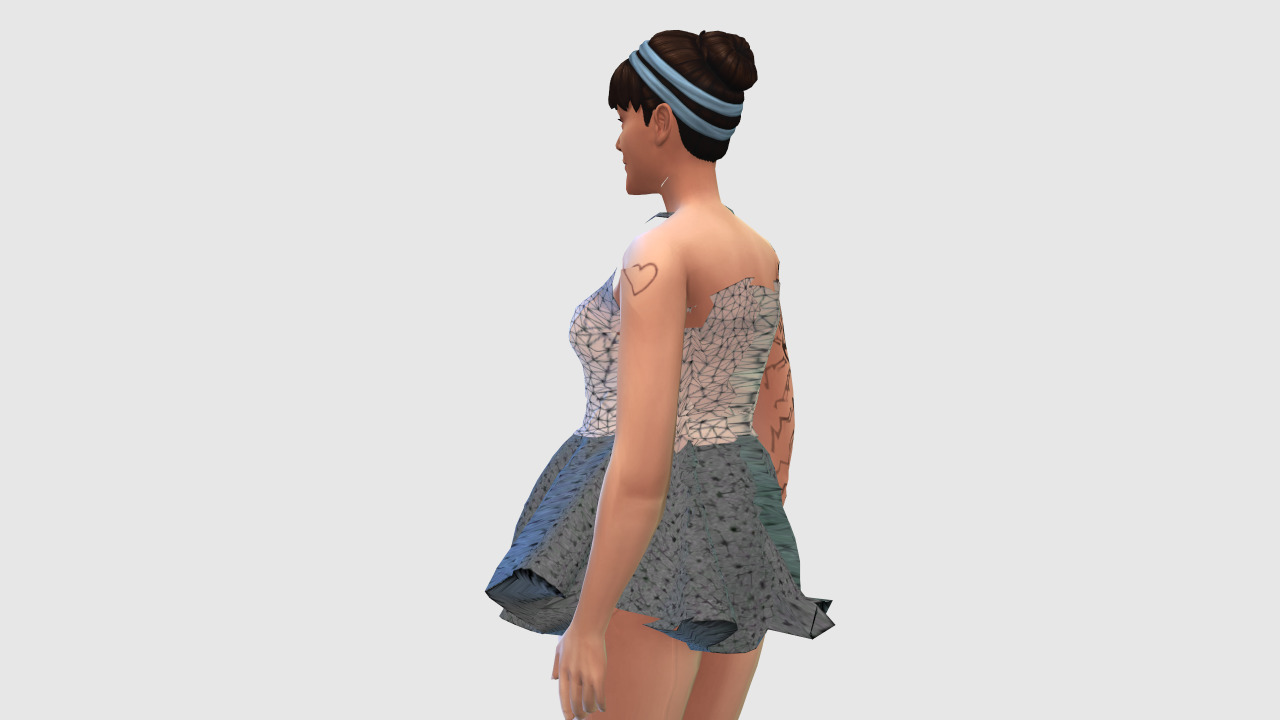
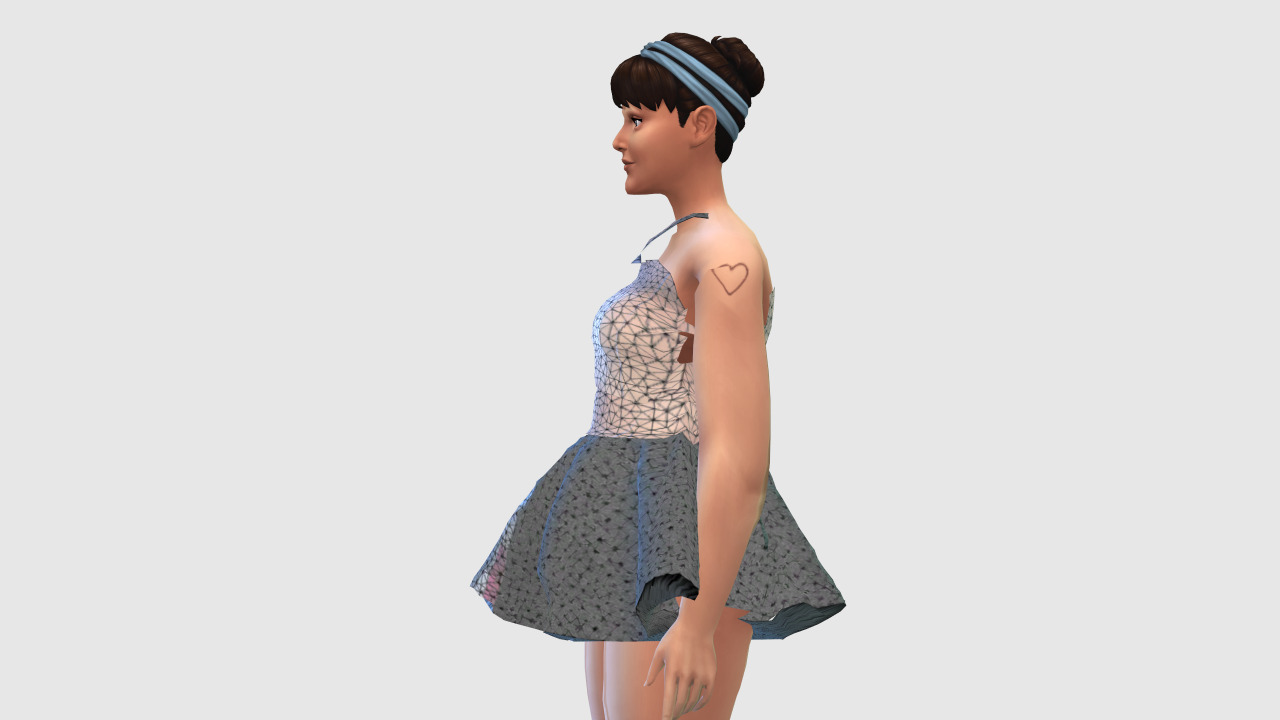
Post by Kouukie on Mar 19, 2016 22:54:02 GMT -5
I've made the mesh and it works, but not so friendly with the sliders. In S4S it's great (I didn't texture yet)  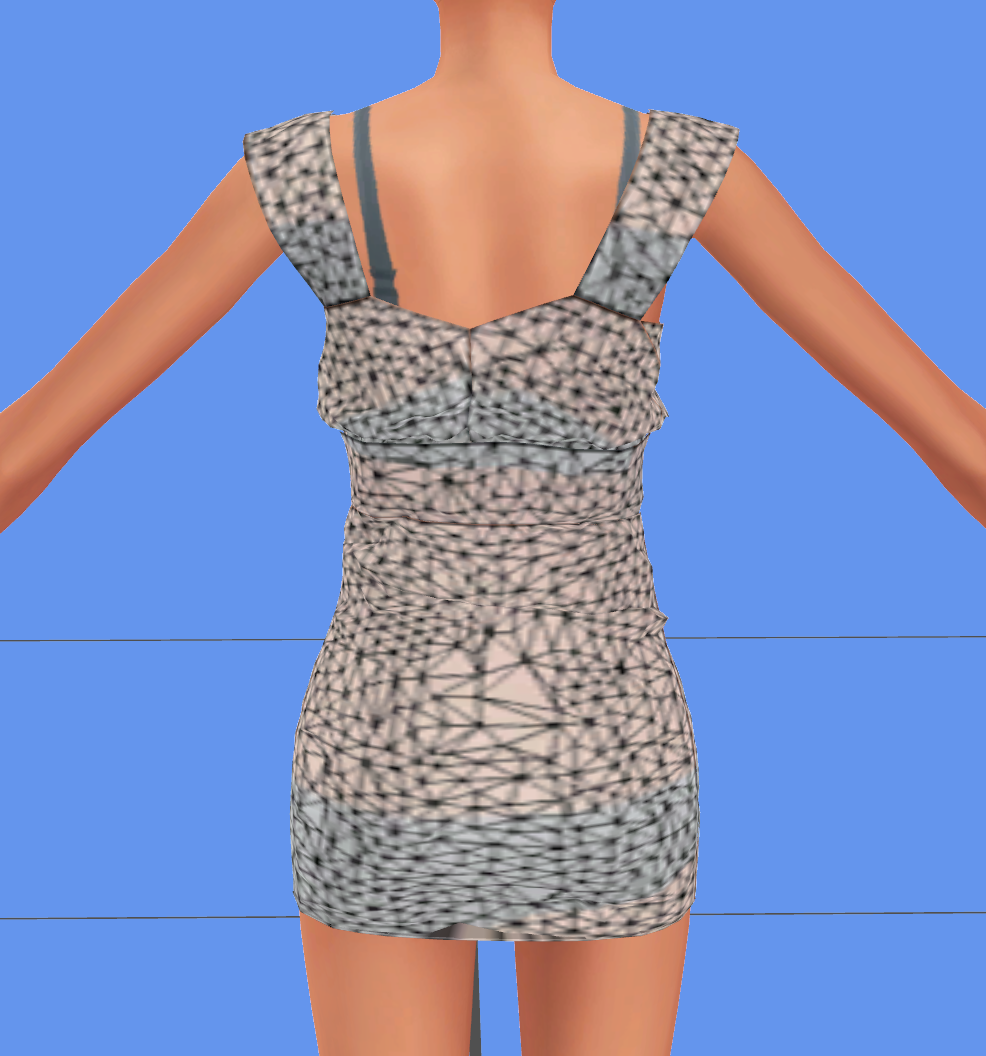 But in game not so good :( 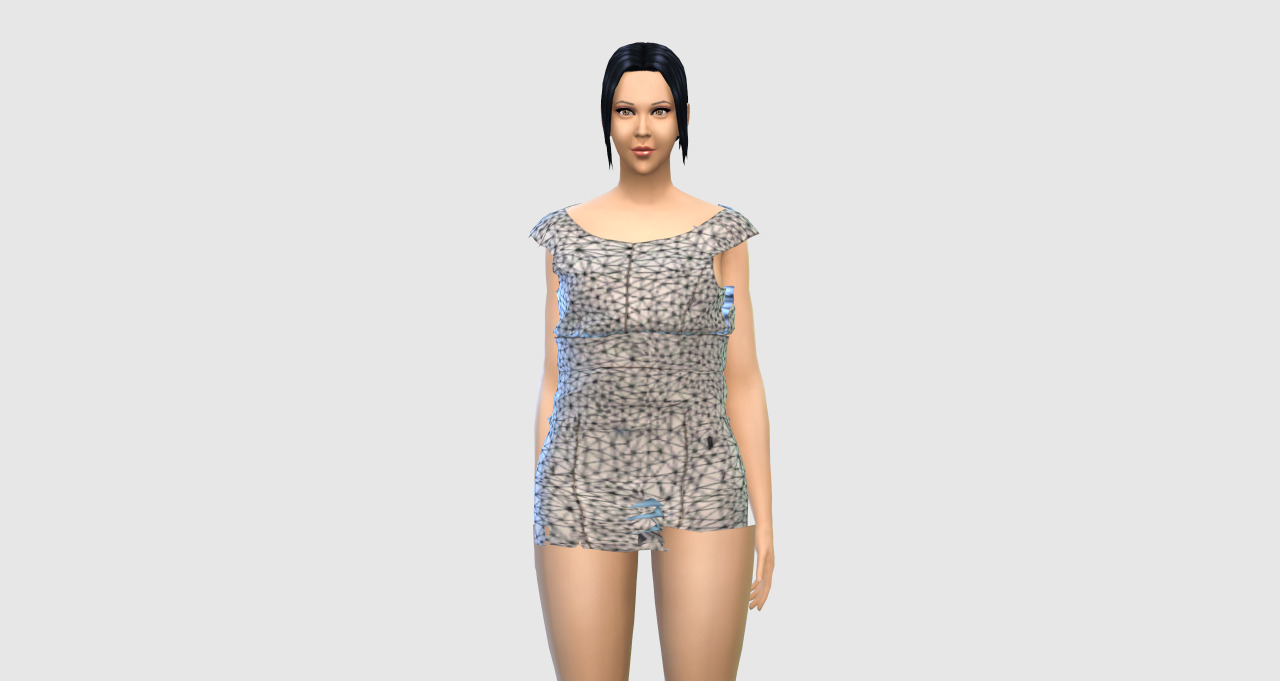 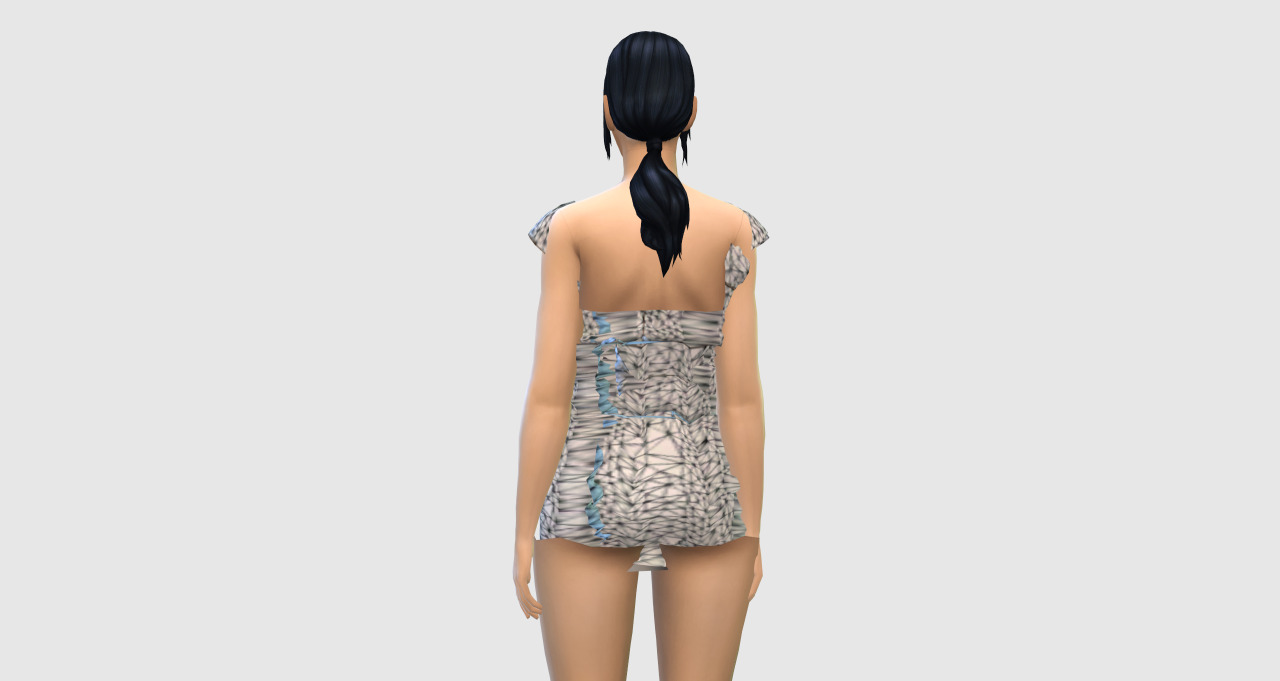 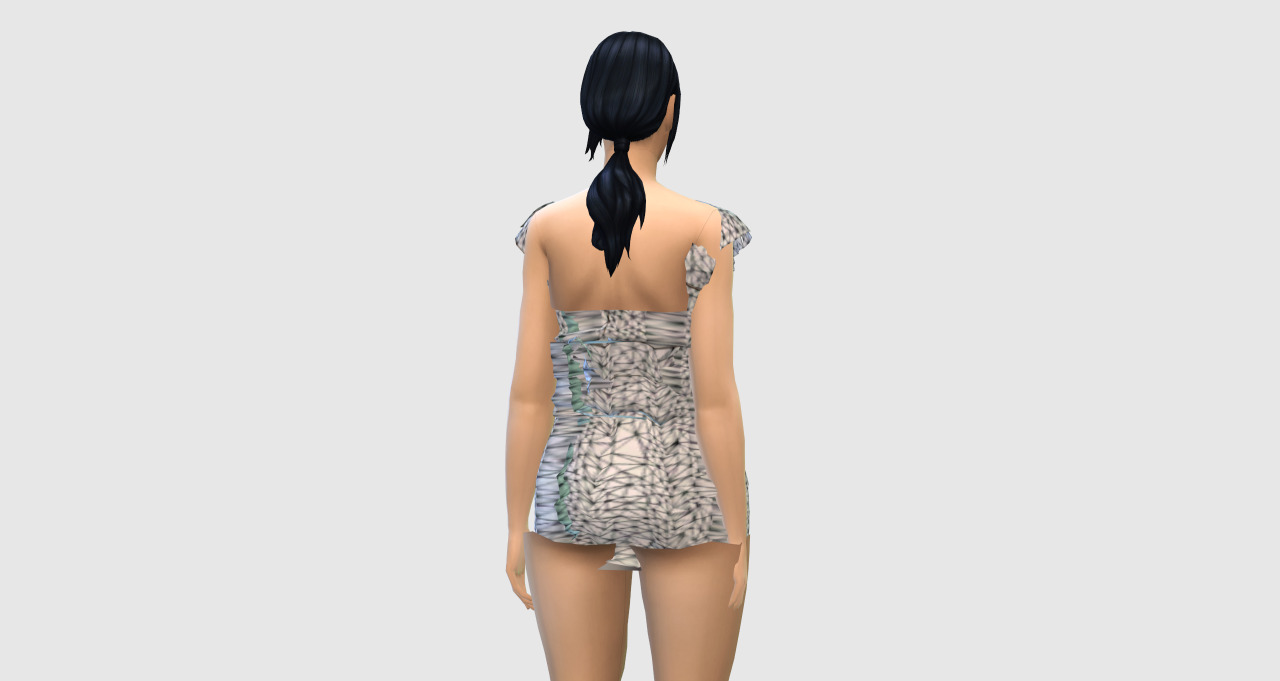 It looks less wonky with thinner Sims, but is still wonky. I know it has something to do with the uv_1 so I assume I am doing it wrong? .Blend & .PackageThanks for the help in advance! |
|
|
|
Post by Kouukie on Feb 4, 2016 9:25:25 GMT -5
Erm..bump..sorry still haven't fixed the problem
|
|
|
|
Post by Kouukie on Jan 24, 2016 21:01:17 GMT -5
|
|
|
|
Post by Kouukie on Jan 24, 2016 20:19:28 GMT -5
There are a couple of tutorials here at Studio showing how to unwrap your mesh for the second UV. The example items are hair but the process should be similar for a garment. When I get a chance to look more closely at CAS again I will put up a tutorial more specific to this type of project. Okay so I have followed the tutorial and I am not sure if I put it in the wrong place? Am I supposed to put clothing in a certain place using this image? |
|
|
|
Post by Kouukie on Jan 24, 2016 19:53:01 GMT -5
There are a couple of tutorials here at Studio showing how to unwrap your mesh for the second UV. The example items are hair but the process should be similar for a garment. When I get a chance to look more closely at CAS again I will put up a tutorial more specific to this type of project. Thank you SOOOO much that'd be amazing!!! |
|
|
|
Post by Kouukie on Jan 24, 2016 13:24:46 GMT -5
I can tell you what you're missing but sadly i can't help more since it's unknown territory to me and i'm not sure if there's an updated post on the matter. You're missing the UV_1 mapping from your clothes. You can open both blenders, go to the little triangle tab where the bones are. After that part you'll see the uv_0 & uv_1. Look at both and you'll understand. What controls the sliders along the vertex paint is the uv_1 Thank you! |
|