|
|
Post by Chicklet45368 on Mar 11, 2017 13:25:01 GMT -5
I'm not sure if this what you're looking for, but Loverat recolored a TS4 conversion of Buggyboozs’ niches that Tingelingelater converted which does include the meshes. The link to get the original conversion is dead, but here is a link for the recolors. Hope that helps! - Chicklet |
|
|
|
Post by Chicklet45368 on Mar 9, 2017 19:30:42 GMT -5
Hi everyone!
So, I'm attempting to make my first "non-tutorial" mesh in blender, but I have a few questions. I'm at the point of marking my seams and unwrapping the UV map.
If I have 2 identical objects, do I need to mark seams and unwrap both? Or will one UV work for both of them? (I modified an EA ceiling lamp, duplicated it, and attached them both to a ladder, so they have the exact same shape, vertices, faces, etc.)
Also, not UV related directly, but in a manner of speaking ....
How do I enable the split screens that show the UV map area on the left like it's set up if you open your .blend file from S4S?. I started working in blender by double clicking the icon on my desktop to make my ladder and didn't think about until now.
Thanks in advance for all your help!
- Chicklet
|
|
|
|
Post by Chicklet45368 on Mar 9, 2017 12:24:44 GMT -5
Thanks for the quick reply, link, and suggestions. That will be my "homework" when I get off work tonight. lol
|
|
|
|
Post by Chicklet45368 on Mar 9, 2017 11:24:14 GMT -5
Hi all,
I'm still so very new to blender, but what I'm trying to do is create a chain to suspend a ladder from the ceiling. I wanted to add a couple of hanging lights from the ladder as well, so I didn't really want to try and make individual chain links to form the chain in order to keep the poly count down.
So, what I thought I could do was use a chain texture that has an alpha on a 3 sided mesh, or something like that, to create the illusion of a chain without actually having a physical 3D chain. Since it's going on the ceiling and will be fairly small I don't think the detail needs to be perfect.
Is this possible? Or am I going about it wrong?
If this would work, how do I make each side be transparent in blender so that I can add my alpha texture to it in S4S?
Thanks for all your help and input! Much appreciated!
- Chicklet
|
|
|
|
Post by Chicklet45368 on Mar 5, 2017 19:44:45 GMT -5
Perfect! TYSM for that great info! I'll be excited to try and use it now!
|
|
|
|
Post by Chicklet45368 on Mar 5, 2017 19:41:00 GMT -5
Holy wow! Thank you so much! I've been watching tutorials all weekend about blender, and nothing shows how to navigate so this is awesome and I'm gonna watch it now! TYSM Mathcope! You rock!
|
|
|
|
Post by Chicklet45368 on Mar 5, 2017 19:35:13 GMT -5
Hi all
I wasn't sure if this was the right place to ask this (and I apologize if it's been asked and answered already in a different thread) but I figured this tutorial was for pretty much absolute beginners to blender, so it might be good to ask here in case anybody else was wondering too.
Is there a trick to keeping your object centered on the screen when rotating and zooming in? I'm finding that if I zoom in to work on something with a ton of vertices, that I'm only seeing part of the object on screen, and if I rotate my view to get a better look at it, it almost hides it even more.
I'm having to go back to object mode and physically move the mesh around and then going back to edit mode to zoom in again to get the angle I need.
Also, how do you move your camera view without moving your mesh when in edit mode? For example let's say I have 10 vertices selected but there's 16 vertices total on the section I'm working on, but the rest of the vertices are on the other side where I can't see them and I need to rotate my camera around to select the rest. But, whenever I try to rotate my view it pulls the selected vertices out of proportion as I'm rotating my view, so I end up deselecting it all, selecting the entire object with box select, moving the mesh to a different area, deselecting again, and then going back and re-selecting the vertices I need all over again.
So, I need help, please! It's driving me nuts.
Thanks for all your help!
- Chicklet
|
|
|
|
Post by Chicklet45368 on Mar 5, 2017 19:17:32 GMT -5
Hi all,
Maybe I'm calling it something wrong, but is there a way to "unjoin" or "unmerge" or "ungroup" or "unlink" separate objects in blender that are joined into one group? (I'm not sure exactly what the correct term in blender is).
There are several EA items I'm trying to edit but find it very difficult because they're not single items so when I click them in object mode to make it active so I can go to edit mode to modify them, it's the entire group of objects as one lumped together object, which makes very hard to only grab specific vertices. And, their meshes sometimes are not so clean and pretty to try and edit.
One such example is the 3 HUGE candles on a tray. One - the candles are ridiculously out of proportion to furniture sizes, and two - they are off center and hanging off the edge of the tray. I wanted to scale down the candles to a more appropriate size and re-position them to actually fit on the tray. But, I'm finding it difficult to do because the 3 candles are linked as one item (well the tray is linked to the candles as well, but it is large enough with only 2 faces to easily make it inactive) and I'm constantly grabbing vertices from a candle I am not working on.
Thanks for any thoughts or input!
- Chicklet
|
|
|
|
Post by Chicklet45368 on Feb 25, 2017 21:01:08 GMT -5
Holy cow! I DID IT!! Took me a few times at the beginning and had to restart it the tutorial over and over again, but luckily I was only on the first part, after that it all went pretty smoothly. And, by the end I felt a little more comfortable with the few functions that we used in blender and could remember how to do things without having to keep checking each step of the tutorial. I was a little concerned on how well I'd be able to follow along because my mesh was a completely different size than the tutorial mesh was, so I had a few scratch the head moments when mapping. The one thing I learned (after I mapped and saved the UV map and opened it up in paintshop pro) was that you can't go outside the checkered box area. When my mesh unwrapped it was basically big squares and small rectangles like yours, but on my mesh because the size was a very narrow board, the checker pattern on the front face stretched horribly across it, so I increased the size of that portion of the map until it was nice and squared and pretty on the front face, which obviously caused it to go well beyond the checker board box area. So, when I opened it up in my image editing program, only a few lines were visible, those that were inside the checkered box. So, hi-ho, hi-ho ... back to blender I go. I remapped it and fit it all inside the checker board box area, made sure the plus signs were nice and crisp and uniform in size, and re-saved it. It's perfect!! You OM, are an amazingly patient and awesome teacher! I have followed, or I should say, tried to follow, several other tutorials about blender and got lost and frustrated, then gave up, called it a day, and drank a beer! But, yours was very concise and easy to follow, and what I liked most about it was that you explained why we're doing something, not just "now click A, then click blah blah" ... I learn something better and retain it if I am told why I'm doing something, because next time when I'm doing it on my own I remember, oh yeah, I gotta do this in order to do that. So thank you so much for this awesome tutorial! It has been a productive weekend for me, last night I learned how to convert TS3 objects to TS4, today I learned how to make a completely new mesh! Here's my finished object ...  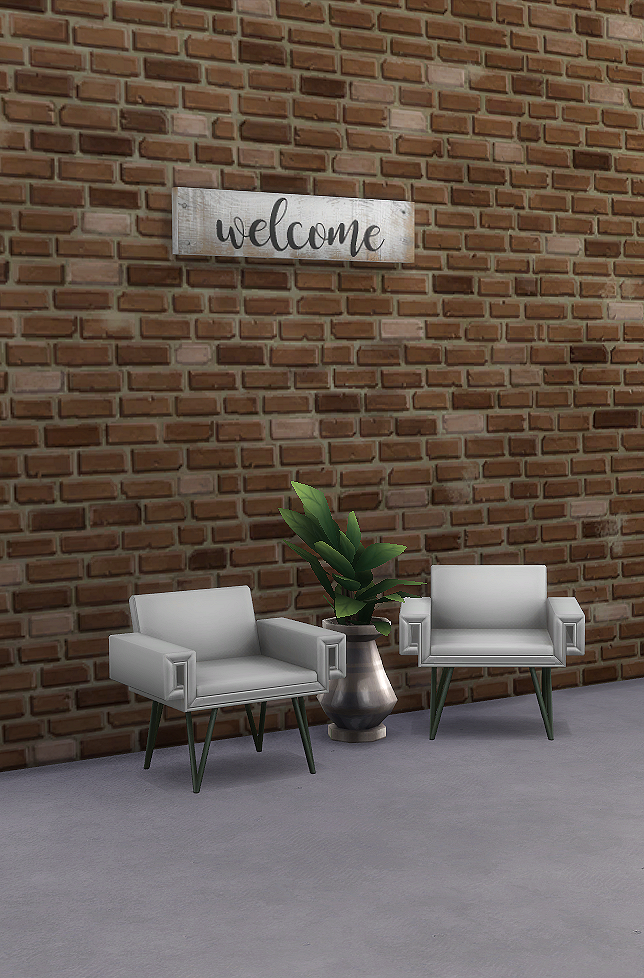 |
|
|
|
Post by Chicklet45368 on Feb 24, 2017 21:08:05 GMT -5
Thank you soooo much, OM! I just opened blender and it was not enabled. Then I exported my mesh without any problems! Now, on to reading and learning!
|
|
|
|
Post by Chicklet45368 on Feb 24, 2017 17:25:00 GMT -5
Hi all,
I'm "attempting" to make my first mesh object, but I'm having problems exporting the .blend file from S4S. I am receiving an error message. I don't know if I needed to or not, but I followed another tutorial regarding an ADD-ON in blender (the io_s3py_animation zip file). I was hoping this was the problem and that it would be magically fixed when I tried to export it after I enabled the ADD-ON, but unfortunately, that didn't help.
It's probably something ridiculously simple that I haven't done, but since I'm clueless .... I need help, please!
Here's what the error message pop-up says:
The Sims 4 Studio - Version 3.0.1.1
System.AggregateException: One or more errors occurred. ---> S4Studio.Blender.BlenderException:
File "<string>", line 1, in <module>
File "<string>", line 34, in <module>
File "C:\Users\[UserName]\AppData\Roaming\Blender Foundation\Blender\2.70\scripts\addons\s4studio\buybuild\blender.py", line 179, in load_lod
mesh.data.s4studio.cut = str(mesh_index)
AttributeError: 'Mesh' object has no attribute 's4studio'
at S4Studio.Blender.BlenderUtilities.RunBlender(String script, String blend, Boolean background, Boolean check_version) in C:\Sims\Studio\Sims4Studio\TheS4Studio\S4Studio.Shared\BlenderUtilities.cs:line 248
at S4Studio.Blender.BlenderUtilities.ExportMlod(String custom_blend, String rig_path, String mlod_path) in C:\Sims\Studio\Sims4Studio\TheS4Studio\S4Studio.Shared\BlenderUtilities.cs:line 462
at S4Studio.ViewModels.ObjectLodItem.ExportMesh(BlenderUtilities blender_util, String blender_path) in C:\Sims\Studio\Sims4Studio\TheS4Studio\S4Studio.Shared\ViewModels\BuildBuy\Objects\ObjectLodItem.cs:line 432
at S4Studio.ViewModels.ObjectLodItem.<>c__DisplayClass36_0.<ExportMesh>b__0() in C:\Sims\Studio\Sims4Studio\TheS4Studio\S4Studio.Shared\ViewModels\BuildBuy\Objects\ObjectLodItem.cs:line 406
at System.Threading.Tasks.Task.InnerInvoke()
at System.Threading.Tasks.Task.Execute()
--- End of inner exception stack trace ---
---> (Inner Exception #0) S4Studio.Blender.BlenderException:
File "<string>", line 1, in <module>
File "<string>", line 34, in <module>
File "C:\Users\[UserName]\AppData\Roaming\Blender Foundation\Blender\2.70\scripts\addons\s4studio\buybuild\blender.py", line 179, in load_lod
mesh.data.s4studio.cut = str(mesh_index)
AttributeError: 'Mesh' object has no attribute 's4studio'
at S4Studio.Blender.BlenderUtilities.RunBlender(String script, String blend, Boolean background, Boolean check_version) in C:\Sims\Studio\Sims4Studio\TheS4Studio\S4Studio.Shared\BlenderUtilities.cs:line 248
at S4Studio.Blender.BlenderUtilities.ExportMlod(String custom_blend, String rig_path, String mlod_path) in C:\Sims\Studio\Sims4Studio\TheS4Studio\S4Studio.Shared\BlenderUtilities.cs:line 462
at S4Studio.ViewModels.ObjectLodItem.ExportMesh(BlenderUtilities blender_util, String blender_path) in C:\Sims\Studio\Sims4Studio\TheS4Studio\S4Studio.Shared\ViewModels\BuildBuy\Objects\ObjectLodItem.cs:line 432
at S4Studio.ViewModels.ObjectLodItem.<>c__DisplayClass36_0.<ExportMesh>b__0() in C:\Sims\Studio\Sims4Studio\TheS4Studio\S4Studio.Shared\ViewModels\BuildBuy\Objects\ObjectLodItem.cs:line 406
at System.Threading.Tasks.Task.InnerInvoke()
at System.Threading.Tasks.Task.Execute()<---
Any ideas or help is most appreciated!
Thanks in advance!
- Chicklet
|
|
|
|
Post by Chicklet45368 on Feb 17, 2017 23:41:45 GMT -5
Hi Everyone, I have put up my first "official" recolor for download on my blog for anybody who's interested. I say it's "official" because even tho I have recolored a set for my own personal use when learning S4S, I did not post it for download anywhere. I couldn't have done it without this amazing and easy program, so thank you so much! Here's a preview pic (larger pics showing details, mesh requirements, and credits are all listed on my blog.) It's a direct download link thru Mediafire and does not go thru Ad-fly or any other type site. 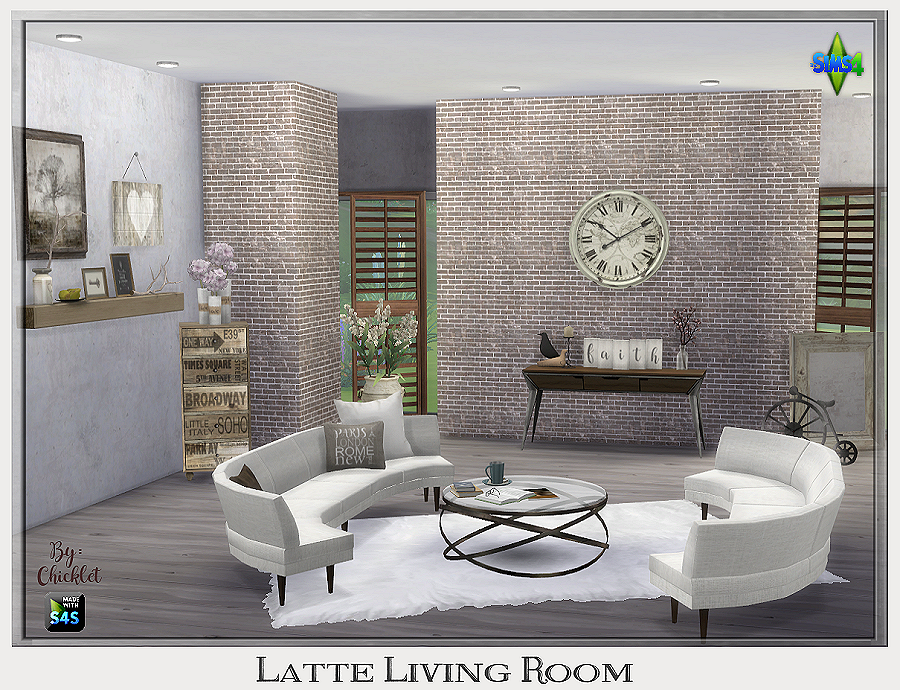 Download @ Chicklet's NestHappy Simming! - Chicklet |
|
|
|
Post by Chicklet45368 on Feb 16, 2017 16:42:40 GMT -5
Thanks for the feedback! I prefer to put an underscore ( _ ) between my file words as well to make it easier to read rather than one giant run-on word, I just wanted to make sure that didn't slow the game down or cause unnecessary slower loading times.
|
|
|
|
Post by Chicklet45368 on Feb 15, 2017 22:55:12 GMT -5
These are great! Thank you so much for sharing! Esp love the draped table!
|
|
|
|
Post by Chicklet45368 on Feb 11, 2017 0:18:22 GMT -5
Thanks so much for this awesome tutorial! I am off work tomorrow and plan to attempt to learn how to convert TS2 & TS3 objects. Wish me luck! lol
|
|

